Cheese
Member
- Joined
- Jan 16, 2015
- Messages
- 12,511
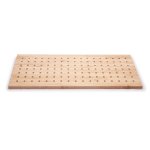
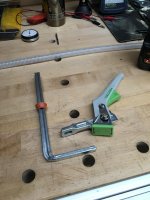
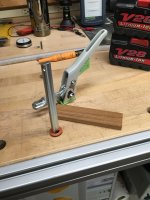
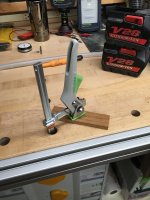
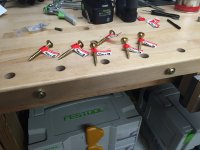
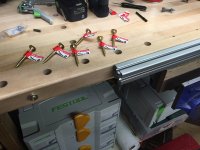
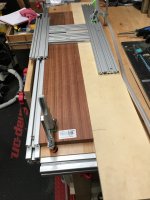
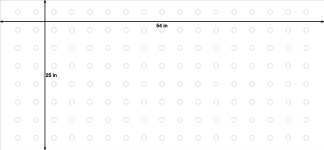
Just ran across this item this morning. A maple top, 1 1/2" thick with 3/4" diameter dog holes for $250. The material alone will cost more than that. It'd make a perfect clamping table for glue-ups despite the 3/4" diameter holes.
https://www.woodcraft.com/products/54x25-premium-hardwood-peg-table-top
[attachimg=1]
https://www.woodcraft.com/products/54x25-premium-hardwood-peg-table-top
[attachimg=1]