ear3
Member
- Joined
- Jul 24, 2014
- Messages
- 4,342
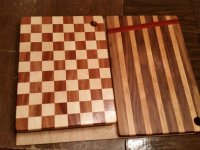
RobNJ said:They look great! Just curious - do you just glue them and rely on the long grain glue joints or do you use dominos?
Also - what method do you use to flatten them post glue up?
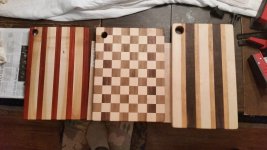
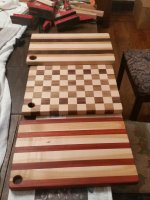
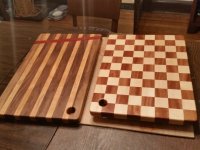
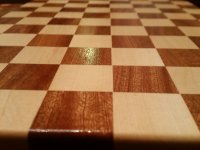
Cheese said:Nice stuff Edward...I especially appreciate the checker board pattern because of the difficulty factor. [eek]
Cheese said:Nice stuff Edward...I especially appreciate the checker board pattern because of the difficulty factor. [eek]
Edward A Reno III said:Thanks [member=33086]RobNJ[/member] . Just glue joints. The Bessey REVO clamps keep them relatively flat during the glue up, and then I knock down the remaining ridges with my Dewalt portable planer. On one of them, though, I did just use the Rotex 150 with 80 grit paper to get everything flat, since the first pass through the planer had produced some tear out.
I'm gluing up right now an end grain cutting board, and if that requires any serious final flattening I will use the 2200 with a large bit and a planing sled to finish it off.
RobNJ said:They look great! Just curious - do you just glue them and rely on the long grain glue joints or do you use dominos?
Also - what method do you use to flatten them post glue up?
Wuffles said:Cheese said:Nice stuff Edward...I especially appreciate the checker board pattern because of the difficulty factor. [eek]
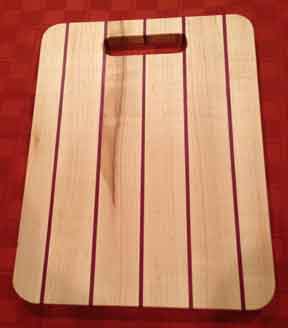
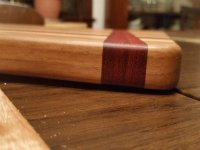
Nobody else appreciates the hole.
CrazyLarry said:Wuffles said:Cheese said:Nice stuff Edward...I especially appreciate the checker board pattern because of the difficulty factor. [eek]
Nobody else appreciates the hole.
I always appreciate a good hole!
Very under-rated they are...
Kev said:CrazyLarry said:Wuffles said:Cheese said:Nice stuff Edward...I especially appreciate the checker board pattern because of the difficulty factor. [eek]
Nobody else appreciates the hole.
I always appreciate a good hole!
Very under-rated they are...
It's a great place to keep your carrot.
Kev said:It's a great place to keep your carrot.