derekcohen
Member
- Joined
- Jun 22, 2008
- Messages
- 933
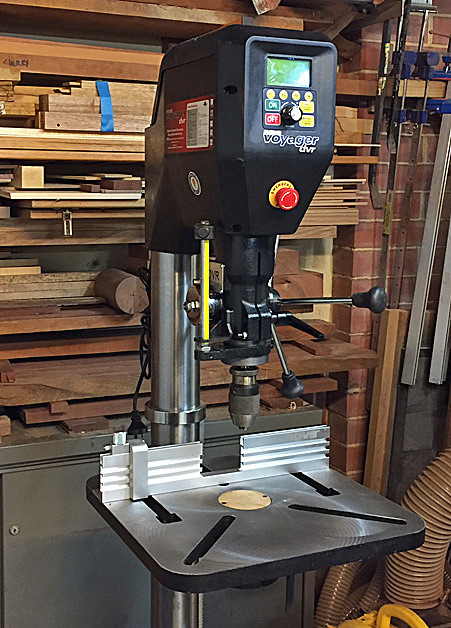
A couple of weeks ago I took advantage of a Black Friday sale and purchased a Nova Voyager drill press for a great discount. This replaced a Taiwanese model I had for 25 years. Yeah, I know this machine is OTT, but it is an amazing tool. For those who are not familiar with the Voyager, it is a computerised, variable speed drill press with a 2 hp direct drive motor (240v). I have already used it to determine the ideal speed for a selection of forstner bits, and then drill to a preset depth, and stop automatically at that depth.
Putting it together was .. uh ... a little scary. The motor section is extremely heavy, and I was concerned that I would drop it in my usual clumsy fashion. Anyway, it was put together without mishap. A Nova fence was one of the freebees thrown in ...
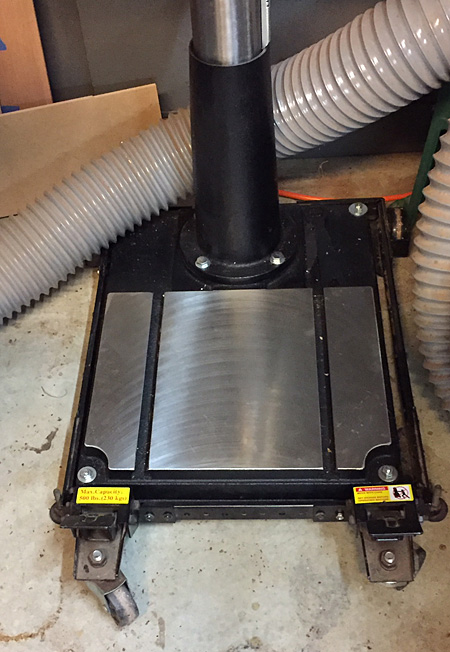
Nova recommend that one not use a mobile base, however I need to do so since my machines occupy one side of a double garage, and some machines need to be mobile. The drill press is one. The ideal mobile base is as low to the floor as possible. A low centre of gravity is more stable, but also you do not want to raise the drill press up too much as the controls and computer screen may be moved out of your comfort zone.
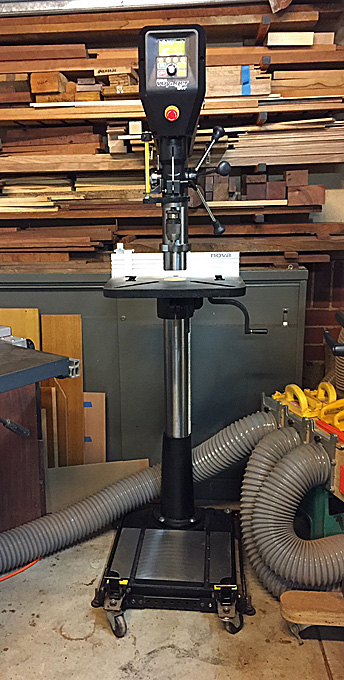
Steel mobile base on lockable wheels ...
This post is more about the table I built for the drill press. Some may be able to use the ideas here. Most of the ideas are old hat, but there are a couple of novel ideas. My old drill press used nothing more exciting than a piece of plywood over the cast iron table. Somehow it was sufficient, although the work holding sucked ... and this is what I wanted to address here. Plus, the sacrificial board became chewed up and useless very quickly, and I had an idea to improve on this.
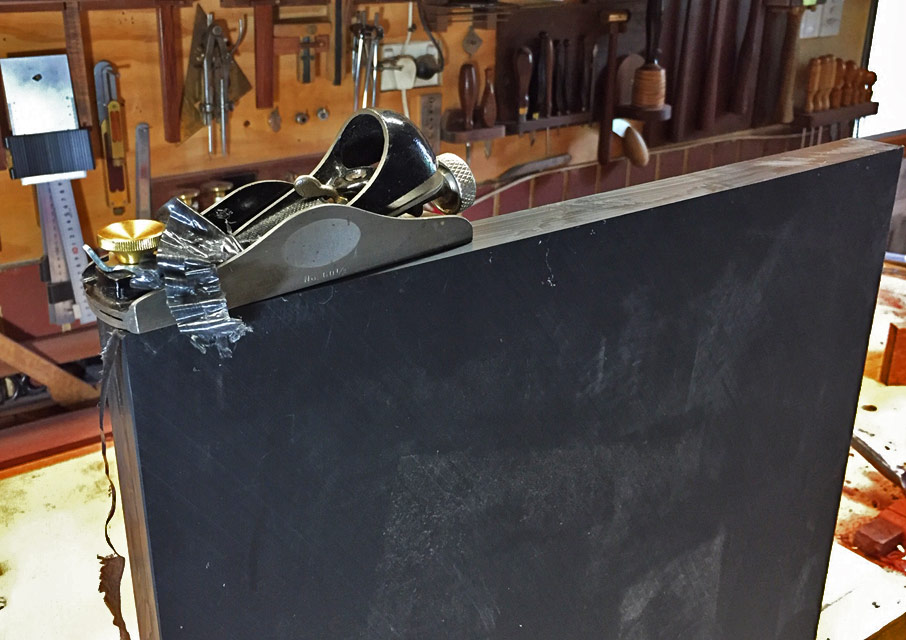
I was not crazy about the cast iron table as a work surface. For a top I found in my local salvage yard a 18" x 25" UHMW slab 30mm (1-1/4") thick. This is about as perfect a table top as one could get - it is very resistant to damage, and yet will not damage wood placed on it.
It planes without any tearout")
The first task was to dado in aluminium tracks for the fence and hold downs, and then to create a circular mortice for a sacrificial section ...
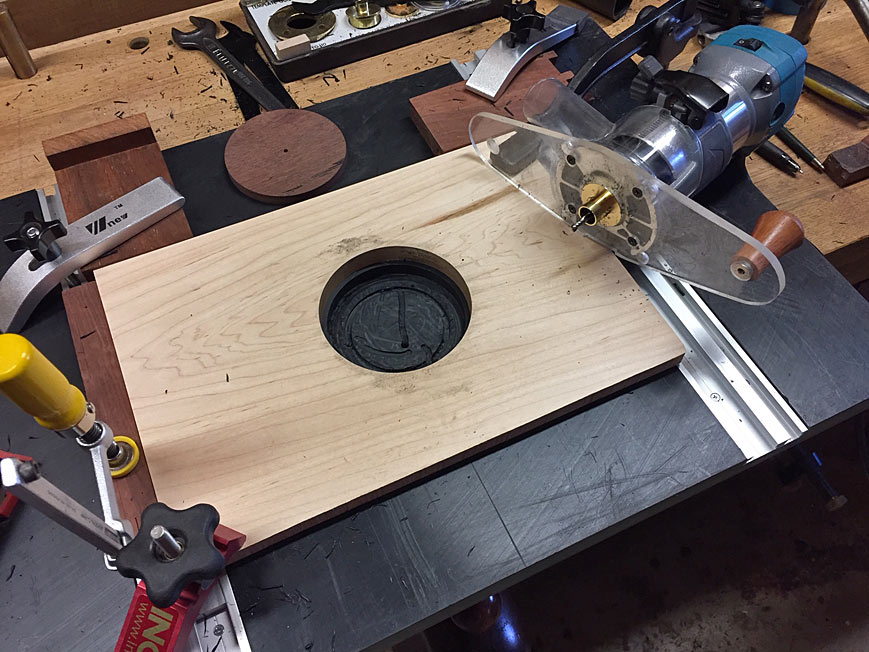
Using a power router to waste UHMW is an interesting experience - lots of plastic string everywhere, and dust control was not working well. The circular recess was time consuming and finicky. The template began as a 2" forstner cut hole. This was then progressively widened to 4" using a rebate and a flush cut bit in the router table. Finally, the template was used with a pattern cutter to create the circular recess, above.
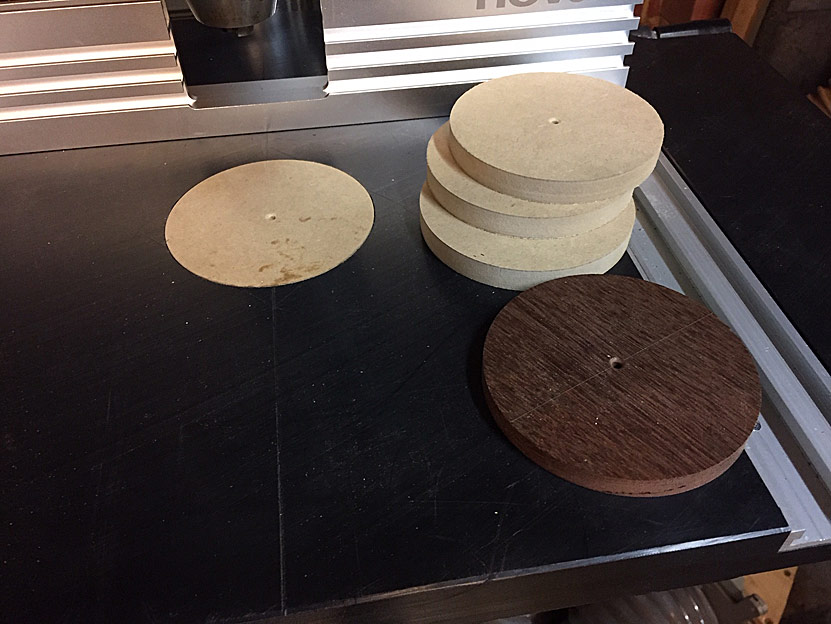
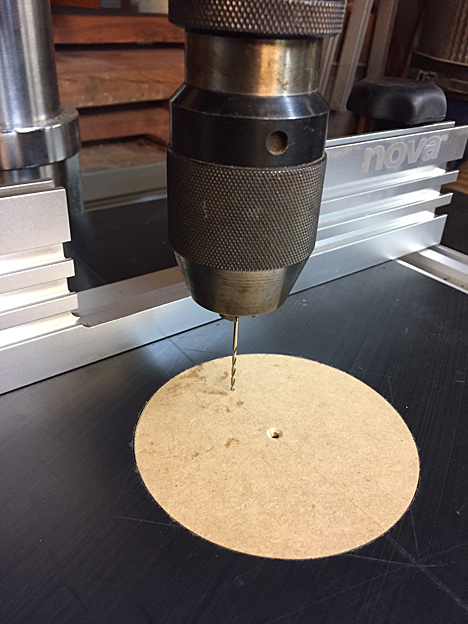
The circular sacrificial disks are 1/2" thick MDF. I found it quicker to saw them fractionally oversize on the bandsaw, and then turn them on the lathe ...
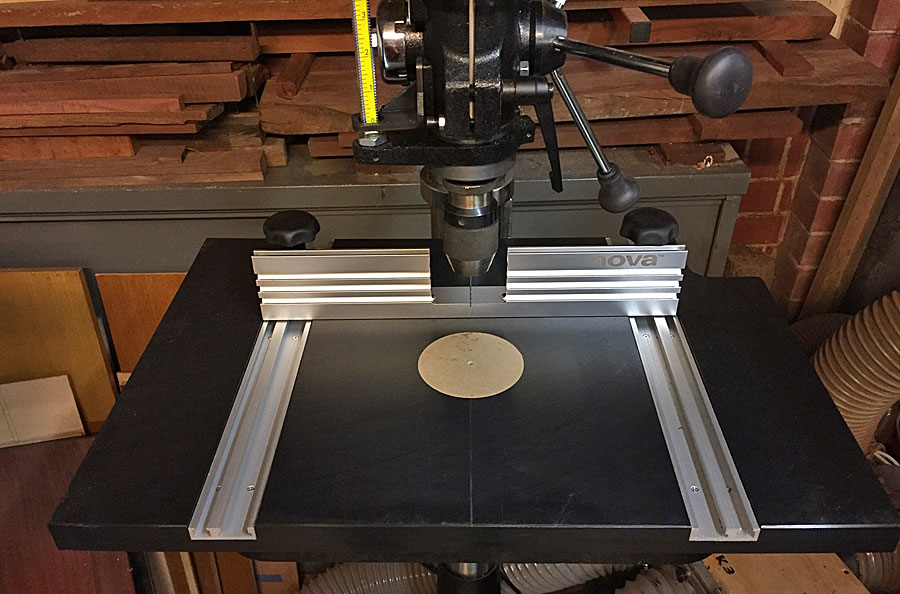
Here now is the basic table ...

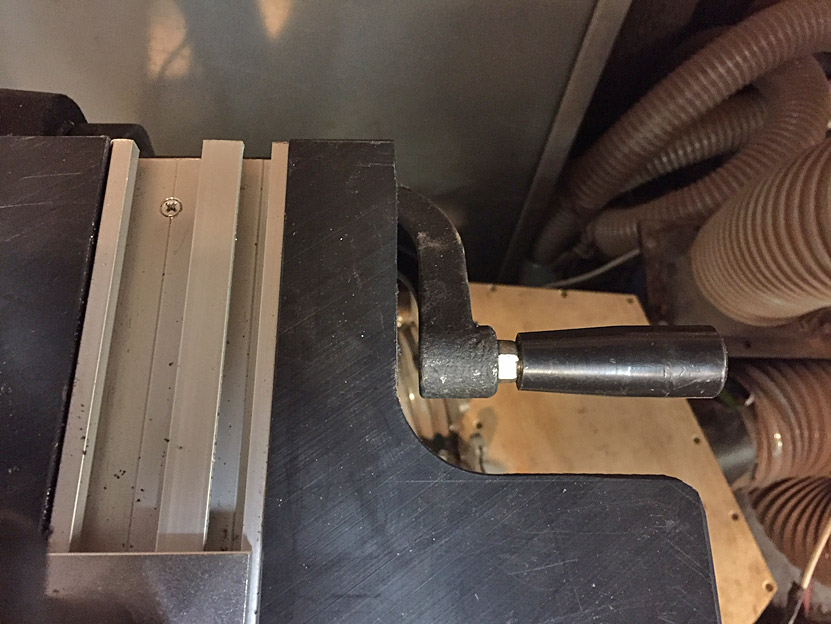
There is a cut out at the rear for the winder ...
Now why did I choose a circular sacrificial section? I have seen many drill press tables using square sections. I cannot recall seeing any with round disks (unless it was dedicated to a sander, but that is not the same thing). The drill bit is not centred on the square. Instead, it is moved to the rear of the square. That way one can rotate the disk four times after it becomes holed. My objection to this design was that one only obtained four points, and as soon as one section became holed, it could no longer back up the drill.
Now a circular disk, on the other hand, has an infinite number of positions (infinite until the circle is completed). Just rotate as much as you need. More work to make, but better in the long run.
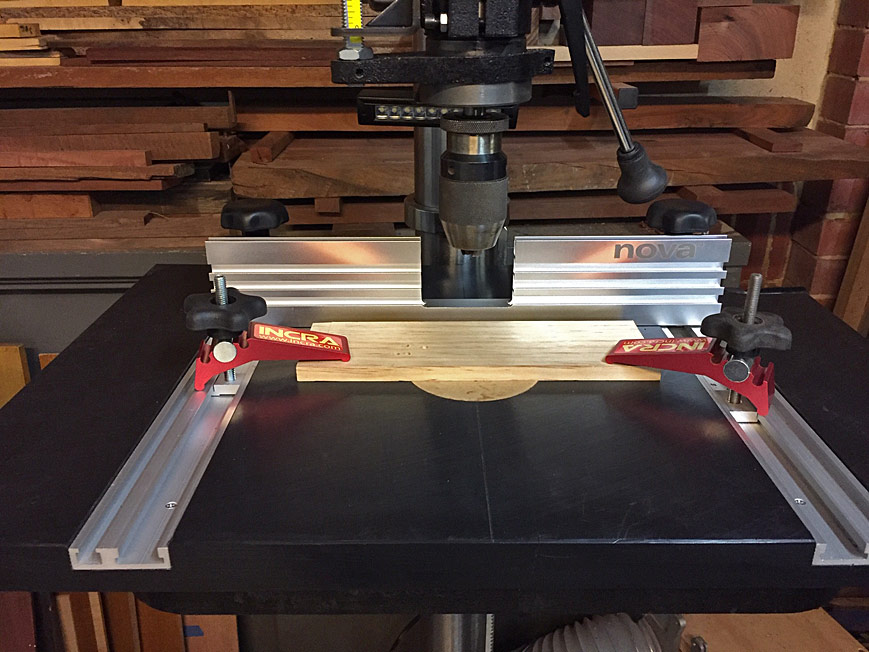
Here is the finished table ...
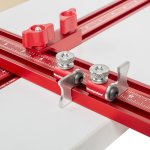
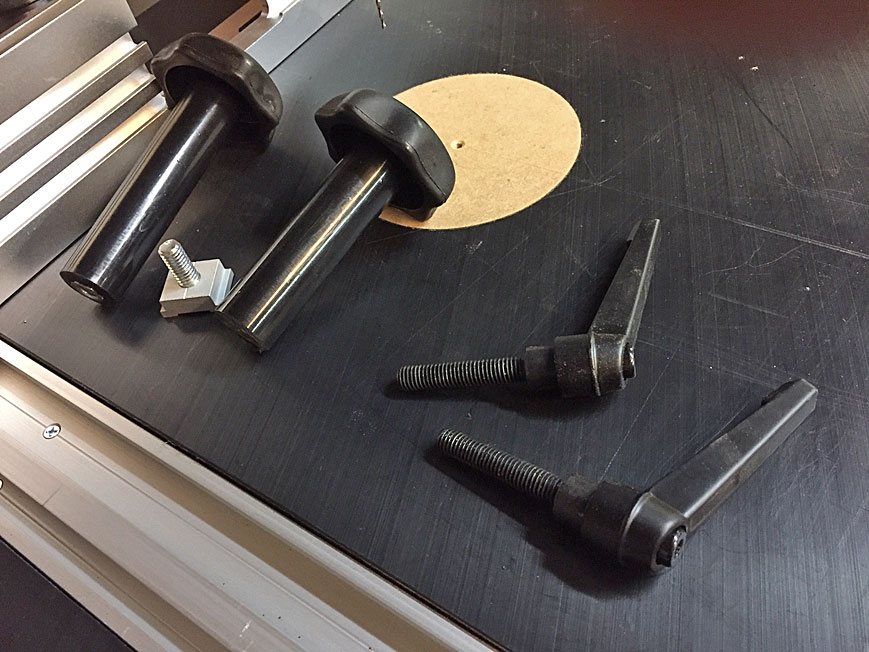
The Nova fence came with those twisty levers. They are useless ... difficult to achieve the ideal tautness and hard to get to behind the fence. I replaced them with the long knobs. These needed to be cut down by 3/4" to avoid fowling the downfeed handles.
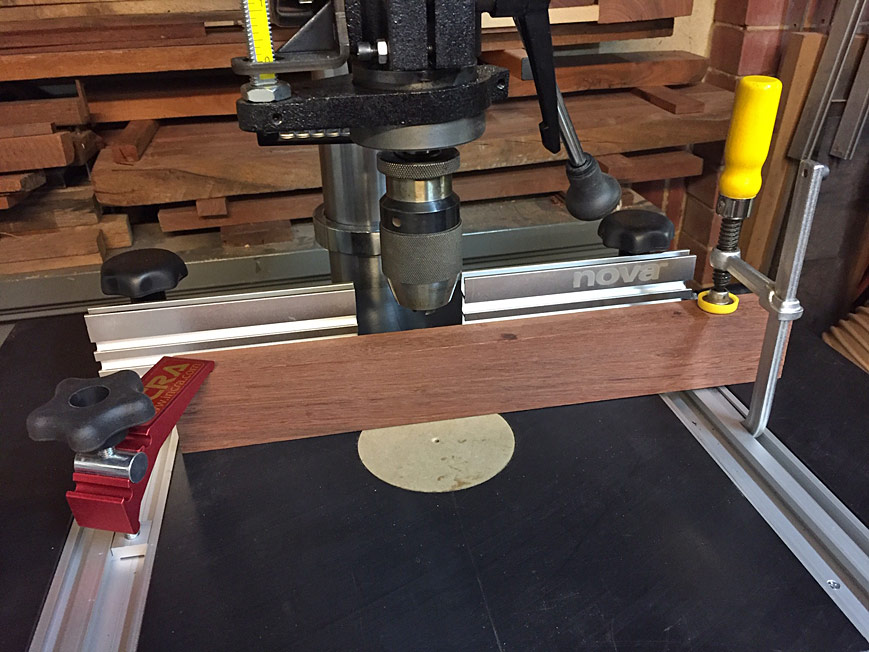
The tracks not only hold the fence, but also Incra hold downs ...
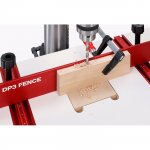
... and even the Micro Jig clamps for taller boards ...
I hope there is something you can use.
Regards from Perth
Derek
Putting it together was .. uh ... a little scary. The motor section is extremely heavy, and I was concerned that I would drop it in my usual clumsy fashion. Anyway, it was put together without mishap. A Nova fence was one of the freebees thrown in ...
Nova recommend that one not use a mobile base, however I need to do so since my machines occupy one side of a double garage, and some machines need to be mobile. The drill press is one. The ideal mobile base is as low to the floor as possible. A low centre of gravity is more stable, but also you do not want to raise the drill press up too much as the controls and computer screen may be moved out of your comfort zone.
Steel mobile base on lockable wheels ...
This post is more about the table I built for the drill press. Some may be able to use the ideas here. Most of the ideas are old hat, but there are a couple of novel ideas. My old drill press used nothing more exciting than a piece of plywood over the cast iron table. Somehow it was sufficient, although the work holding sucked ... and this is what I wanted to address here. Plus, the sacrificial board became chewed up and useless very quickly, and I had an idea to improve on this.
I was not crazy about the cast iron table as a work surface. For a top I found in my local salvage yard a 18" x 25" UHMW slab 30mm (1-1/4") thick. This is about as perfect a table top as one could get - it is very resistant to damage, and yet will not damage wood placed on it.
It planes without any tearout
The first task was to dado in aluminium tracks for the fence and hold downs, and then to create a circular mortice for a sacrificial section ...
Using a power router to waste UHMW is an interesting experience - lots of plastic string everywhere, and dust control was not working well. The circular recess was time consuming and finicky. The template began as a 2" forstner cut hole. This was then progressively widened to 4" using a rebate and a flush cut bit in the router table. Finally, the template was used with a pattern cutter to create the circular recess, above.
The circular sacrificial disks are 1/2" thick MDF. I found it quicker to saw them fractionally oversize on the bandsaw, and then turn them on the lathe ...
Here now is the basic table ...
There is a cut out at the rear for the winder ...
Now why did I choose a circular sacrificial section? I have seen many drill press tables using square sections. I cannot recall seeing any with round disks (unless it was dedicated to a sander, but that is not the same thing). The drill bit is not centred on the square. Instead, it is moved to the rear of the square. That way one can rotate the disk four times after it becomes holed. My objection to this design was that one only obtained four points, and as soon as one section became holed, it could no longer back up the drill.
Now a circular disk, on the other hand, has an infinite number of positions (infinite until the circle is completed). Just rotate as much as you need. More work to make, but better in the long run.
Here is the finished table ...
The Nova fence came with those twisty levers. They are useless ... difficult to achieve the ideal tautness and hard to get to behind the fence. I replaced them with the long knobs. These needed to be cut down by 3/4" to avoid fowling the downfeed handles.
The tracks not only hold the fence, but also Incra hold downs ...
... and even the Micro Jig clamps for taller boards ...
I hope there is something you can use.
Regards from Perth
Derek