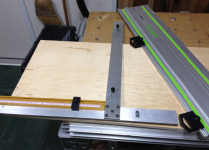
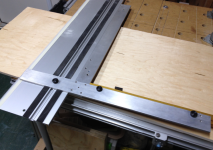
My need is to do production crosscutting of sheet goods for entire large kitchens. Dozens of crosscuts one after the other as fast as possible. Minimal material handling. Slide full sheets onto the 4x8 cutting platform and lift components cut to size off. Then over to the MFT for holes and edgebanding and whatever.
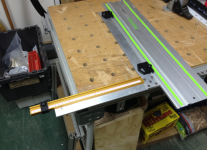
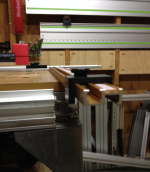
I keep thinking that the real answer for crosscutting is a dedicated implement. A solid 1/4" aluminum square with a bar screwed to the top to guide the saw. You'd lose cutting depth but I'm focusing on sheet goods.
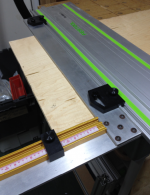
No friction tape. One strip of splinter guard tape on the cutting edge just like a normal guide and a strip of teflon tape to level the square. The square is held in place by hand pressure on the square itself. Maybe a handle would be required to get more leverage. The point is that the thing needs to be slippery enough so that it slides easily to the mark with no resistance from the far side. This is drop dead crucial if you are going to incorporate a stop.
Here's a sketch of what I'm talking about.
[attachimg=1]
Seems like Woodpeckers could knock these out with no problem.
I keep thinking that the real answer for crosscutting is a dedicated implement. A solid 1/4" aluminum square with a bar screwed to the top to guide the saw. You'd lose cutting depth but I'm focusing on sheet goods.
No friction tape. One strip of splinter guard tape on the cutting edge just like a normal guide and a strip of teflon tape to level the square. The square is held in place by hand pressure on the square itself. Maybe a handle would be required to get more leverage. The point is that the thing needs to be slippery enough so that it slides easily to the mark with no resistance from the far side. This is drop dead crucial if you are going to incorporate a stop.
Here's a sketch of what I'm talking about.
[attachimg=1]
Seems like Woodpeckers could knock these out with no problem.
")