woodman_412 said:
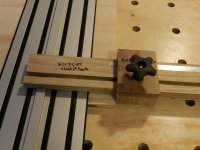
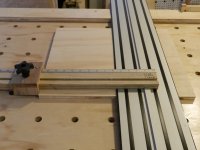
I just released a video on how to make and use the parallel guides that I had posted about a couple weeks back on this thread. They are super quick to make and only cost me a couple of dollars but are very accurate. Hope you guys find the video helpful.
I really like those, how about putting another scale on the underside of the setting jig for the cuts where the guide is on the waste side? You could just flip the sliding piece over maybe?
Obviously it would need the blade thickness offset but that would avoid confusion about which scale you were using as well.
Mind as the two scale dimensions are knocking on nine inches different it can't be too hard working out thet.