woodbutcherbower
Member
- Joined
- Apr 25, 2021
- Messages
- 1,217
So here goes .... It all started when I received an email from this lady containing these two pictures;
[attachimg=1]
[attachimg=2]
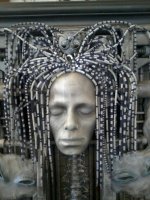
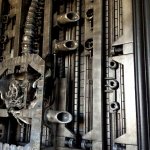
The first one is a painting called 'Landscape XIX' and the second one's the cover from Emerson Lake & Palmer's 1973 'Brain Salad Surgery' album. Both were painted by a Swiss artist called Hans-Ruedi (HR) Giger, who, later in his career, was approached by Ridley Scott to design the Xenomorph creature and all of the film sets for the first 'Alien' movie. This lady was an obsessive fan, owning several of Giger's original pieces worth $$$$$$, and she asked me if I could build her a greatly expanded mash-up of both artworks.
In 3D ...... [eek]
I told her that I'd be happy to do it for her, but that I had no idea how long it would take - and I therefore couldn't give her a price for it. But she explained that funds weren't an issue - she just wanted it. We agreed an hourly rate, she gave me some rough sketches of the layout she wanted, and I set to work.
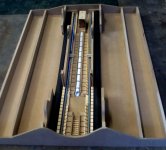
Since I realise that the story of this build won't be of interest to everyone, here's a coupla tasters of the almost-finished result to save folks from having to wade through the whole saga;
[attachimg=3]
[attachimg=4]
[attachimg=5]
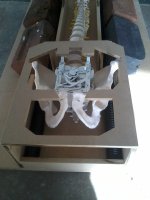
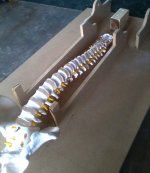
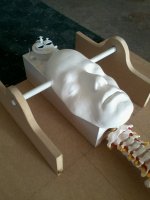
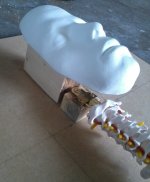
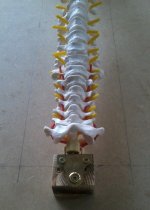
Having looked at the artwork, I could see at least three layers of depth, maybe four, so I knew it would have to be built up in stages. Step 1 was to mount the face, spine and pelvis to wooden blocks mounted on a sheet of 25mm MDF. The backing panel had to be strong since a) everything else would hang from the front of it, and b) I realised that this thing was going to be heavy, and since it was going to be hung on a wall, the rear panel had to be thick enough to take numerous screws for a French Cleat;
[attachimg=6]
[attachimg=7]
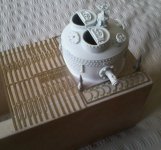
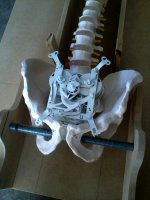
These were screwed on using brass plates so they could be quickly removed, enabling me to add the first layer of detail under them. The next stage was to build shaped cradles to hold the upcoming third level of detail, and also to allow the face and pelvis to be supported by threaded steel rods passing through them. I also built a box to conceal the block supporting the face, and clad this with the first batch of brass photo-etchings and model railroad castings just to add the first 'mechanical' vibe to it. She'd asked for a clock mechanism to be part of it, so this was fixed to the pelvis;
[attachimg=8]
[attachimg=9]
[attachimg=10]
[attachimg=11]
Always having to forward-think what was coming next, I also cut a support plate which would sit over the pelvis for the top layer of detail, along with an edge frame and two inner frames for the next stage. The first layer of vertical background biomechanical weirdness was then started by slitting various mouldings and plastic pipes at intervals, and fixing them to the base. The larger black tubes were ribbed vacuum cleaner pipe, held in place by housebricks whilst the grab adhesive set;
[attachimg=12]
[attachimg=13]
The 'proper' woodwork starts with tomorrow's episode. Same time, same channel [big grin]
Attachments
-
 IMG_2055.jpg419.9 KB · Views: 9,310
 -
 8.jpg324.5 KB · Views: 675
 -
 7.jpg404 KB · Views: 671
 -
 6.jpg391.3 KB · Views: 663
 -
 5.jpg451.9 KB · Views: 665
 -
 4.jpg386.7 KB · Views: 677
 -
 3.jpg522.6 KB · Views: 680
 -
 2.jpg325.1 KB · Views: 671
 -
 1.jpg313.7 KB · Views: 682
 -
 IMG_0382.jpg693.1 KB · Views: 2,758
 -
 IMG_0377.JPG1.2 MB · Views: 709
 -
 IMG_0379.JPG1.3 MB · Views: 765
 -
 IMG_2056.JPG99.4 KB · Views: 882

