Kapex answer to imperfect miters on boxes?

ReneS

Member
Joined
May 22, 2024
Messages
79
Location
Central New York State
I have a DeWalt SCMS, the DWS780.

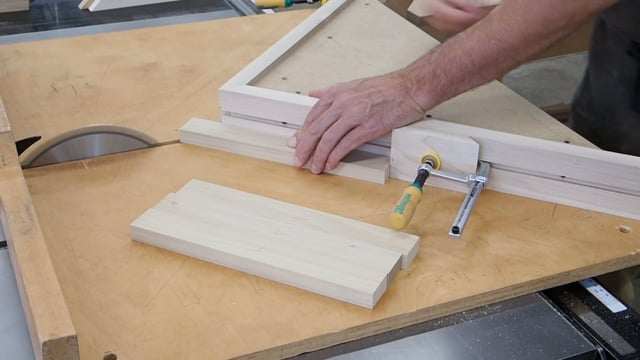
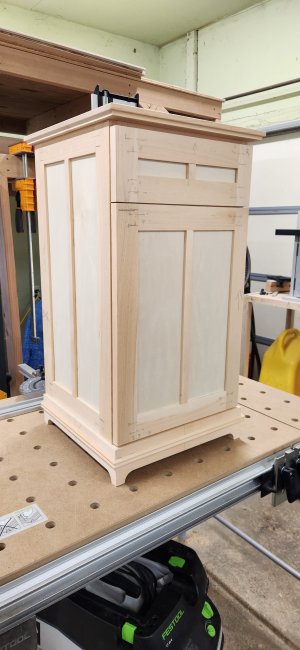
I have it dialed in, but i get slight imperfections. For example, rectangular cabinet bases (basically a drawer box without the bottom) with mitered corners often have one of the corners open by a minute amount, even using dominos for alignment.

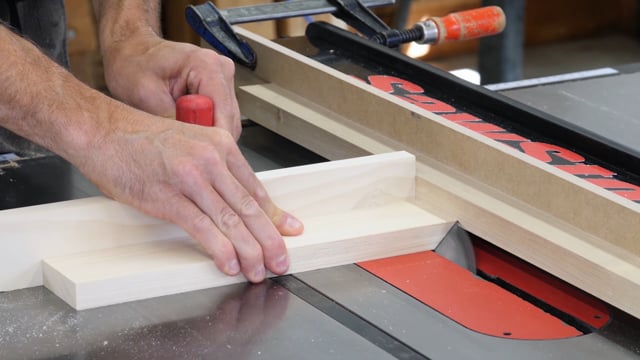
I saw Sedge once say always clamp you work piece when cutting it on a miter saw.

Is that my issue? If it isn't and it's the saw, does the Kapex make perfect cuts?

Or am I being too picky and just need to give my metered corners a few love taps to close them up?
 
The old picture framing joke is that any knucklehead can cut 3 perfectly fitting miters.

There are two (make that three -- see below) things that can throw off a mitered structure. Angle is one and length is the other. It doesn't take much of an error on either to show up. When I'm setting up for miters on something critical, I start with carefully checking the saw alignment. In my opinion, the only way to do that is to make a cut and check it. You can fool around measuring the blade to the fence all you want...the only thing that counts is the finished cut. I use test stock (notice I didn't say "scrap") that is at least twice as wide as my workpieces. I make a cut and check it into the corner of a combination square. A miter square would work, but I don't have one. I do have a combination square I trust. I have boxes full of stock that has been flattened, milled and dimensioned, but not used in a project. I've always milled more than I need and sometimes actually get something put together without having to use all my "extras". That's what I use for angle checks. If you pick up any old piece of scrap without knowing how straight and flat it is, you can't rely on your test results.

It is absolutely imperative that you use some sort of stop system for your cuts. Getting two pieces the same length by cutting to a line is nearly impossible. Clamping is good, but only helpful if you're butted up to a stop. Depending on the size of the frame, I'm likely to trust my hands as a clamp, but I've given up on trusting on my eyes and pencil lines that are 2-3 times wider than my acceptable level of error. The stop can be fancy or plain. Woodpeckers sells a lot of different ones, but sometimes at home I use an off-cut and an F-clamp.

Notice so far I haven't mentioned what kind of saw? That's because I honestly don't care. I can cut nice miters on a miter saw, a table saw or a radial arm saw. All I need is a sharp blade, time to dial in the saw to 45 and a stop of some kind to make sure the opposing sides are of equal length. If I'm working with expensive stock, I'll make one complete frame out of test stock before I start cutting up the good stuff. I have an assortment of giant rubber bands for such occasions. If a mitered frame can be assembled with a rubber band, it passes my test. If the corners don't come together with equal pressure applied to the four corners, something is off. Either the angle or the length...oh yeah...is the stock straight and square? Almost forgot about that option.
 
My dedicated 45 degree angle picture framers sliding table saw has factory fixed miter head. Very accurate. But it does not depend on that accuracy alone. The miters are sawn on opposite sides of the blade, meaning that complimentary angles are the result.

So even if one cut was 44.5 degrees, then the complimentary angle cut would be 46.5 degrees, and the resulting miter would be 90 degrees. So cut on the opposite sides of the blade for complementary angles and accurate 90 degree miters.

But note, keeping track of “rights” and “lefts” can be burdensome.
 
By your description, I assume that you are talking about what most people call "ladder frames" or toe kick platforms.
As such, you are cutting the narrow direction of the stock, likely plywood?
Do yourself a giant favor and don't overcomplicate it.
No one will ever see the inside of these, so the back of the miter doesn't matter. Set you saw to cut slightly over 45 degrees, so it will be open to the inside. This assures a tight outside corner, then add glue blocks to the inside. This will strengthen the joint.
This doesn't solve the "visible from both sides issue" but you don't always have to....

Otherwise, Jeff's advice is spot on. Flat, square, make test pieces from something wider than you need, stop block.
Another thing that can help is to cut the miters 1/8" or so longer than your final size and just skim the final hair off.
That way your cut that separates the piece from the whole stick is not the final cut.
Also, I prefer to cut toward the long point of the miter. This is the equivalent of cutting downhill on the grain. That makes a smoother cut, far less likely to tear out too.
I would note that the concept of a final trim may not work for all saws.

It does not work for my 1990s era DeWalt 12” chop saw. If I make a too-small trim cut, the blade deflects and not only is the trim not to the size required, the deflection results in a cut that is on a bias and with a blade-burn on part of the cut.

I make those trim cuts on the table saw with a miter gage. Clearly this problem is specific to that DeWalt model (and even specific to my particular saw), but it is something to be aware of.
 
Thanks for the replies, everyone. I actually meant a base for a freestanding cabinet. I attached a picture of one.

I need to check how well my saw is dialed in again to refresh my memory and make sure I am correct in what I remember.

The idea of adjusting with squares etc. but checking the actual results is a good one. I did that to check squareness recently but not 45s. I now have that on my to-do list.

I have a DeWalt contractor's table saw, so I don't know what I can expect in terms of 100% accuracy. I have dialed in the blade and fence, and used it to cut tenons, but I don't know that it is 100% accurate.
 

Attachments

  • Unpainted cabinet 2.jpeg
    Unpainted cabinet 2.jpeg
    1 MB · Views: 20
I would note that the concept of a final trim may not work for all saws.

It does not work for my 1990s era DeWalt 12” chop saw. If I make a too-small trim cut, the blade deflects and not only is the trim not to the size required, the deflection results in a cut that is on a bias and with a blade-burn on part of the cut.

I make those trim cuts on the table saw with a miter gage. Clearly this problem is specific to that DeWalt model (and even specific to my particular saw), but it is something to be aware of.
That is my main objection to 12 miter saws (sliding or not) They all seem to deflect on any cut that is only on one side.
There is no need for them in anything other than rough framing.
 
Blade deflection is real problem when doing angle cuts on any saw, I use a 5mm thick blade on my slider and then it is not a problem. There are two ways to get perfect mitres, a shooting board to clean up the saw cut or shears as picture framers use. A good enough shooting board can be made fairly quickly and does not need to be complicated but the blade on the hand plane has to be sharp.
 
Blade deflection is real problem when doing angle cuts on any saw, I use a 5mm thick blade on my slider and then it is not a problem. There are two ways to get perfect mitres, a shooting board to clean up the saw cut or shears as picture framers use. A good enough shooting board can be made fairly quickly and does not need to be complicated but the blade on the hand plane has to be sharp.
While a shooting board can produce a good miter, it doesn't necessarily mean a square mitered frame because shooting could result in different lengths as minor as it might be for the members.

These two videos are worth watching if someone wants to use a table saw for cutting miters (frame vs carcase):


Perfect carcase miters are more challenging to achieve than frame miters. Tage Frid was seen using a screwdriver shank to close up a carcase miter corner of a cabinet he built.
 
The Kapex is a fine machine, but it needs to be checked and finetuned. The factory settings may be good enough or may be not.

I use the Kapex for fine furniture work as well as for carpentry. Make a test cut or two with some scraps if you aren't sure. Square cuts and miters are what the expensive Kapex is supposed to be able to handle.

(It's a self portrait, so I blurred her face.)
 

Attachments

  • IMG_6732.JPG
    IMG_6732.JPG
    798.7 KB · Views: 5
  • IMG_6701.JPG
    IMG_6701.JPG
    1,007.4 KB · Views: 5
I checked my DeWalt miter saw this morning, and it cuts 90 and 45 accurately. I made cuts on two pieces of scrap cherry to do the checking.

But I tweaked it right after building my most recent cabinet base, so it will be interesting to see how the next one comes out.
 
Back
Top