Slartibartfass
Member
- Joined
- Apr 25, 2014
- Messages
- 1,082
Ok so I started today building the 2 wings for my miter station.
I am using the sawhelper brackets.
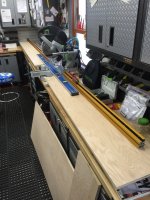
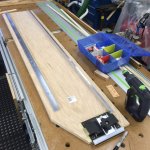
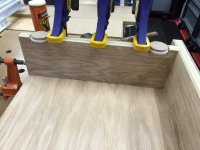
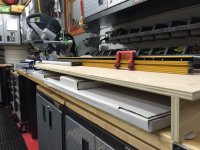
Cut 2 11-3/4 inch wide 3/4" birch ply sheets. Left is 8 feet long and right one is 60inch long.
[attachimg=1]
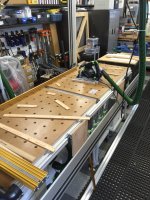
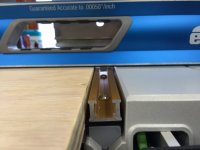
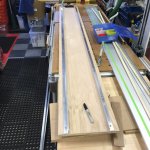
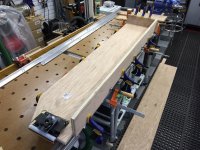
See rails set to proper width down below using Precison Parallel Guides.
[attachimg=2]
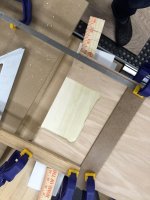
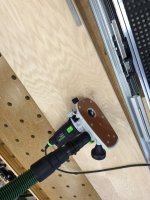
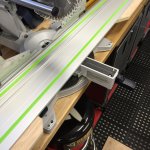
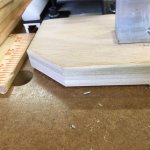
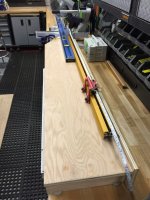
Used my MFK700 router to route out a recess to level the ply with the KAPEX base. Roughly one layer of the birch ply needed to go.
[attachimg=3]
[attachimg=4]
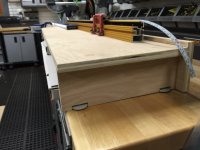
Nice and flush.
[attachimg=5]
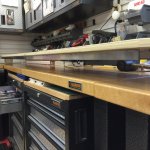
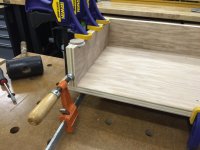
Used the extended rail to check alignment aside the long level.
[attachimg=6]
I am using the sawhelper brackets.
Cut 2 11-3/4 inch wide 3/4" birch ply sheets. Left is 8 feet long and right one is 60inch long.
[attachimg=1]
See rails set to proper width down below using Precison Parallel Guides.
[attachimg=2]
Used my MFK700 router to route out a recess to level the ply with the KAPEX base. Roughly one layer of the birch ply needed to go.
[attachimg=3]
[attachimg=4]
Nice and flush.
[attachimg=5]
Used the extended rail to check alignment aside the long level.
[attachimg=6]