derekcohen
Member
- Joined
- Jun 22, 2008
- Messages
- 924
We built our house 20 years ago, and everything is a little tired now. So, directed by my wife (She Who Must Be Obeyed), I have set about updating the kitchen. The layout is going to change only a little - mainly to accommodate a new and wider fridge-freezer, and then add a more modern range hood. The main change will be to the doors and drawer fronts. Currently, they are a more traditional raised panel style in quartersawn Tasmanian Oak. These have darkened over the years beyond their original light colour to a deep tan. Lynndy wants modern and light. And so they will be Shaker and in Hard Maple (from the USA). This will be finished in a General Finishes QTHS water based topcoat to ensure a durable finish that will retain the very light colour.
I thought that I would post a few pictures here of the method I am using to build the doors, not because it is different or because it is striking (it is neither of these since the design is really simple), but because someone else may find this useful. Anyway we all like looking at the tools of others, right?")
Those who know me recognise that this build is a departure from my usual handtool approach. I do use power tools, and have been around them for 30-40 years. I have a pretty full compliment in my shop at home, and they do get used. It's just that I prefer using handtools once the roughing out is done. This time, however, there was no way I could see myself building around 25 doors full of M&T joints with tenon saw and mortice chisel. We'd like the job done sooner rather than later. So I invested in a Festool DF500 Domino.
Here are some of the hand power tools I am using ..
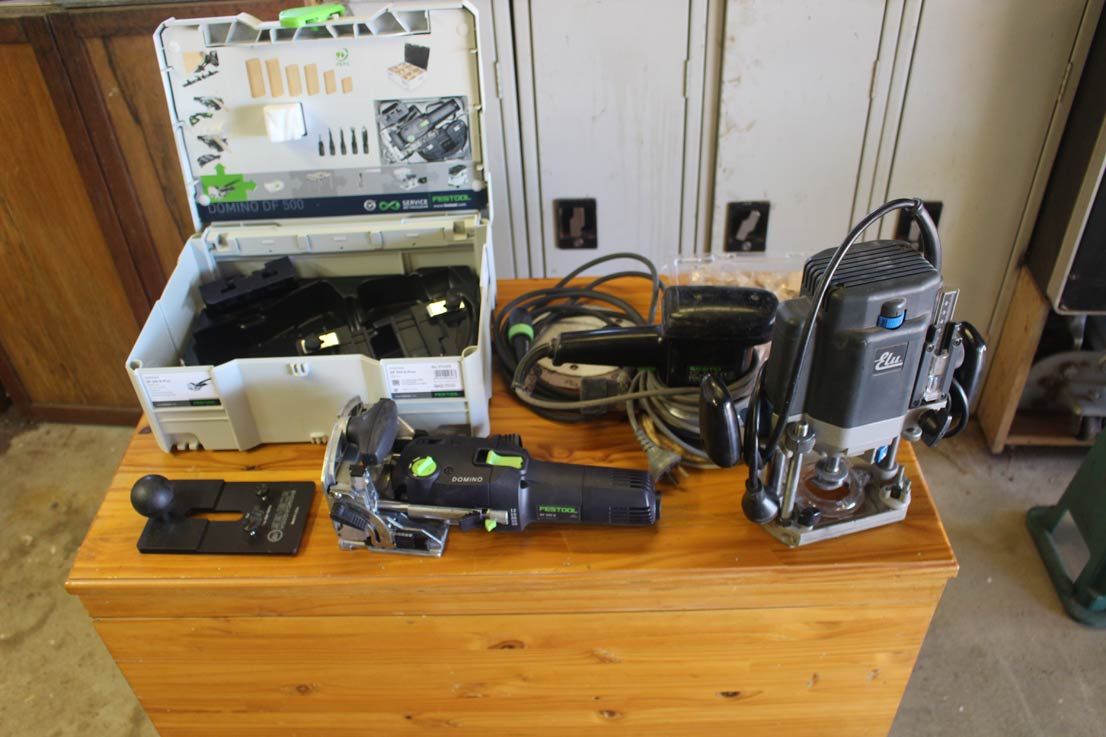
Incidentally, the ROS is a Festo ET2E, and the router is an Elu 177e ... which should tell you how long I have had them ...
Not to forget ...
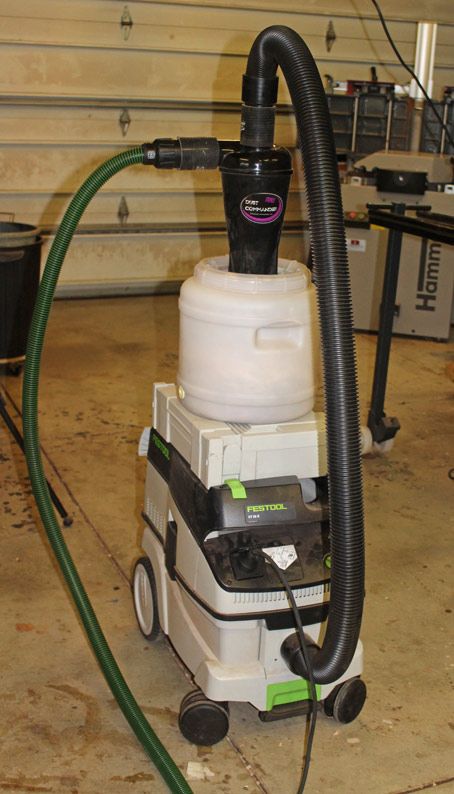
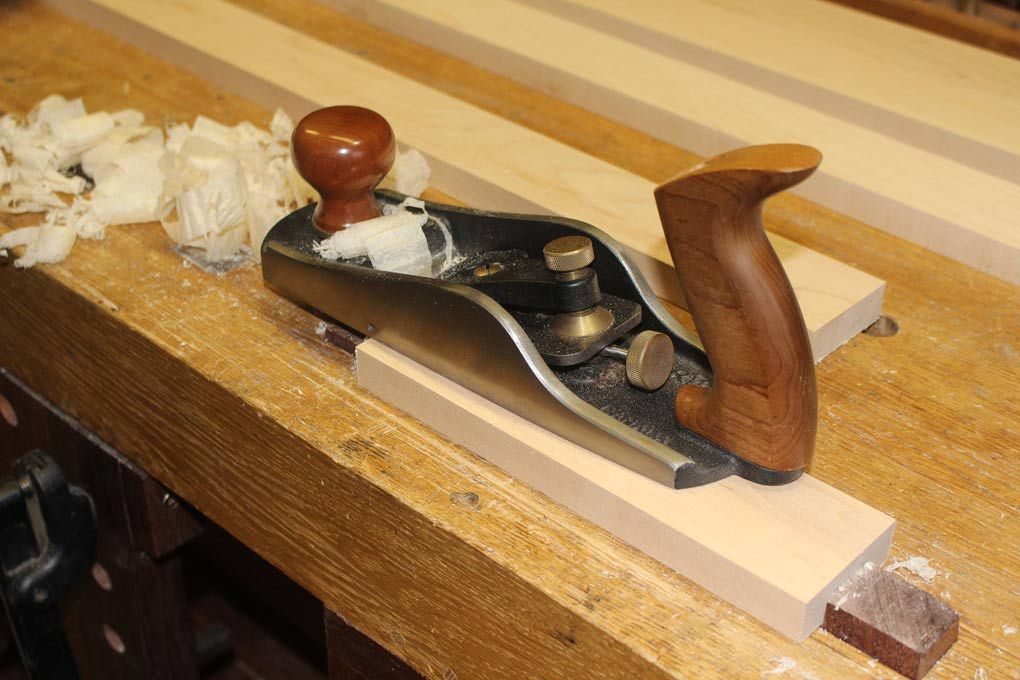
Other tools include a Veritas BUS for smoothing the frames (the sander was used on the panels with Mirka Abranet up to 400 grit) ...
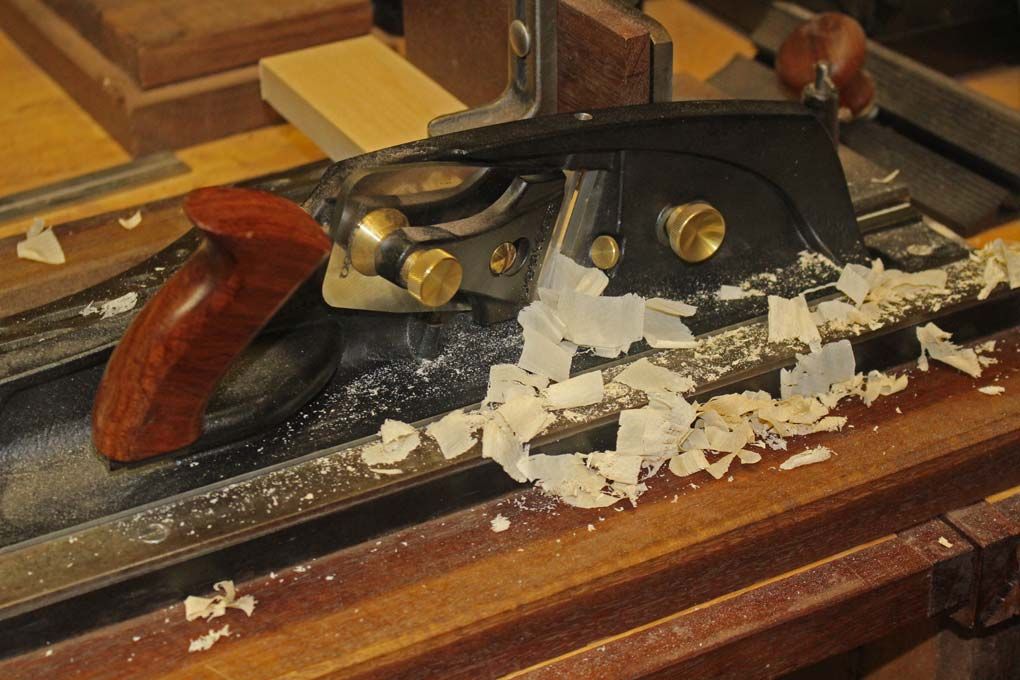
The ends of boards needed to be perfectly square. This is the Veritas Shooting Plane on a Stanley #52 shooting board ...
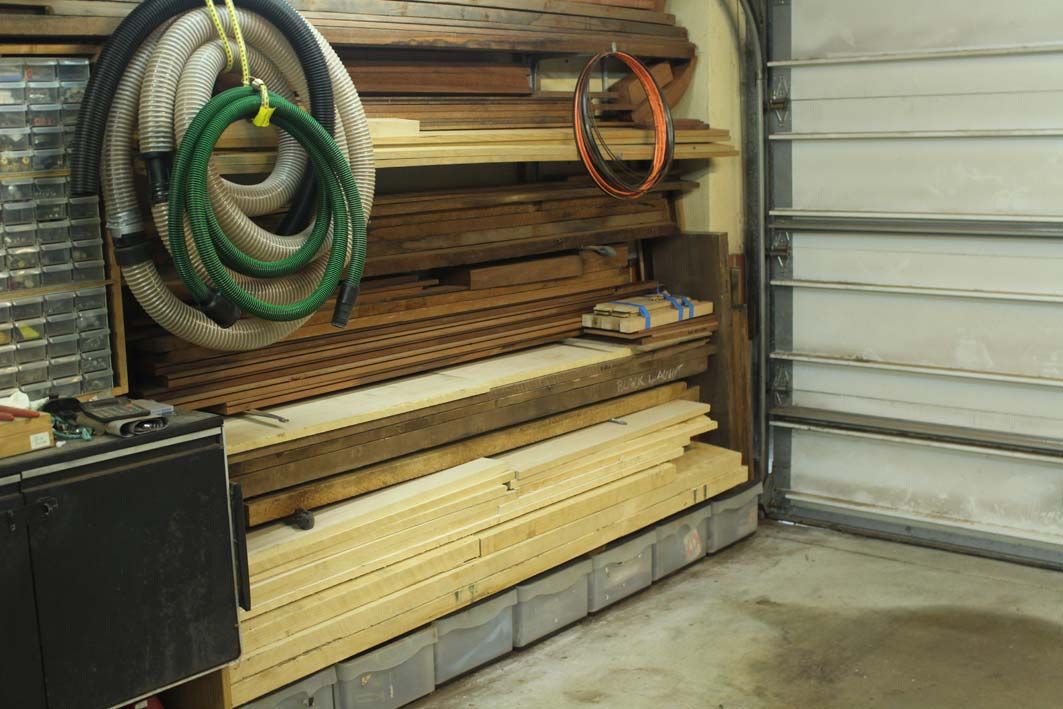
I managed to get in a decent stock of rough sawn 1" and 2" thick x 10" wide Hard Maple boards ..
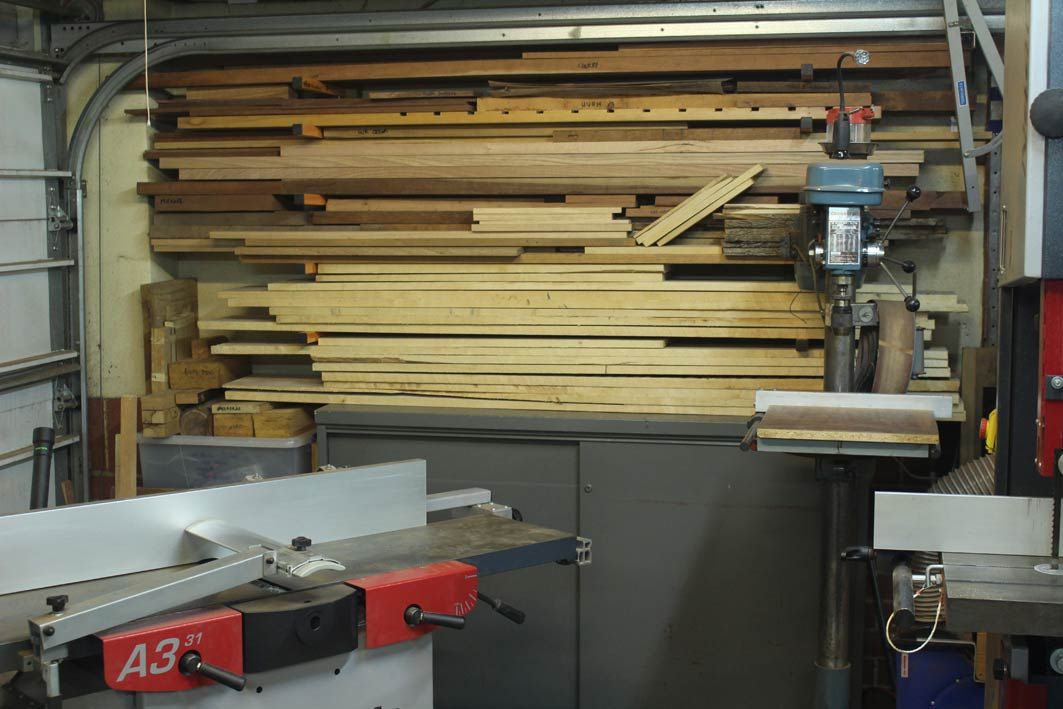
The boards were resawn on my Hammer 4400 and finished on a A3-31 to panels 1/4" thick or frames 3/4" thick ...
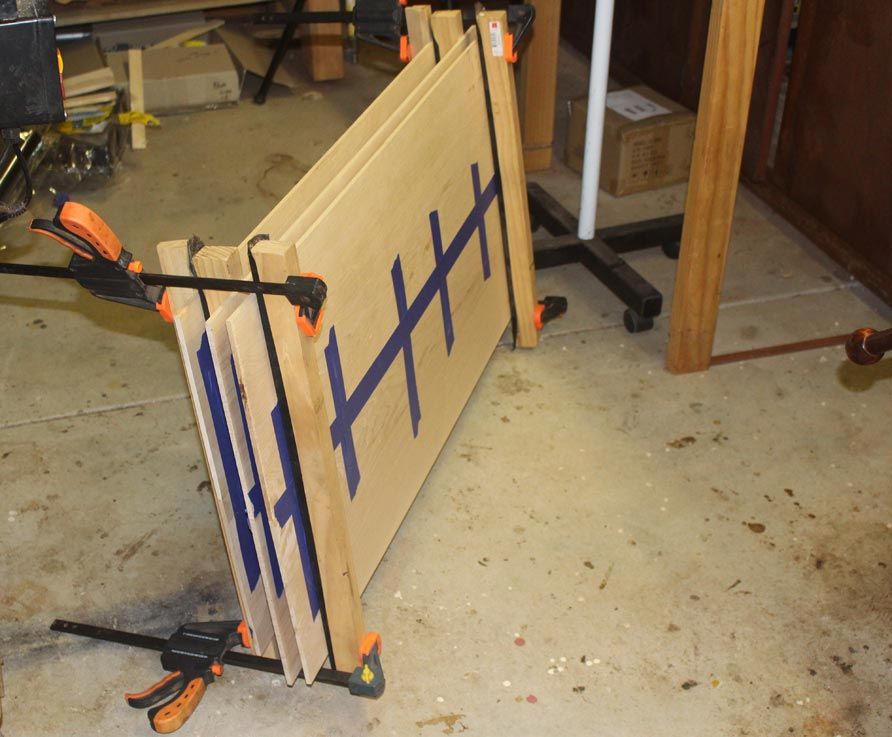
The panels are all bookmatched, and the joins pulled together with blue tape. No clamps required.

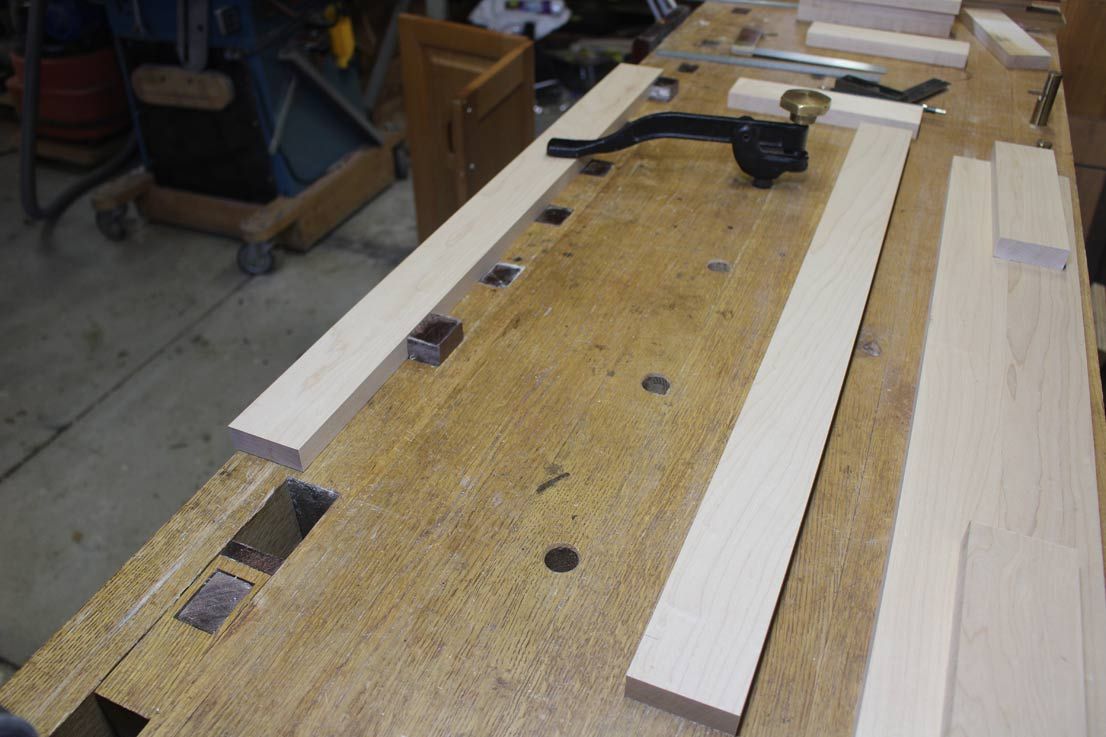
These are for the frames. I can build about 5 doors at a time.
The next step is to saw the pieces to length, and then Domino the frame together. This is a first for me (Domino virgin). How to hold the pieces? I've seen some of the fancy Festool benches and clamps. My system seems so much easier.
Push the board against the dogs on my bench, and use a single, centred Veritas hold down to clamp them firmly ...
This makes it possible to Domino each end without resetting the board.

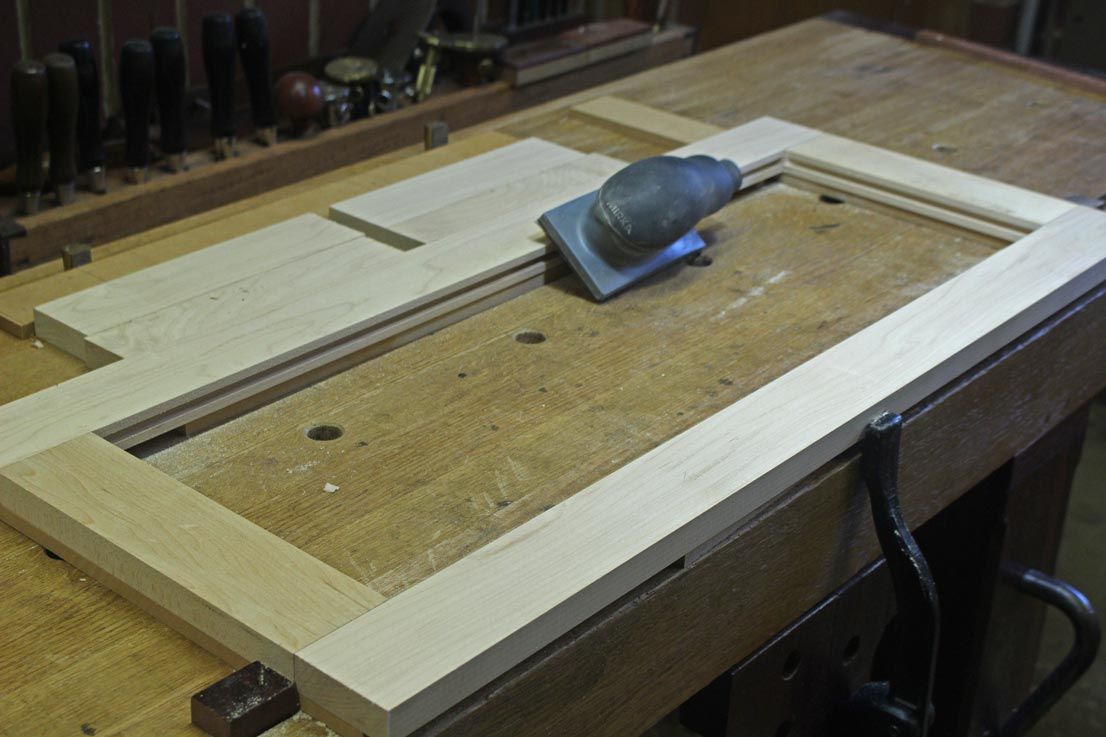
The parts are pushed together for a dry fit, clamped against dogs, and raised higher on MDF spacers (for the router bit to fit) ..
A 1/4" grooving bit is used to route out the 1/4" deep groove for the panel ...
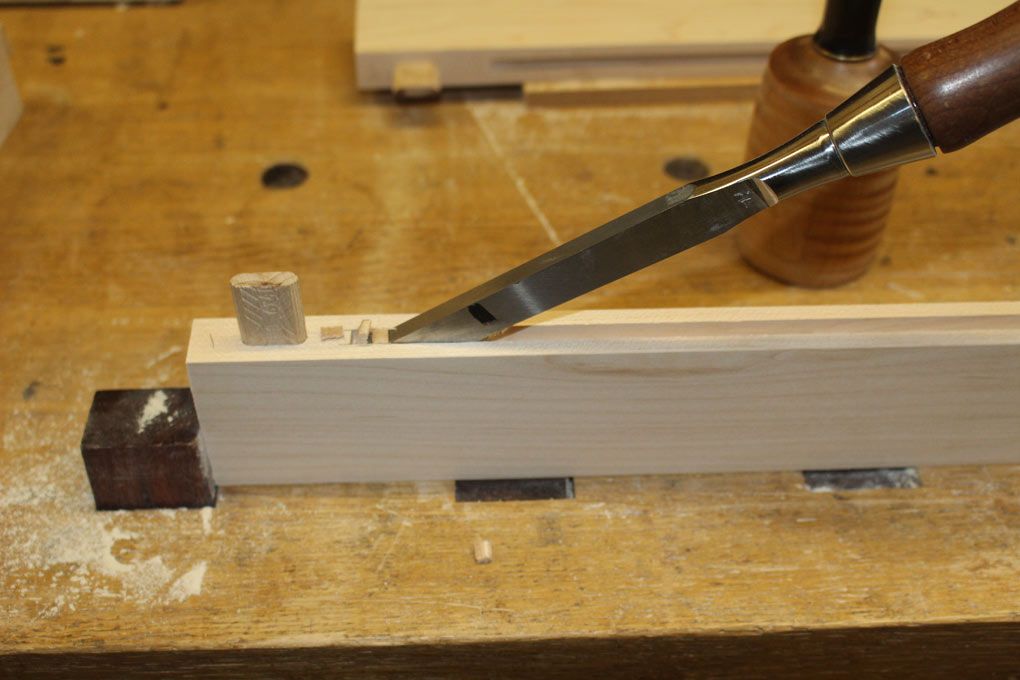
This leaves an uncut corner ...
The choice is to use a smaller bearing, which will cut deeper in the corner. I tried this on one door, however I found that the process of swapping the bearings out could cause the setting to change slightly.
Consequently, I decided to chop out the corners with a mortice chisel. This proved to be faster than setting up the router and re-routing the corners ...
The inside edges arris of the frame were broken with a sander ...
Next-to-last, the panels could be cut to size and fitted to the frames. Allowance is made for expansion.
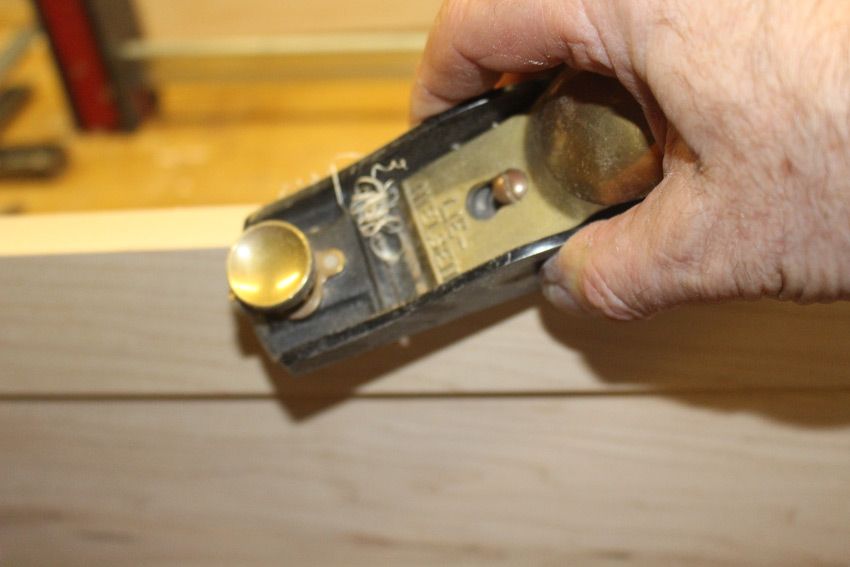
Finally, the outside arrises are chamfered with a block plane ...
Here are a few examples to date ..
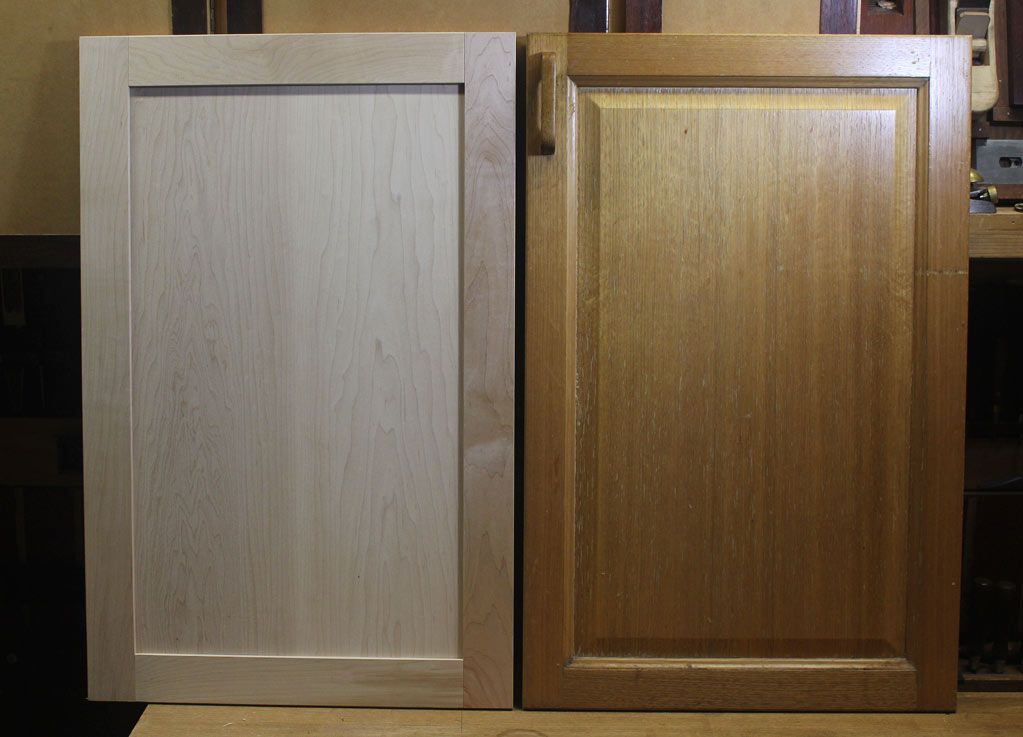

Just dry fitting. No finish. That will be done later. Hinges and hardware still to be fitted. Lots to do.
Regards from Perth
Derek
I thought that I would post a few pictures here of the method I am using to build the doors, not because it is different or because it is striking (it is neither of these since the design is really simple), but because someone else may find this useful. Anyway we all like looking at the tools of others, right?
Those who know me recognise that this build is a departure from my usual handtool approach. I do use power tools, and have been around them for 30-40 years. I have a pretty full compliment in my shop at home, and they do get used. It's just that I prefer using handtools once the roughing out is done. This time, however, there was no way I could see myself building around 25 doors full of M&T joints with tenon saw and mortice chisel. We'd like the job done sooner rather than later. So I invested in a Festool DF500 Domino.
Here are some of the hand power tools I am using ..
Incidentally, the ROS is a Festo ET2E, and the router is an Elu 177e ... which should tell you how long I have had them ...
Not to forget ...
Other tools include a Veritas BUS for smoothing the frames (the sander was used on the panels with Mirka Abranet up to 400 grit) ...
The ends of boards needed to be perfectly square. This is the Veritas Shooting Plane on a Stanley #52 shooting board ...
I managed to get in a decent stock of rough sawn 1" and 2" thick x 10" wide Hard Maple boards ..
The boards were resawn on my Hammer 4400 and finished on a A3-31 to panels 1/4" thick or frames 3/4" thick ...
The panels are all bookmatched, and the joins pulled together with blue tape. No clamps required.
These are for the frames. I can build about 5 doors at a time.
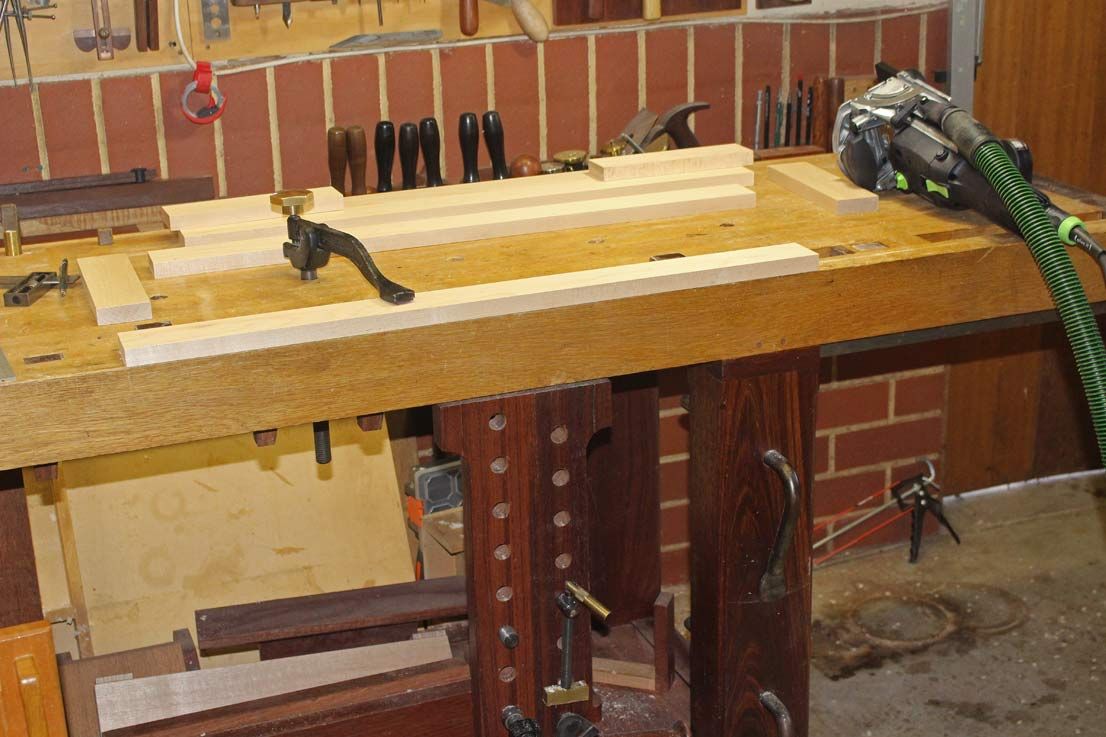
The next step is to saw the pieces to length, and then Domino the frame together. This is a first for me (Domino virgin). How to hold the pieces? I've seen some of the fancy Festool benches and clamps. My system seems so much easier.
Push the board against the dogs on my bench, and use a single, centred Veritas hold down to clamp them firmly ...
This makes it possible to Domino each end without resetting the board.
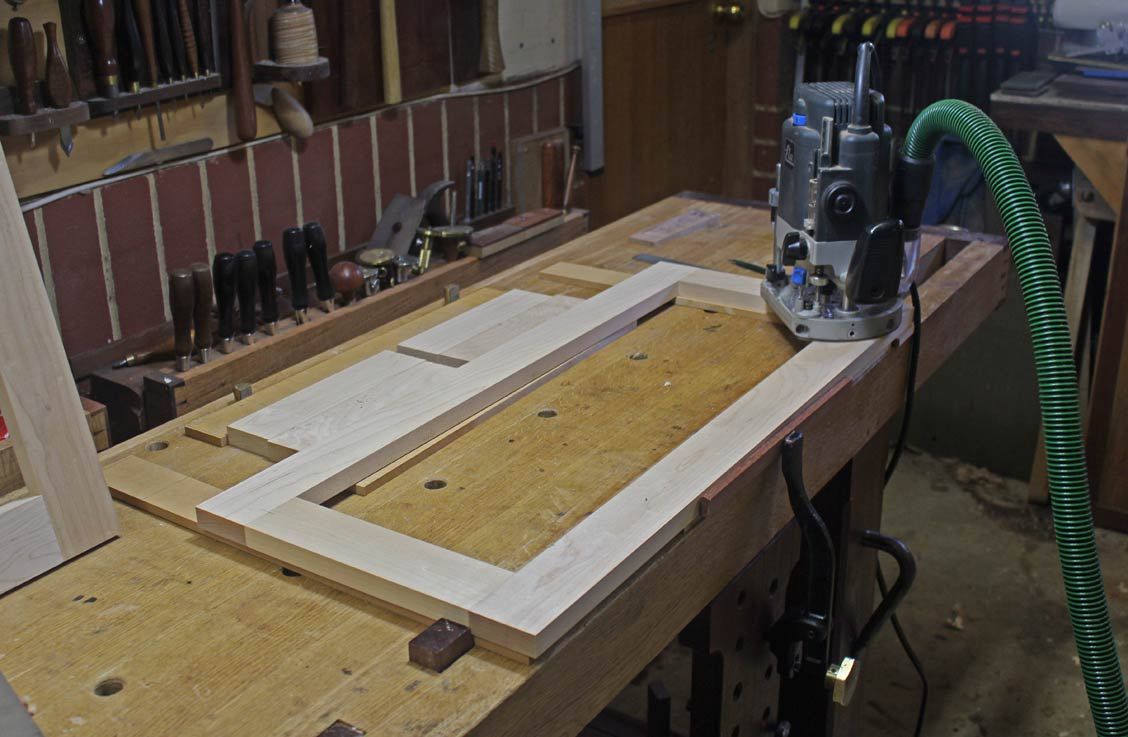
The parts are pushed together for a dry fit, clamped against dogs, and raised higher on MDF spacers (for the router bit to fit) ..
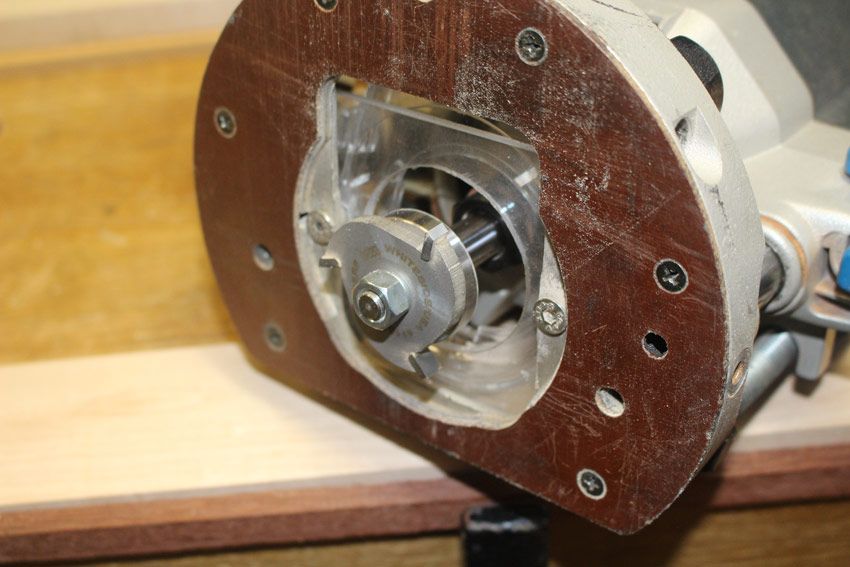
A 1/4" grooving bit is used to route out the 1/4" deep groove for the panel ...
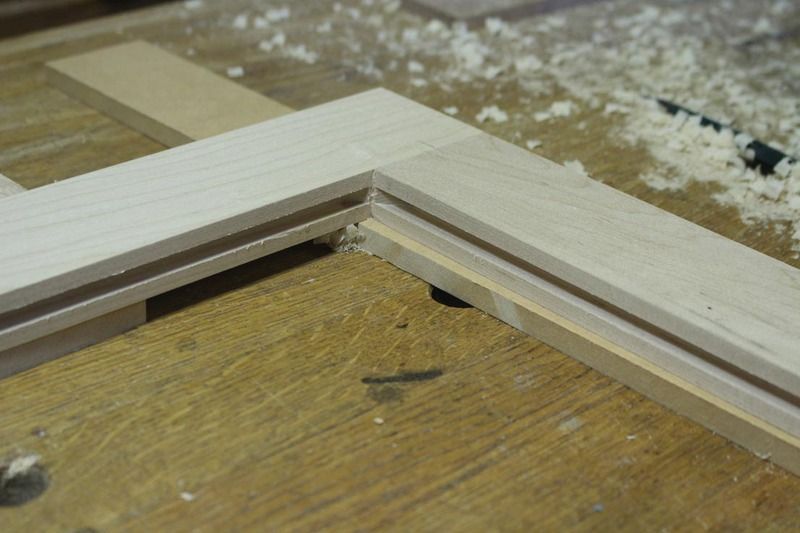
This leaves an uncut corner ...
The choice is to use a smaller bearing, which will cut deeper in the corner. I tried this on one door, however I found that the process of swapping the bearings out could cause the setting to change slightly.
Consequently, I decided to chop out the corners with a mortice chisel. This proved to be faster than setting up the router and re-routing the corners ...
The inside edges arris of the frame were broken with a sander ...
Next-to-last, the panels could be cut to size and fitted to the frames. Allowance is made for expansion.
Finally, the outside arrises are chamfered with a block plane ...
Here are a few examples to date ..
Just dry fitting. No finish. That will be done later. Hinges and hardware still to be fitted. Lots to do.
Regards from Perth
Derek