festal said:
can you share the drawings/dimensions for the adapter? I can ask my friend to machine it for me.
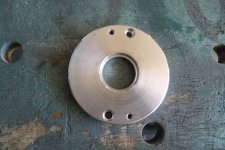
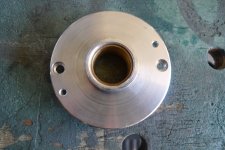
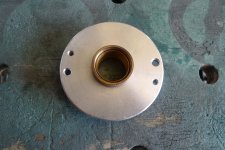
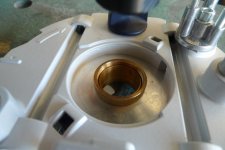
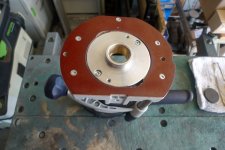
Here ya go...however, rather than going off of my dimensions, I'd suggest you gather up your items and measure those for a nice fit.
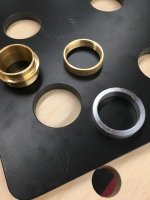
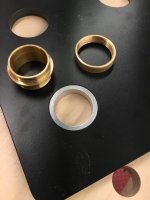
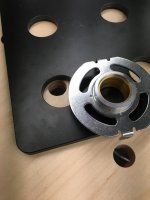
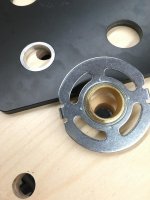
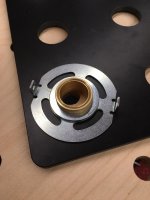
I've mentioned before that you want a nice snug fit on the ID of the aluminum bushing to the OD of the Woodpecker brass adapter, but a looser fit between the OD of the aluminum bushing and the ID of the Woodpecker jig. That way the aluminum bushing will always stay with the router which makes it a lot easier/faster to machine the holes.
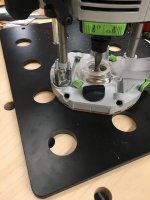
I measured the ID of 3 different holes on the Woodpeckers jig. I measured each hole in 2 places 90º to each other. Here are the results:
1st hole = 1.474/1.475"
2nd hole = 1.472/1.473"
3rd hole = 1.473/1.474"
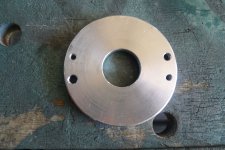
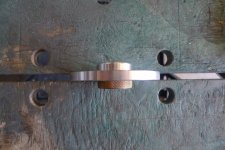
OD of my aluminum bushing = 1.470/1.470"
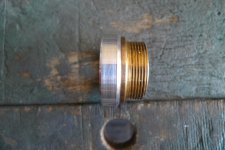
OD of Woodpecker brass adapter = 1.180/1.180"
ID of my aluminum bushing = 1.181/1.182"
Thickness/height of the aluminum bushing is .315".
Both the OD & the ID should have small chamfers to ease/aid assembly.
[attachimg=1]
[attachimg=2]