So who's excited? [big grin]
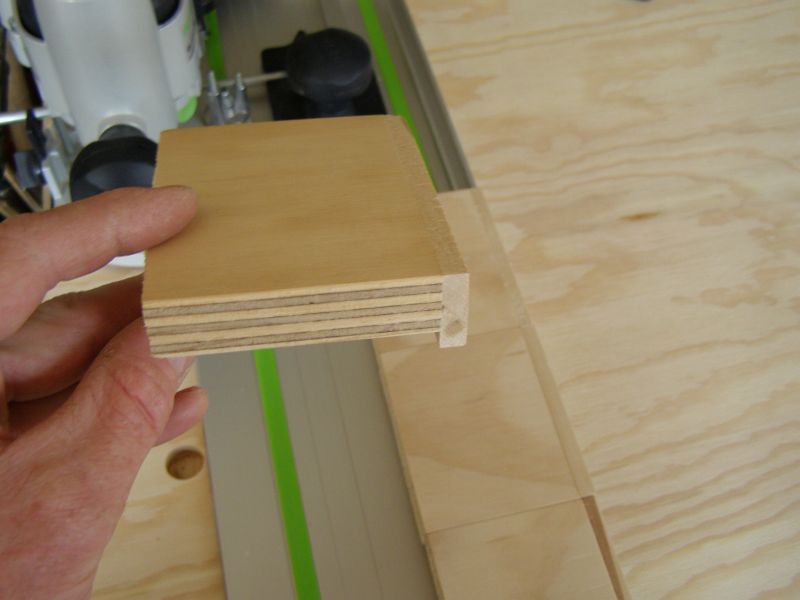
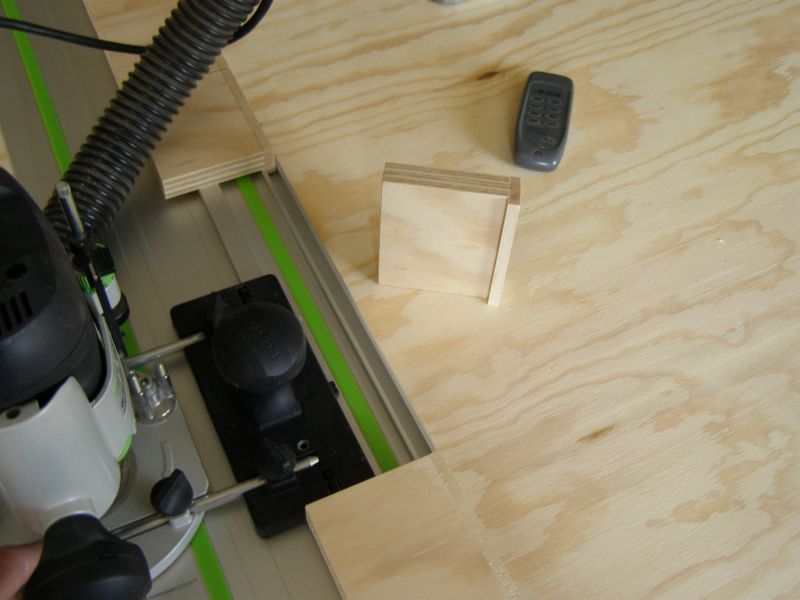
I've not got the lovely lr32 kit so had to come up with another way to drill acurate distance holes.
I first cut clean straight edge and square the adjacent. Next set rail equal distance from short square edge. Clamp rail to material so nothing moves, use under rail clamp.
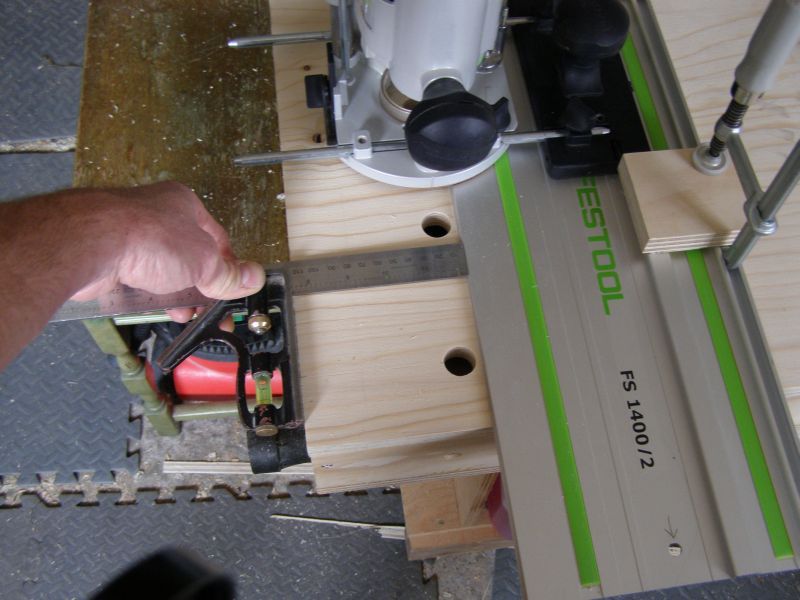
I a fixed stop under the rail on one side to have reference from that edge for the first hole on each row.

Then load up rail with accurate cut spacers of the distance between centres that you want. As you can see I'm using my 1010 with rail adapter sandwiched between spacers. Spacers are trapped by end blocks.
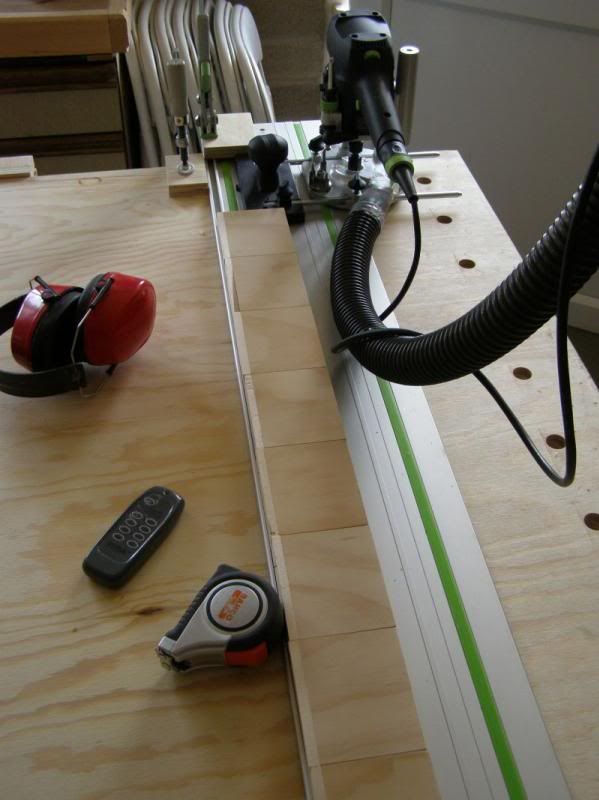
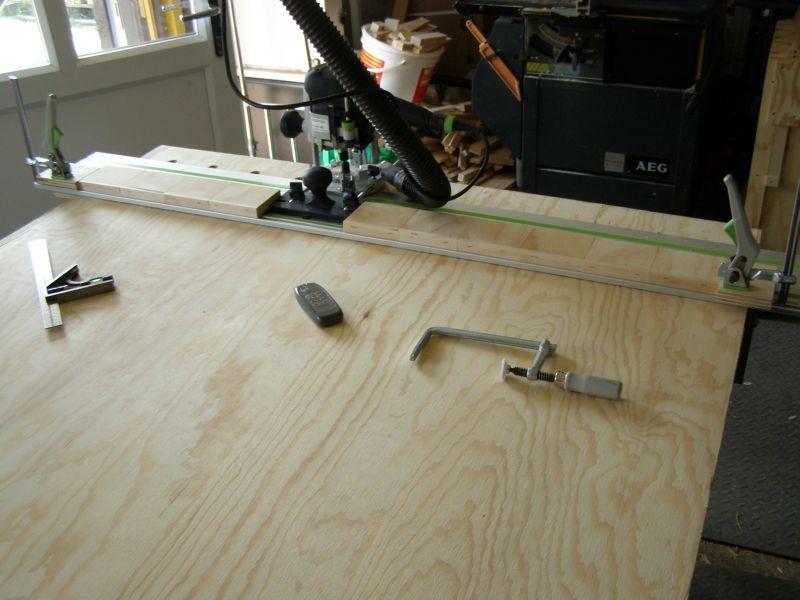
Spacers have extra bits to keep them on rail.
With rail set equal distance from front edge and sandwiched between end stop and first spacer drill first hole then just pop out a spacer at a time move router forward putting spacer back in to sandwich and carry on till row done.
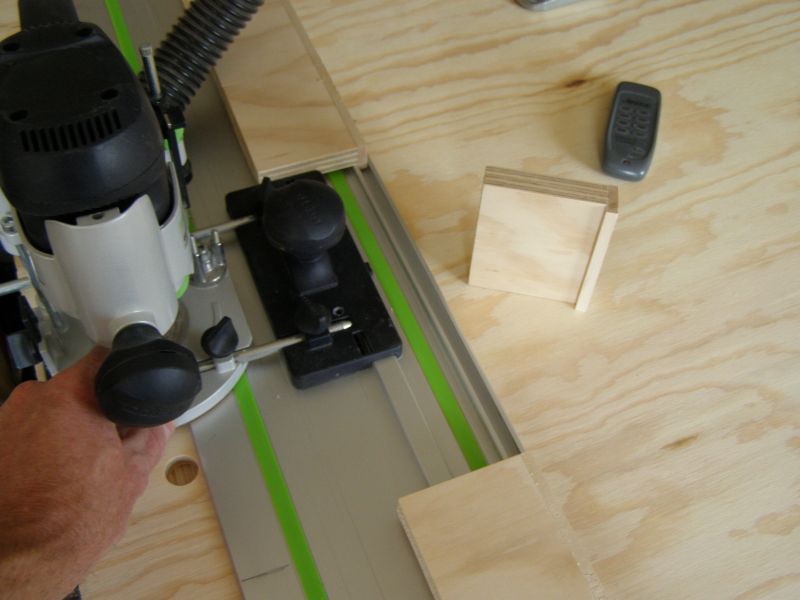

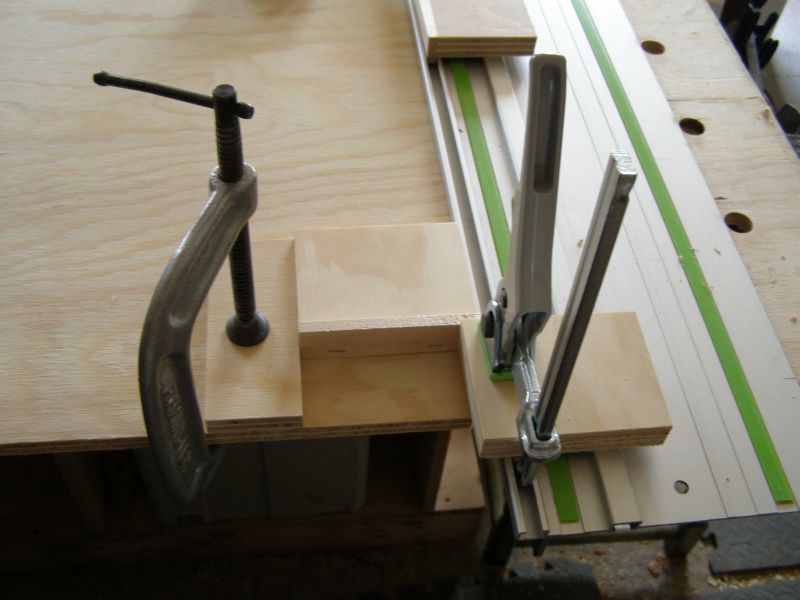
To move on next column keep rail clamped use one of rail spacer to clamp stop then move rail over reclamp. Care and accuracy need when doing this.
Goes real quick once you get going. ;D
I've not got the lovely lr32 kit so had to come up with another way to drill acurate distance holes.
I first cut clean straight edge and square the adjacent. Next set rail equal distance from short square edge. Clamp rail to material so nothing moves, use under rail clamp.

I a fixed stop under the rail on one side to have reference from that edge for the first hole on each row.

Then load up rail with accurate cut spacers of the distance between centres that you want. As you can see I'm using my 1010 with rail adapter sandwiched between spacers. Spacers are trapped by end blocks.


Spacers have extra bits to keep them on rail.
With rail set equal distance from front edge and sandwiched between end stop and first spacer drill first hole then just pop out a spacer at a time move router forward putting spacer back in to sandwich and carry on till row done.


To move on next column keep rail clamped use one of rail spacer to clamp stop then move rail over reclamp. Care and accuracy need when doing this.

Goes real quick once you get going. ;D
