NYC Tiny Shop
Member
- Joined
- Sep 12, 2013
- Messages
- 926
John,
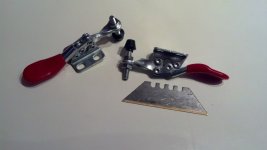
This sounds like a great way to go! My make-shift quicky is working for me now, see pic. Please note, that now, not in pic, I'm sometimes using a Harbor Freight adjustable metal saw horse when I need more length - that when set at eleven, is the perfect height to the Kapex. Down the road, I'll probably go the route of yours and Bob's.
This sounds like a great way to go! My make-shift quicky is working for me now, see pic. Please note, that now, not in pic, I'm sometimes using a Harbor Freight adjustable metal saw horse when I need more length - that when set at eleven, is the perfect height to the Kapex. Down the road, I'll probably go the route of yours and Bob's.