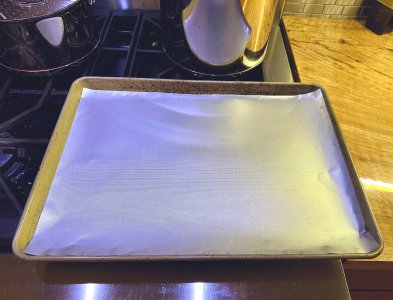
My wife purchased some trim-to-fit non stick oven liner sheets a few weeks ago. I trimmed one of the sheets, installed in the oven and a little light went on in my head when about to toss the scrap. Saved a piece and just tested with a dab of epoxy and some Titebond. Both types of glue peeled right off and the second non stick sheet is now designated for reusable release paper.
Super cheap compared to my other silicone mats, very thin and thickness is uniform enough to be very handy on certain glue ups, maybe something involving a mandrel or on MFT top where for years I've used waxed release paper in between workpiece and the top. Probably good for keeping harsh chemicals off a bench too.
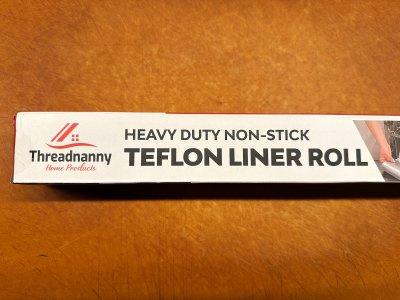
2x 17x25" sheets for $10 on Amazon :
Non stick sheets

Super cheap compared to my other silicone mats, very thin and thickness is uniform enough to be very handy on certain glue ups, maybe something involving a mandrel or on MFT top where for years I've used waxed release paper in between workpiece and the top. Probably good for keeping harsh chemicals off a bench too.
2x 17x25" sheets for $10 on Amazon :
Non stick sheets


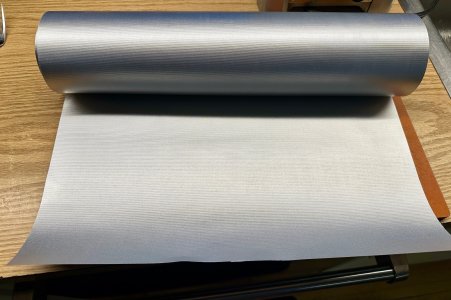
") They also advertise a max 500º temperature limit.
They also advertise a max 500º temperature limit.