mouppe
Member
- Joined
- Feb 7, 2010
- Messages
- 3,036
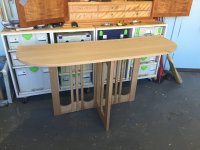
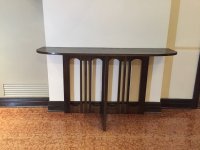
I had so much fun building this table. Its relatively simple design- adapted from a round table by one of my idols Alan Peters- allowed me to really focus on using my tools and getting the best out of the wood. No complicated glue-ups or veneer panics, just good old-fashioned oak and tools.
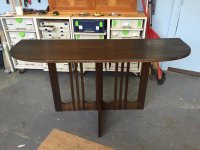
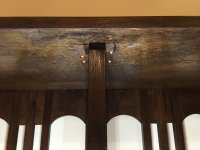
The finish is a water-soluble walnut dye, followed by a washcoat of orange shellac, and then Tried and True Varnish oil. Dead simple. Feels great and the figure in the oak is subtly visible. Left some of the hand plane marks in the top which you can just about see at a certain angle.
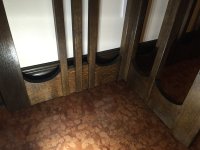
So rather than post a bunch of final photos, I thought it might be a little more interesting to show the assembled table at each stage of the finishing process.
1. Raw wood
2. Shellac
3. Dye (this should be before the shellac photo)
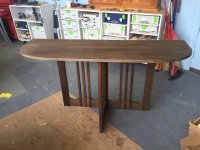
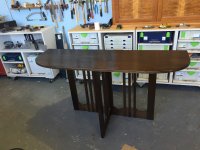
4-8 oil
The finish is a water-soluble walnut dye, followed by a washcoat of orange shellac, and then Tried and True Varnish oil. Dead simple. Feels great and the figure in the oak is subtly visible. Left some of the hand plane marks in the top which you can just about see at a certain angle.
So rather than post a bunch of final photos, I thought it might be a little more interesting to show the assembled table at each stage of the finishing process.
1. Raw wood
2. Shellac
3. Dye (this should be before the shellac photo)
4-8 oil