mschmidt10k
Member
- Joined
- Mar 6, 2016
- Messages
- 37
Long time lurker, 2nd time poster here ")
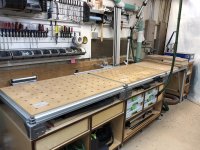
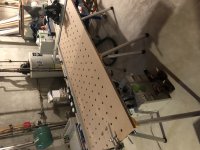
In my basement woodshop, I have three MFT/3 tables set up alongside one of the side walls - I've mounted 2 of them on cabinets and have a 3rd that's also attached with the rail connectors, but can fairly easily be removed in case I want to use it elsewhere in the shop. I use the tables primarily for crosscutting and as a general work area for sanding, domino-ing, etc.
View attachment 1
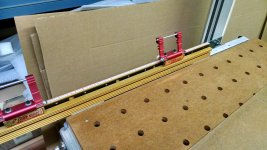
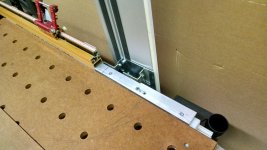
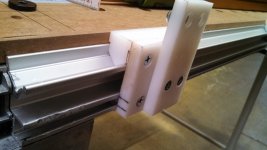
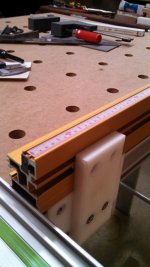
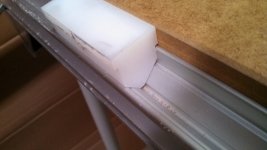
Seeing that Festool often touts the benefits of using multiple MFT/3 tables side-by-side, I find it odd that a fence that can actually span multiple tables isn't available. So I was wondering what those of you in the same situation as me have done to rectify this situation? Are the any drop-in options available for, say, a 6' fence that can still use the festool quick stops and will also go below the guide rail?
Michael
In my basement woodshop, I have three MFT/3 tables set up alongside one of the side walls - I've mounted 2 of them on cabinets and have a 3rd that's also attached with the rail connectors, but can fairly easily be removed in case I want to use it elsewhere in the shop. I use the tables primarily for crosscutting and as a general work area for sanding, domino-ing, etc.
View attachment 1
Seeing that Festool often touts the benefits of using multiple MFT/3 tables side-by-side, I find it odd that a fence that can actually span multiple tables isn't available. So I was wondering what those of you in the same situation as me have done to rectify this situation? Are the any drop-in options available for, say, a 6' fence that can still use the festool quick stops and will also go below the guide rail?
Michael