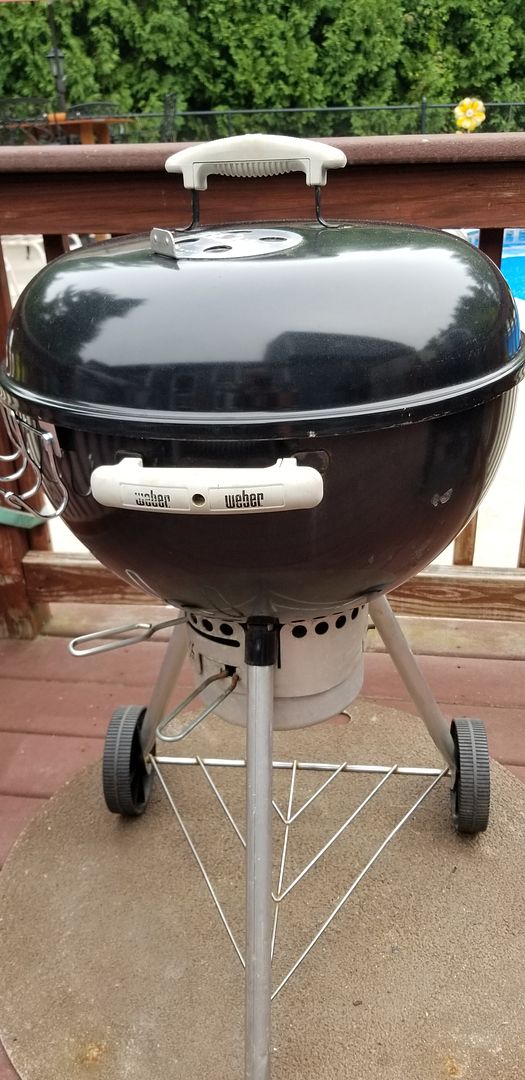
I recently acquired a Weber 18" Kettle that my neighbor was tossing out in the trash. Trash day came, collectors didn't take it so it sat at the curb for two more days. When I took a closer look and realized it was a Weber Kettle I had to rescue it. It needed a good cleaning and reassembly since it was never put together properly. OK, so what has a Weber Kettle restoration got to do with woodworking you ask?
For those interested in what the refurb'd kettle looks like -
Temperature adjustment is achieved via the top vent and the vents under the kettle. The top vent control is metal and I keep forgetting to put on my bbq gloves and keep burning my fingers. You'd think I'd learn. So I set about to add a wood handle to the vent control and came up with this in a few hours yesterday morning.
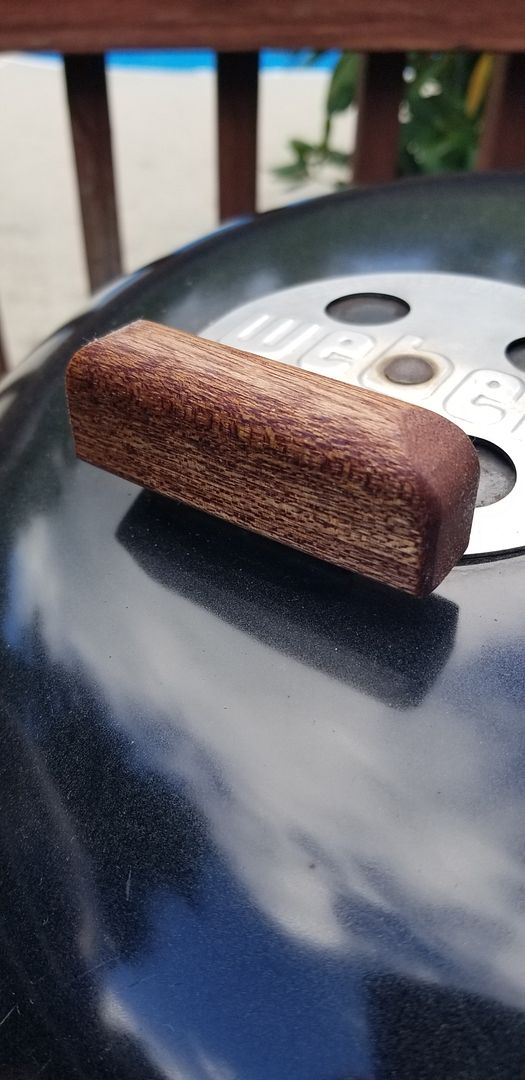
That's leftover Meranti scraps from the Adirondack chair and Bistro Table projects, might as well put them to good use. Nothing earth shattering, it's a simple friction fit achieved via a slot cut in the bottom with the Multimaster. Curves cut on the bandsaw and use of some router bits for roundover.
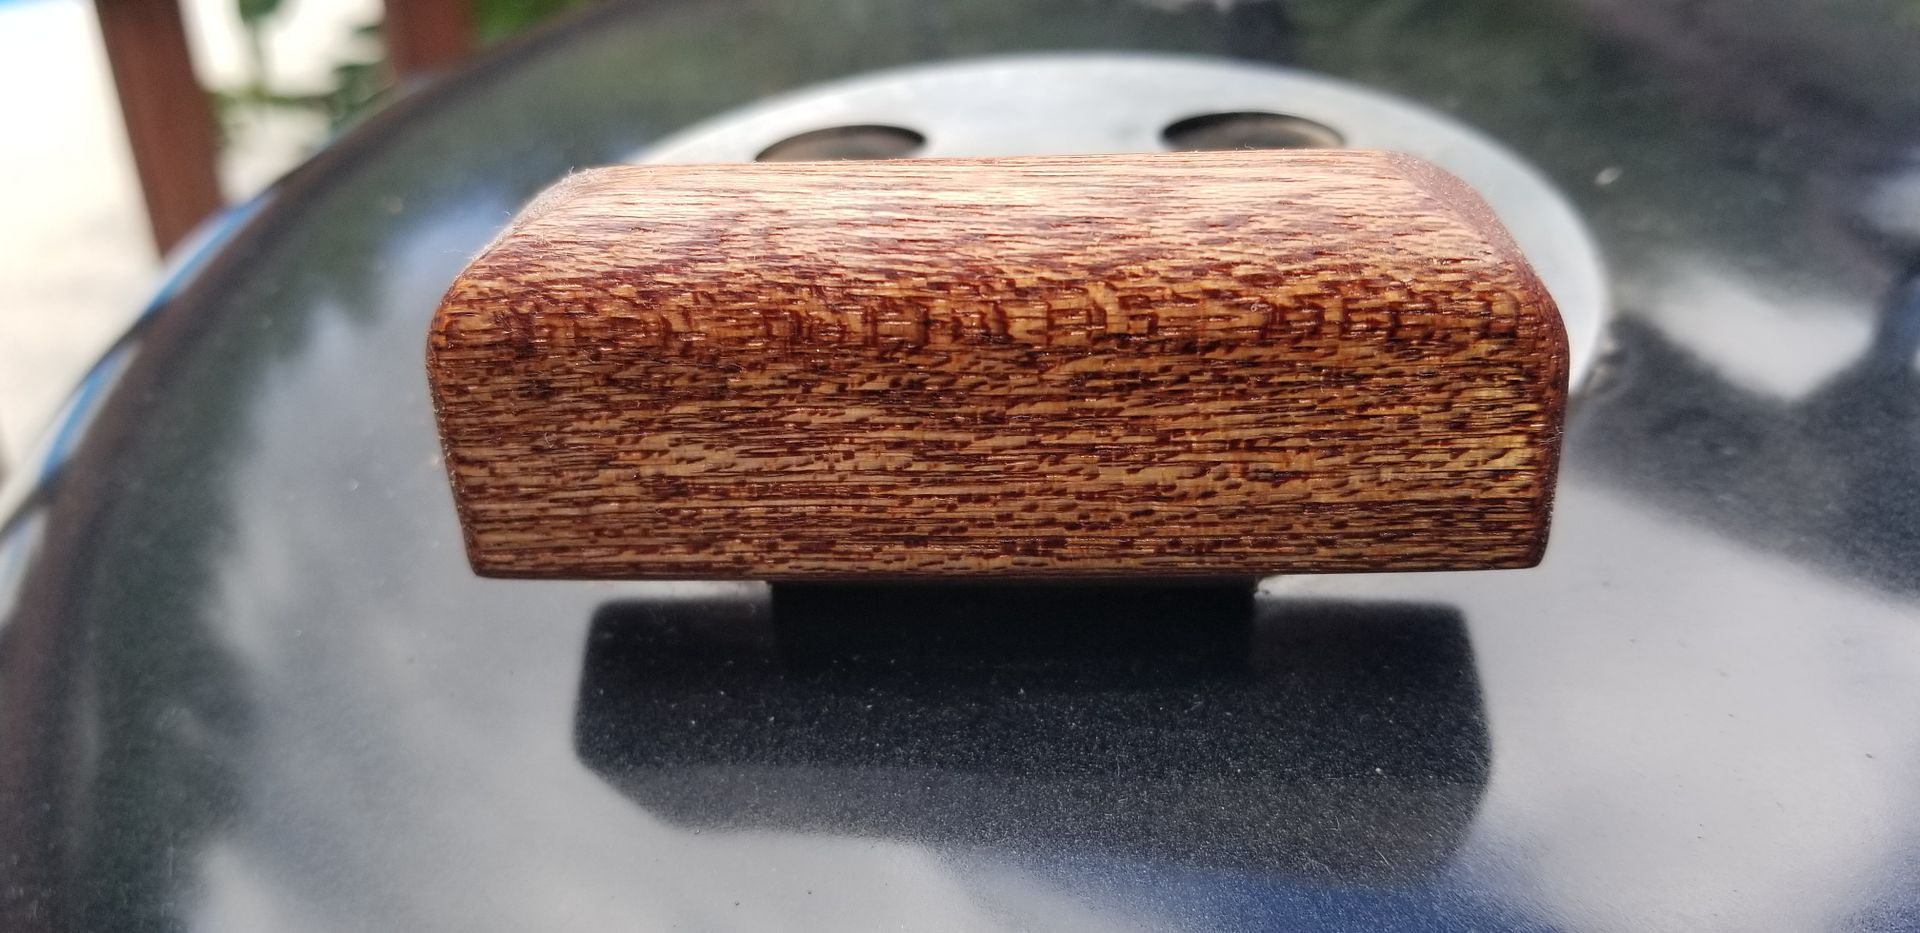
Now the problem is the handles don't match the new vent handle. I can buy wood ones online but where's the fun in that? So, as a woodworking challenge to myself let's see if I can come up with some decent looking wood handles.
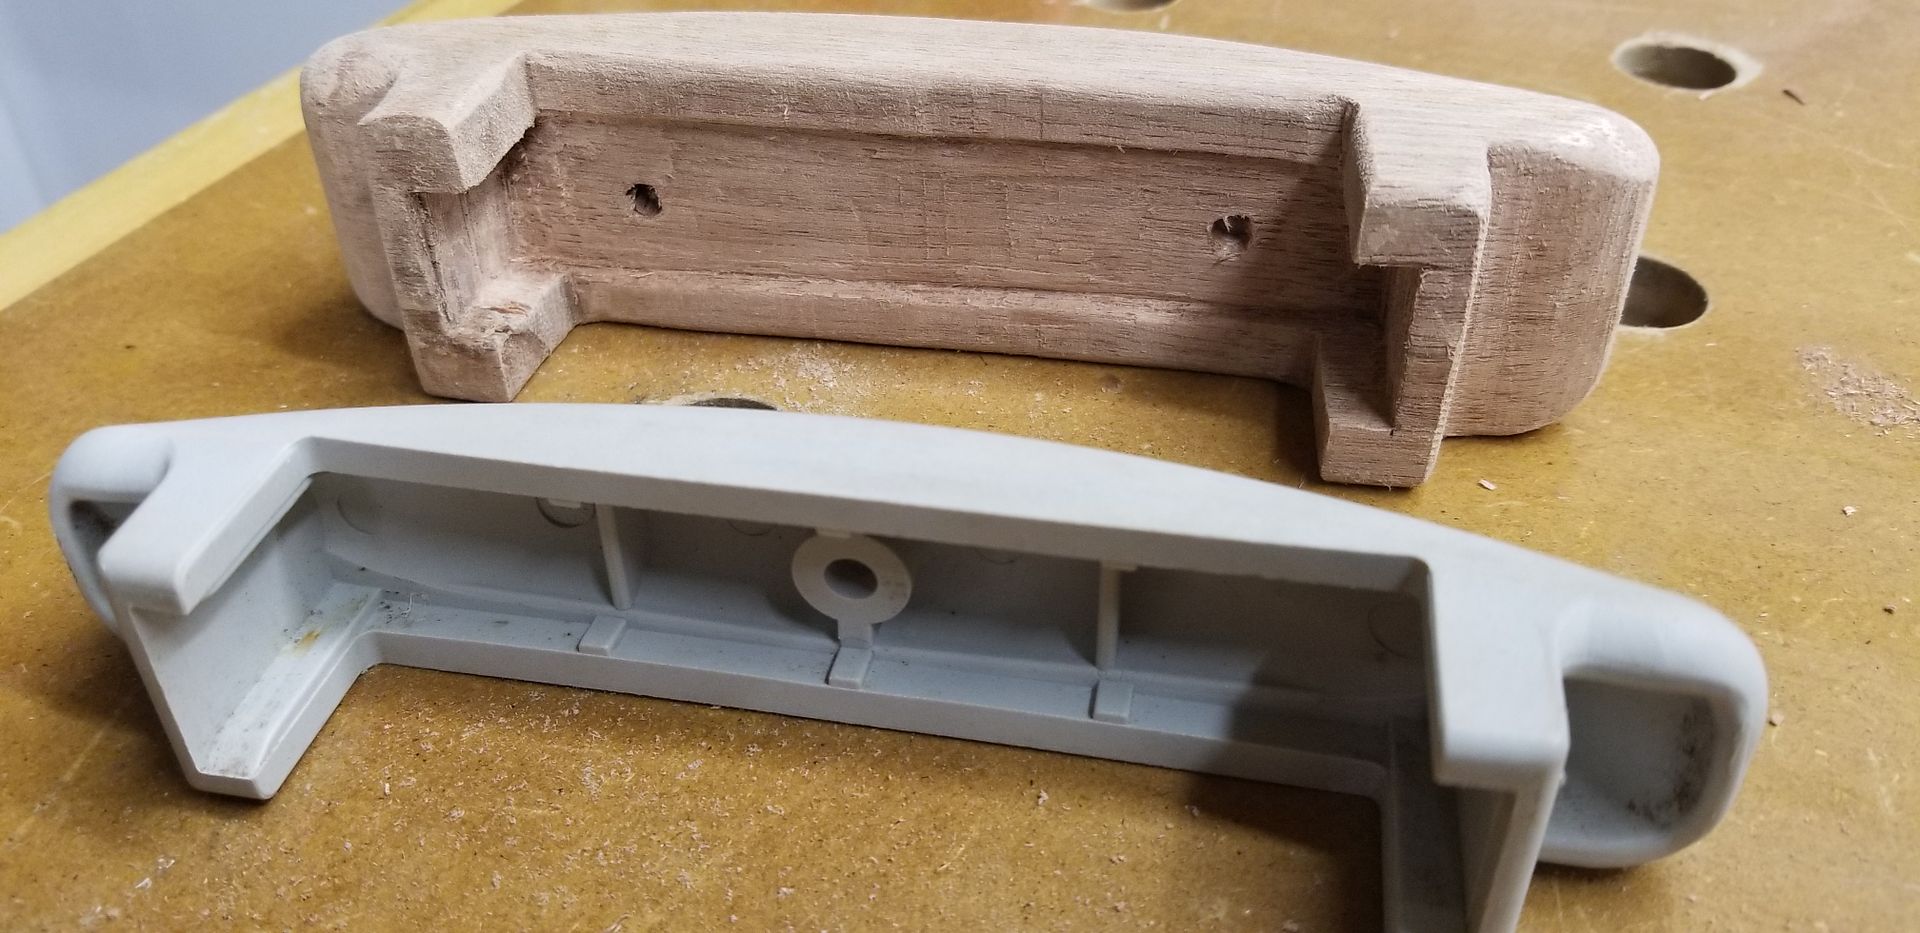
After a prototype I wasn't thrilled with, I came up with this. It mimics the existing Weber handles and turns out was a good challenge for me. Sure, bandsawing the shape was easy, routing the curves fairly simple on the router table. but the recess on the bottom was a good challenge. I don't normally work with chisels, have never cut dovetails or anything of the sort. I finally got to put those new Stanley Sweetheart chisels to use along with the Wood is Good mallet I recently bought (really nice mallet to use; no fatigue after more than an hour's working with it).
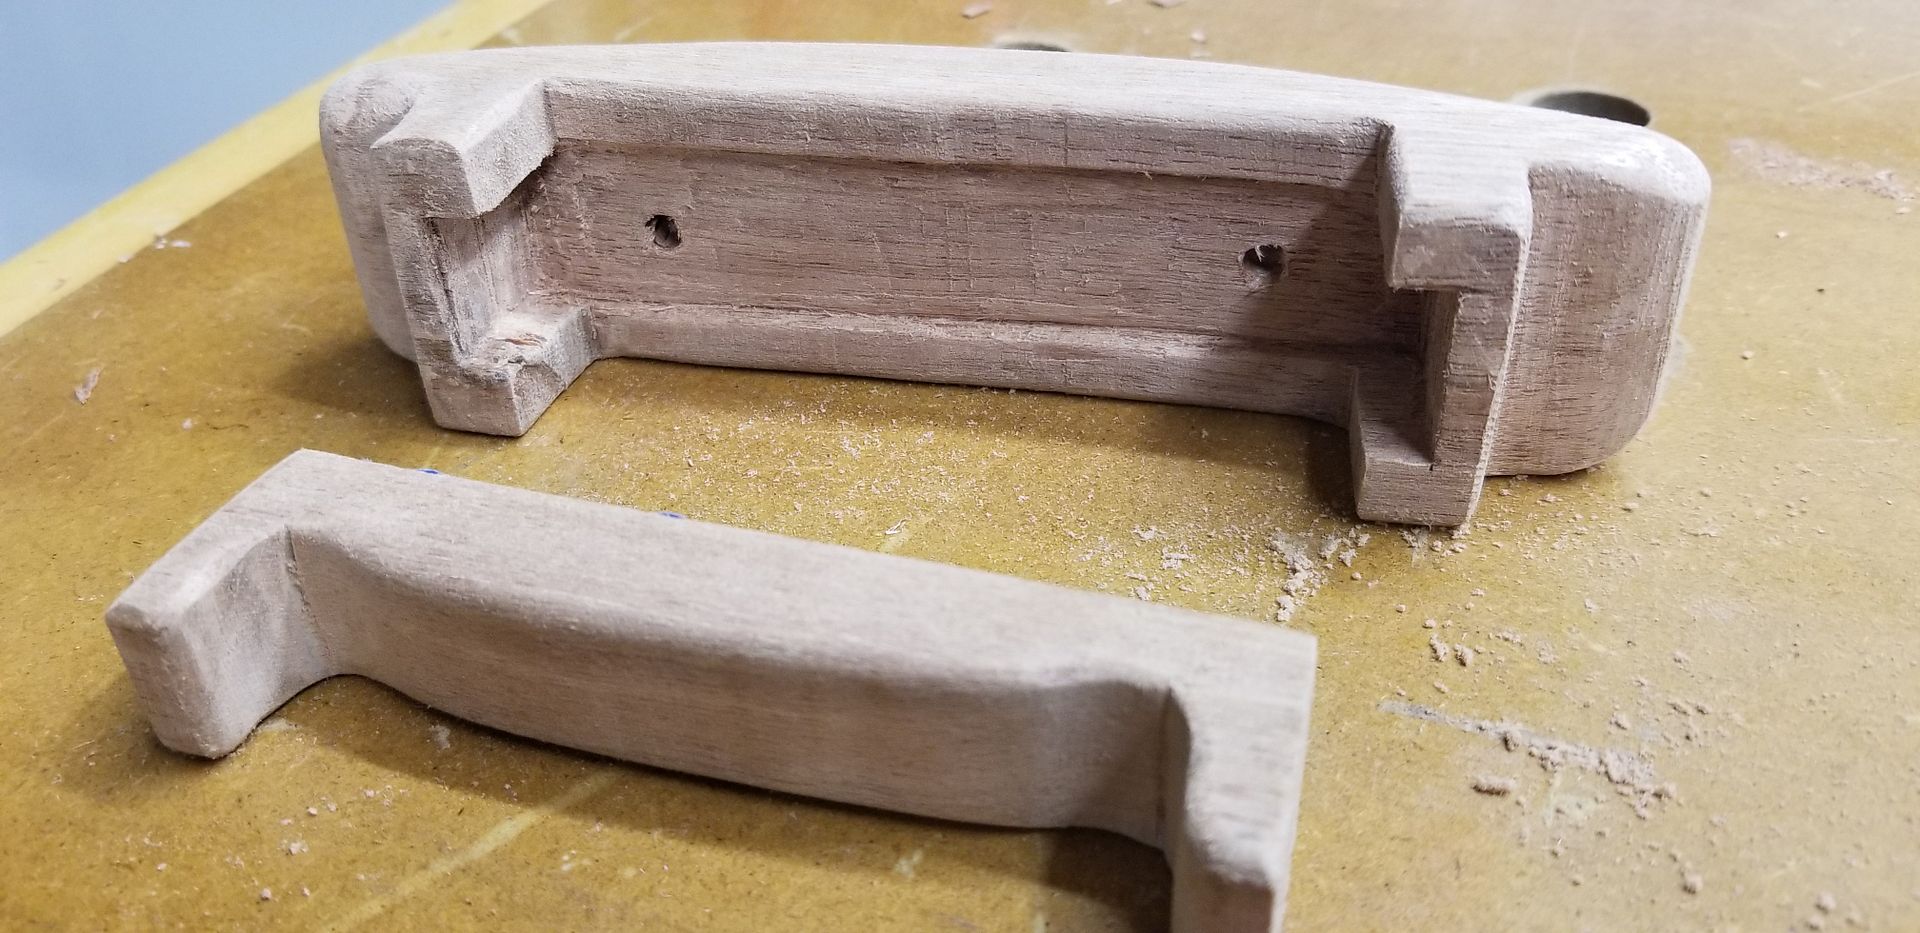
This recess is needed to hide the metal piece that this handle attaches to. It's far from perfect, but was all cut by hand. Kinda fun to do, pushed my woodworking abilities to a new level and came out decently. I have a lot more cleanup, sanding and shaping to do before I'm satisfied with these. I've got two more handles to make for the base of the kettle. Hopefully they'll go faster than this first one.
No Festools used in this project, sorry.
Some pics.
The two pieces -
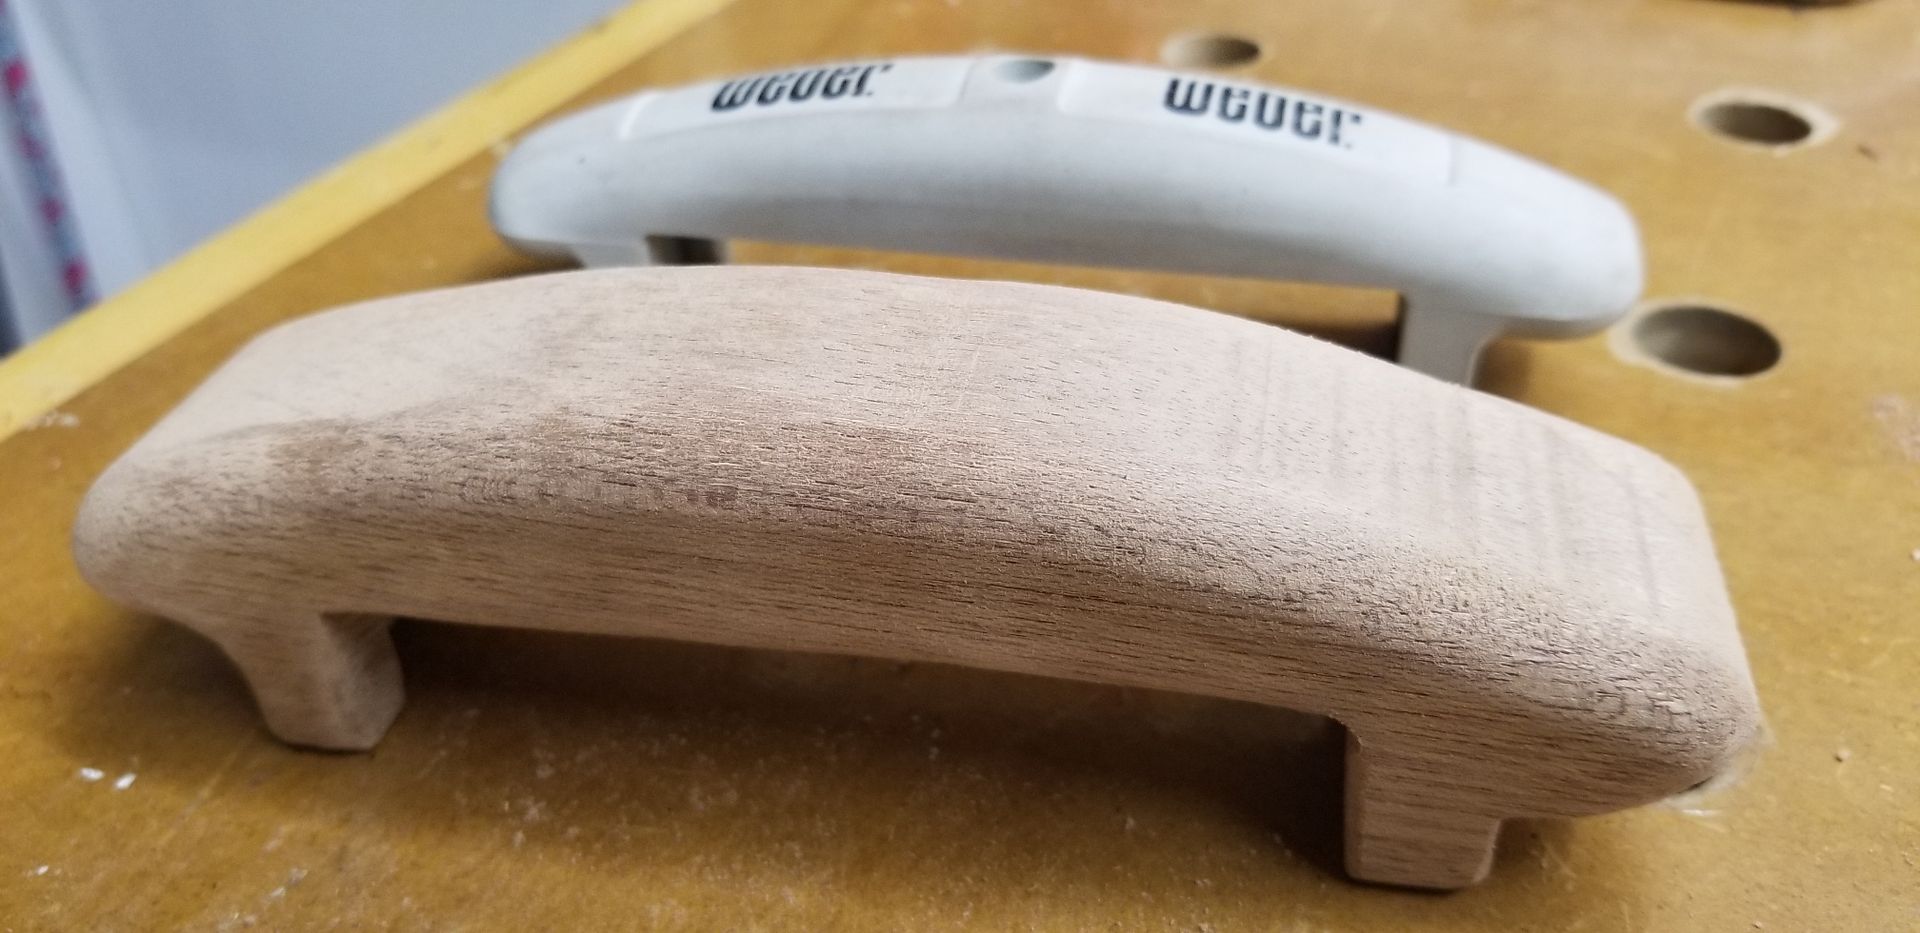
Original top handle piece and my version -
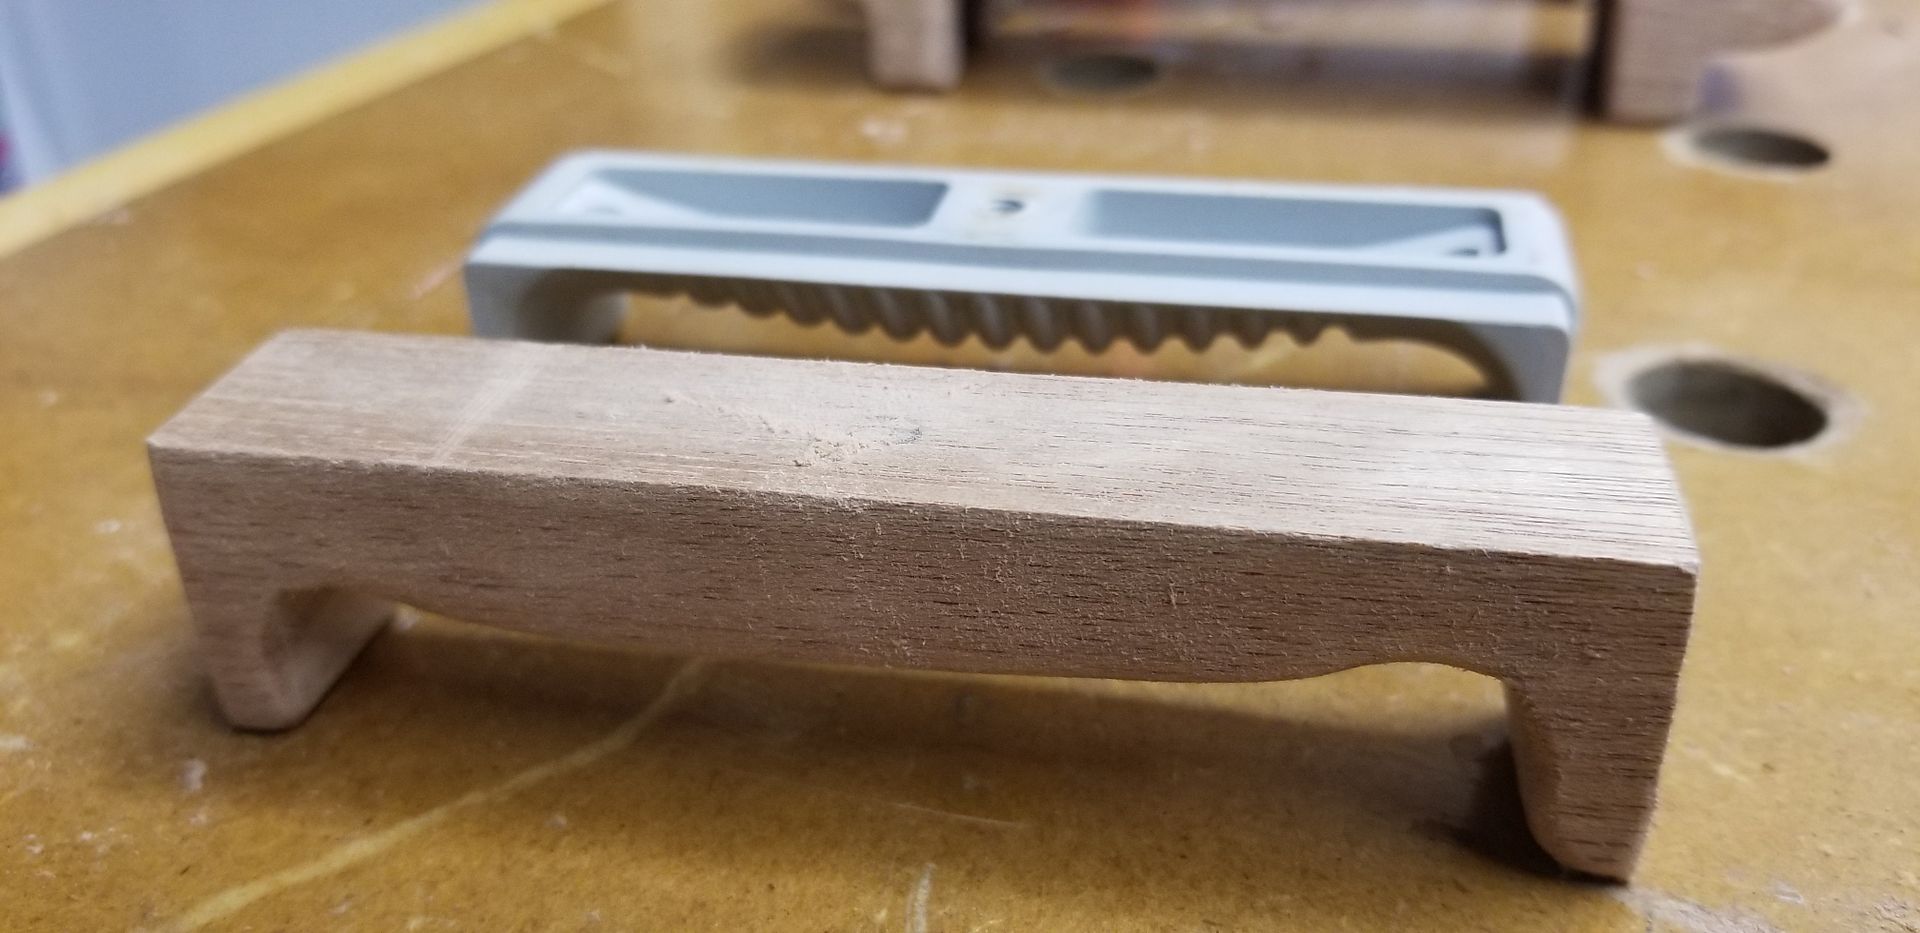
Bottom handle piece and my version -
That's it for now. A very satisfying day pushing my woodworking skills to a new level. Still more work to be done before I apply Teak Oil finish and mount it. More pics to follow later once it's installed.
Thanks for checking this post out.
Regards,
-Dom
For those interested in what the refurb'd kettle looks like -

Temperature adjustment is achieved via the top vent and the vents under the kettle. The top vent control is metal and I keep forgetting to put on my bbq gloves and keep burning my fingers. You'd think I'd learn. So I set about to add a wood handle to the vent control and came up with this in a few hours yesterday morning.


That's leftover Meranti scraps from the Adirondack chair and Bistro Table projects, might as well put them to good use. Nothing earth shattering, it's a simple friction fit achieved via a slot cut in the bottom with the Multimaster. Curves cut on the bandsaw and use of some router bits for roundover.
Now the problem is the handles don't match the new vent handle. I can buy wood ones online but where's the fun in that? So, as a woodworking challenge to myself let's see if I can come up with some decent looking wood handles.
After a prototype I wasn't thrilled with, I came up with this. It mimics the existing Weber handles and turns out was a good challenge for me. Sure, bandsawing the shape was easy, routing the curves fairly simple on the router table. but the recess on the bottom was a good challenge. I don't normally work with chisels, have never cut dovetails or anything of the sort. I finally got to put those new Stanley Sweetheart chisels to use along with the Wood is Good mallet I recently bought (really nice mallet to use; no fatigue after more than an hour's working with it).
This recess is needed to hide the metal piece that this handle attaches to. It's far from perfect, but was all cut by hand. Kinda fun to do, pushed my woodworking abilities to a new level and came out decently. I have a lot more cleanup, sanding and shaping to do before I'm satisfied with these. I've got two more handles to make for the base of the kettle. Hopefully they'll go faster than this first one.
No Festools used in this project, sorry.
Some pics.
The two pieces -

Original top handle piece and my version -


Bottom handle piece and my version -

That's it for now. A very satisfying day pushing my woodworking skills to a new level. Still more work to be done before I apply Teak Oil finish and mount it. More pics to follow later once it's installed.
Thanks for checking this post out.
Regards,
-Dom


