Greg Powers said:
We have been waiting for the NA version for a long time.... [sad]
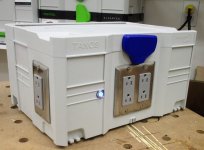
So, since I don't see this happening anytime soon, I thought I'd share the results of my research into sourcing the components I'll be using to convert a new to me (but lightly used) Sys III into a DIY 120V/60Hz SYS-PH.
For outlets, I plan to use either the following, which are designed for installation in panels:
NEMA 5/15 Panel Outlet w/Spring-Loaded Cover, Black
...or these (which are also intended for panel installs):
NEMA 5-15 Panel Outlet w/ Spring Loaded Cover, Blue
Since the former are half the price of the latter, I'll likely opt for a selection of the less expensive ones, in which case I'll need to also procure some female terminal ends:
...to facilitate wire-up. I figure that after I've sunk the appropriate number and diameter of holes into the front of the systainer, I'll use pop rivets to fasten the outlets to the systainer wall.
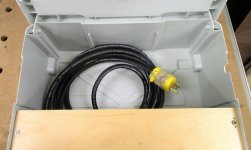
As for protection on the inside of the systainer, I may or may not fasten a junction box behind each respective outlet (this will depend on how hermetically-sealed I make the plywood shroud that will cover the new work).
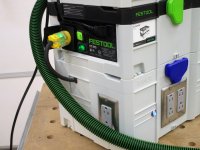
I also plan to install a single red LED indicator light like this one:
Indicator Light
...into the front face of the systainer to indicate whether or not the outlets are live.
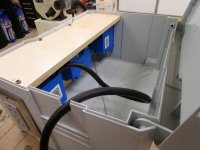
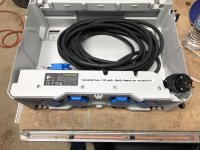
I'm considering installing a standard 15A GFCI outlet upstream of the various outlets (ideally, mounted inside the systainer in the aforementioned plywood shroud) for ground fault protection but am hesitant to do so out of concern over high draw hand tools possibly causing false readings. Not sure if this concern is valid or not but it would be a nice place to tie in the short length of heavy duty power cord that I plan to use to supply power to the outlets (most often via a plug plugged into my Starmix vac).
I'm calculating that the entire project, including the US$50 I spent on the used systainer, will cost approximately US$100. My plan is to use the remaining space inside in the systainer for storage of a power cord (or two?) and a couple of battery chargers and some batteries, etc. We'll see.
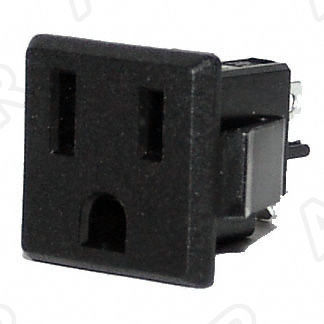
Oh, and another even less expensive outlet option might be these snap-in (but non-dust cover protected) versions:
120V 15A US Socket, Panel Mount, NEMA 5-15R
Compatibility will depend on the thickness of the panel they are intended for (no idea if the intended panel thickness is thinner or thicker than the wall of a systainer).
So, just some ideas in case anyone else can benefit....
")


")