Finally got around to starting my bed(s) project. Will document here in multiple posts.
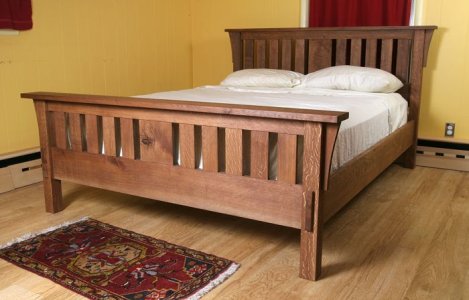
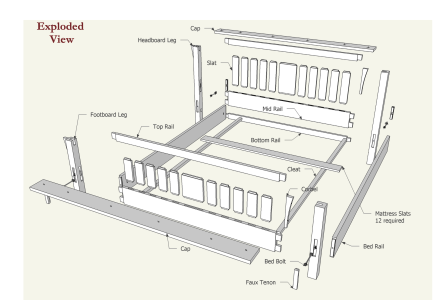
I'm actually building two of these, one Queen sized and one King sized. Below are the inspiration picture an overview of the plans I found online.
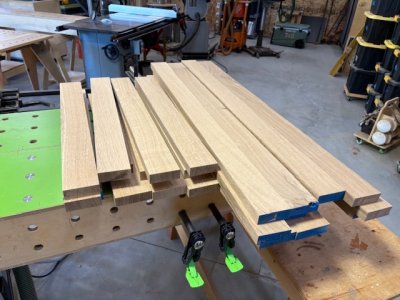
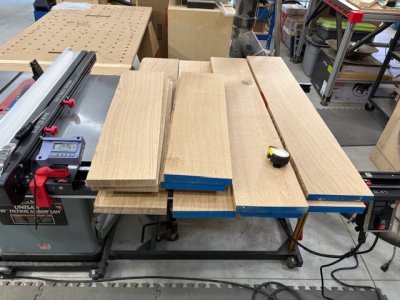
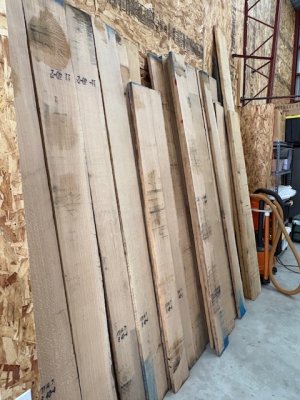
I'll also be building 3 stickley dressers to go with these, so I ended up getting about 300 bd ft of Quartersawn White Oak, which were delivered in early April (had to wait out our 3 week road trip to get started!). Got it in rough 4/4, 5/4 and 6/4 thicknesses.
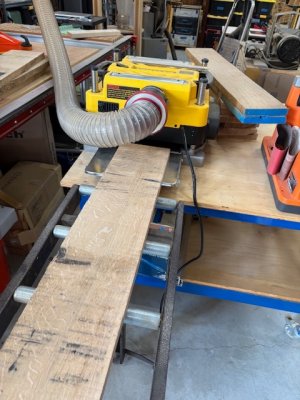
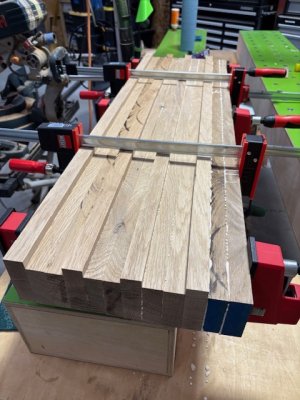
First up, making the legs. They are 2 3/4" square. Rather than try to miter or miter joint (with the router bit) them together, I decided to make them solid so they could handle the weight. So I planed a bunch of stock to 1" thick, then glued them together and trimmed to the right dimensions. I also planed some 1/8" thick, and used that for "veneering" the side grain on the legs so there will be face grain on all four sides.
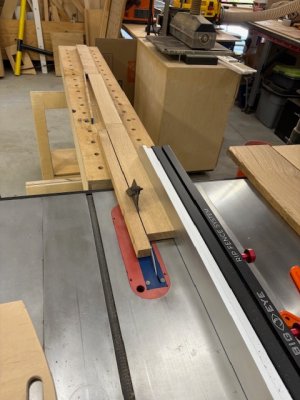
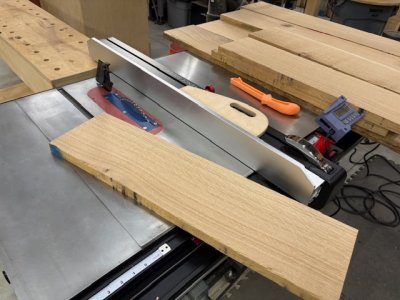
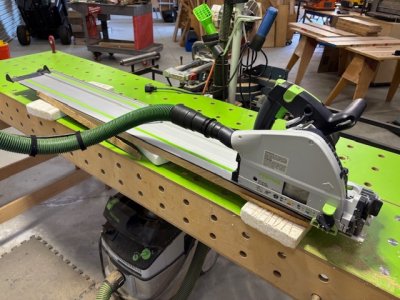
I used the TS55 for putting a straight edge on each board after planing, then it was just a matter of running them through the tablesaw. I spent most of February upgrading the old Unisaw to use a Harvey Big Eye fence, along with a Digifence readout, and it was well worth the time. Especially nice is how easy it was to micro adjust the fence for a slight gap on the outfield side. For cross cutting, I ditched the old delta sliding table which was having issues (can no longer get parts for it) and went with an Incra meter slider cutoff table into which I fitted my old (25 years?) Incra 1000 miter gauge. The system worked great!
I'm actually building two of these, one Queen sized and one King sized. Below are the inspiration picture an overview of the plans I found online.
I'll also be building 3 stickley dressers to go with these, so I ended up getting about 300 bd ft of Quartersawn White Oak, which were delivered in early April (had to wait out our 3 week road trip to get started!). Got it in rough 4/4, 5/4 and 6/4 thicknesses.
First up, making the legs. They are 2 3/4" square. Rather than try to miter or miter joint (with the router bit) them together, I decided to make them solid so they could handle the weight. So I planed a bunch of stock to 1" thick, then glued them together and trimmed to the right dimensions. I also planed some 1/8" thick, and used that for "veneering" the side grain on the legs so there will be face grain on all four sides.
I used the TS55 for putting a straight edge on each board after planing, then it was just a matter of running them through the tablesaw. I spent most of February upgrading the old Unisaw to use a Harvey Big Eye fence, along with a Digifence readout, and it was well worth the time. Especially nice is how easy it was to micro adjust the fence for a slight gap on the outfield side. For cross cutting, I ditched the old delta sliding table which was having issues (can no longer get parts for it) and went with an Incra meter slider cutoff table into which I fitted my old (25 years?) Incra 1000 miter gauge. The system worked great!
Attachments
-
 MorrisStyleBed.jpeg53.4 KB · Views: 29
 -
 IMG_1555.jpg121.1 KB · Views: 19
 -
 IMG_1554.jpg106.7 KB · Views: 18
 -
 IMG_1553.jpg115.7 KB · Views: 16
 -
 IMG_1552.jpg128.8 KB · Views: 17
 -
 IMG_1551.jpg137.5 KB · Views: 16
 -
 IMG_1533.jpg133.1 KB · Views: 16
 -
 IMG_1532.jpg141.3 KB · Views: 17
 -
 Screenshot 2025-06-09 at 8.25.31 PM.png932.8 KB · Views: 17
 -
 IMG_1586.jpg122.6 KB · Views: 20


:max_bytes(150000):strip_icc()/012209_allaroundgrain-961801554a004225b3232ccdc95a38b7.jpg)


