rmwarren
Member
- Joined
- Jul 11, 2010
- Messages
- 3,063
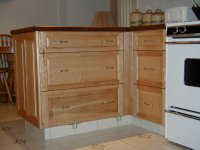
I'm looking for resources specific to frameless (32mm systems) cabinet installations. I've got the basic boxes down to my satisfaction, & I've got a system for 32mm unhanded panels, box heights, etc.
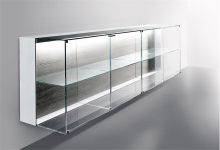
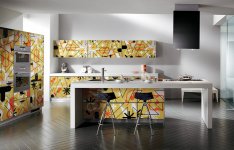
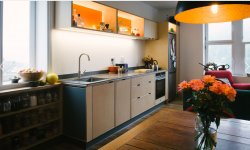
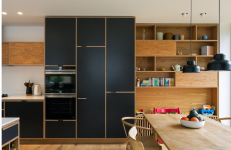
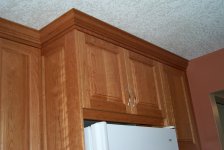
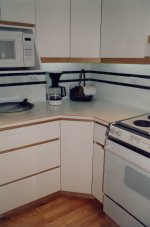
What I need is education/inspiration on how to trim them out, details on termination at walls, inside/outside corners, transitions, etc. Basically, all the stuff that takes a boring set of 32mm plywood boxes and adds the "wow" factor. I want to learn how to create a closet or kitchen that would end up in a Dwell magazine photo spread.
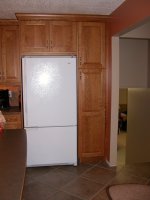
I have an old book on using stock cabinets for built-ins, but it focuses on face-frame cabinets and is lacking the contemporary/modern look we want. When I search for this everything I get is also skewed towards more traditional styles. Absolutely zero interest in face-frame cabinets.
Appreciate any input, suggestions, or resources. Images are especially helpful as I try to communicate all this to the boss. [not worthy]
RMW
What I need is education/inspiration on how to trim them out, details on termination at walls, inside/outside corners, transitions, etc. Basically, all the stuff that takes a boring set of 32mm plywood boxes and adds the "wow" factor. I want to learn how to create a closet or kitchen that would end up in a Dwell magazine photo spread.
I have an old book on using stock cabinets for built-ins, but it focuses on face-frame cabinets and is lacking the contemporary/modern look we want. When I search for this everything I get is also skewed towards more traditional styles. Absolutely zero interest in face-frame cabinets.
Appreciate any input, suggestions, or resources. Images are especially helpful as I try to communicate all this to the boss. [not worthy]
RMW


 we might as well dig deeper.