derekcohen
Member
- Joined
- Jun 22, 2008
- Messages
- 932
Lynndy and I were in Auckland, New Zealand recently for the wedding of her niece. We stayed with her brother and his wife. They have a wonderful home with some nice examples of arts and crafts furniture, one of which was an apothecary chest. I really love these pieces, and Lynndy especially has wanted one forever. So the order was placed and a spot lined up in the entrance hall.
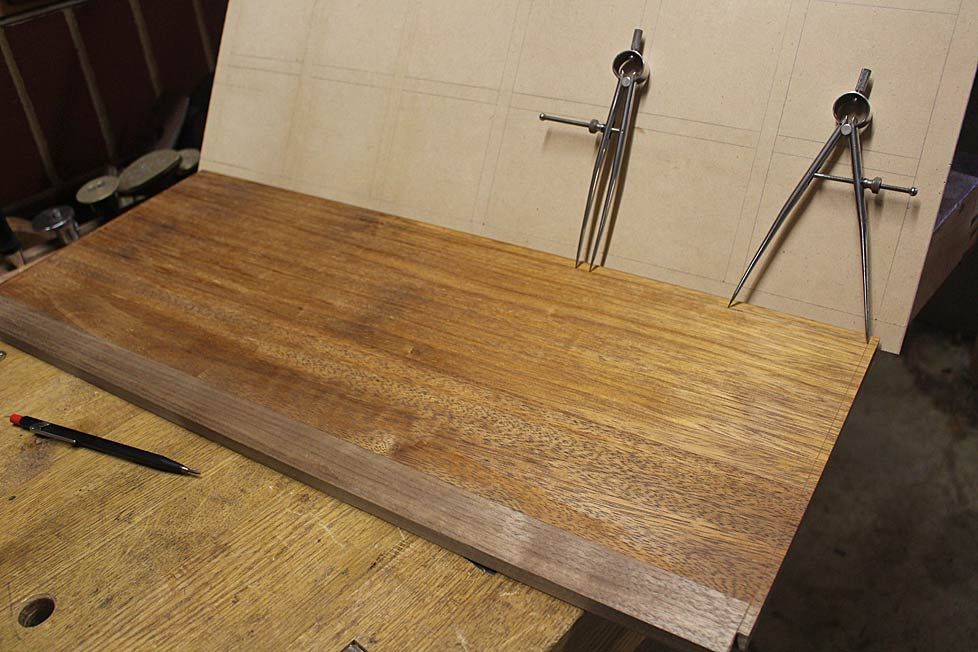
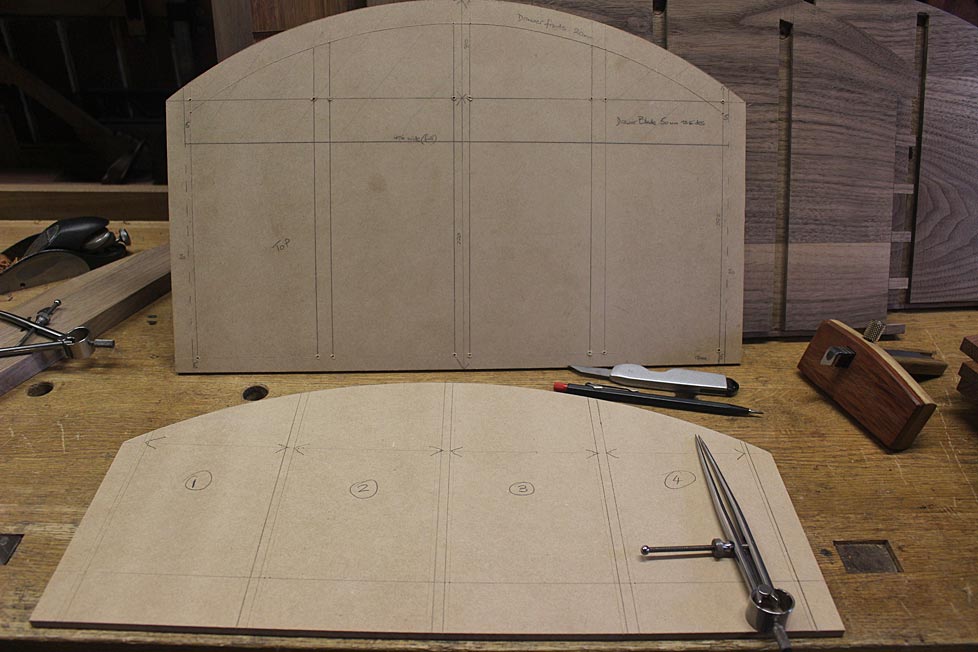
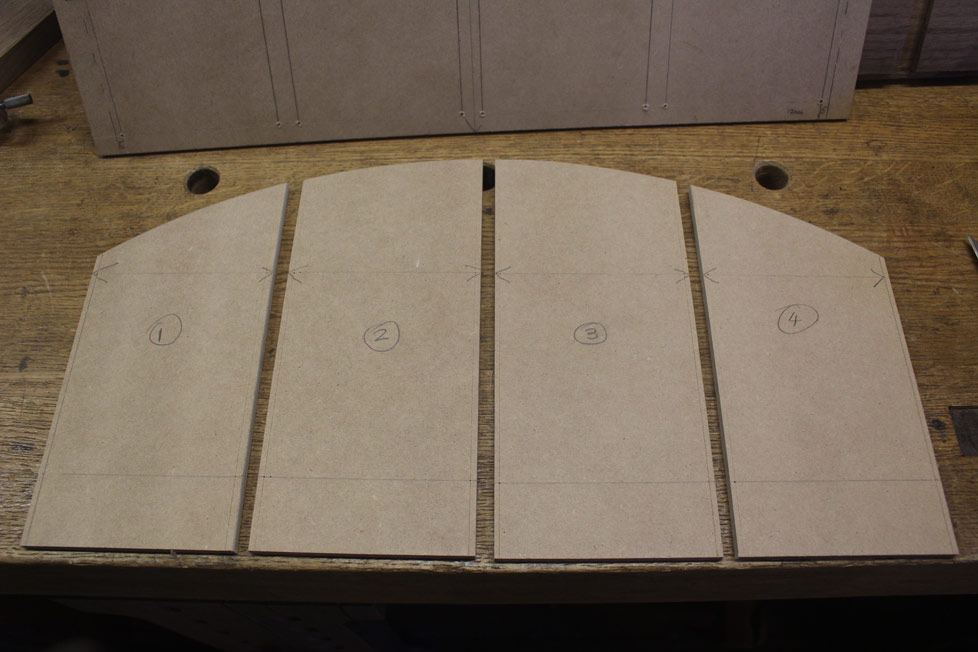
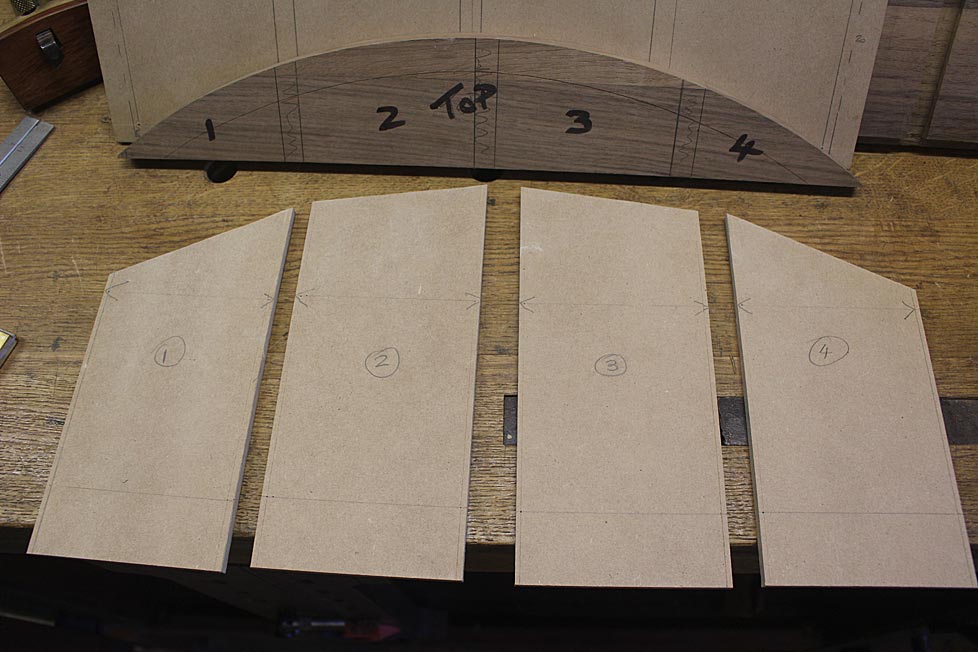
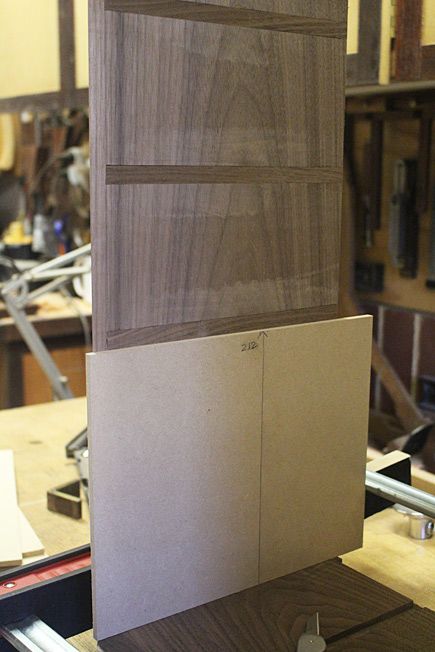
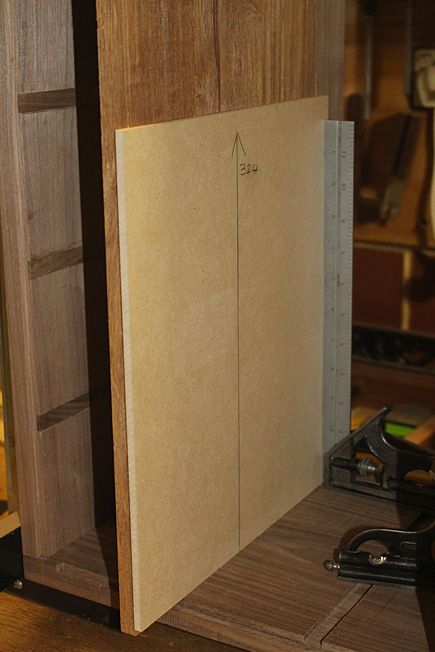
The design was mostly worked out in idle musing, and then I drew it up on sheets of 6mm MDF (I like this since the sheets end up as a story board and may be stored away more easily if needed at a later date).
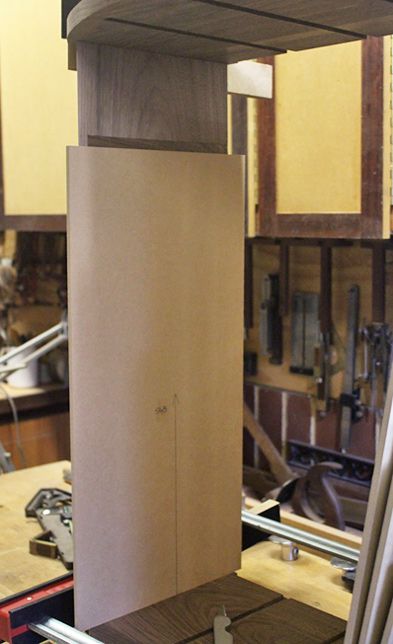
The orientation is vertical, rather than typically horizontal, more along the lines of a Krenov-styled cabinet. I’ve never built a Krenov-styled cabinet and, as far as I am aware, he never built an apothecary chest!") In other words, this is a chest on a stand. As an aside, I am not enamoured with the spindly legs of Krenov designs, and something with substance is needed. More on this at a later date.
In other words, this is a chest on a stand. As an aside, I am not enamoured with the spindly legs of Krenov designs, and something with substance is needed. More on this at a later date.
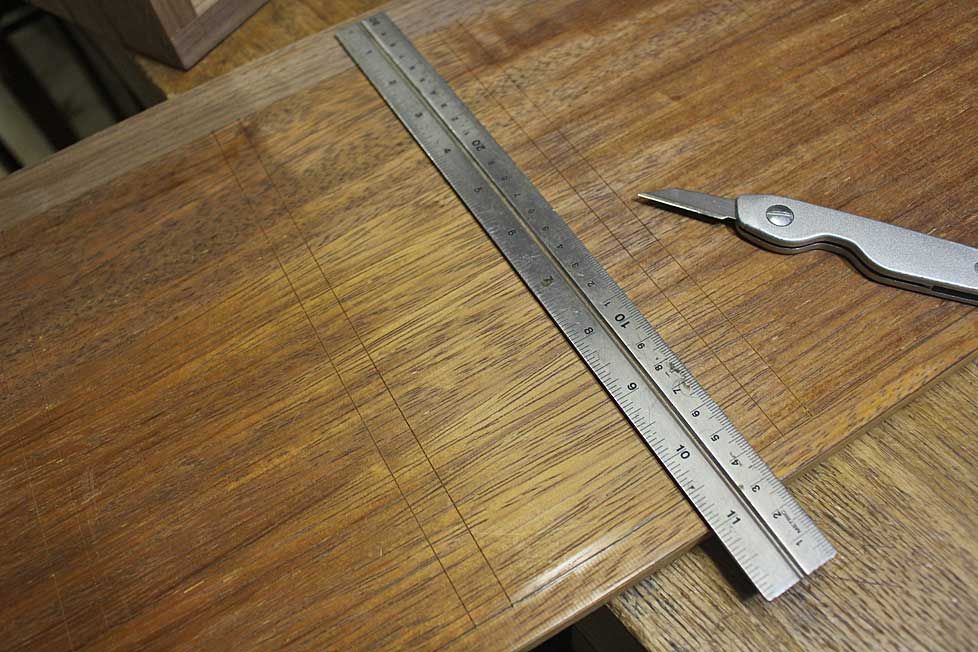
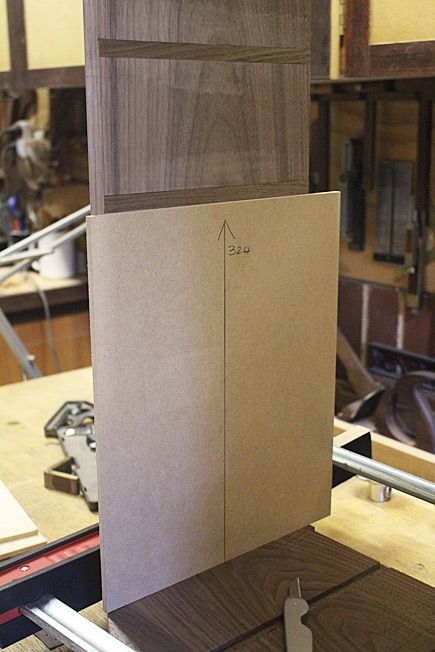
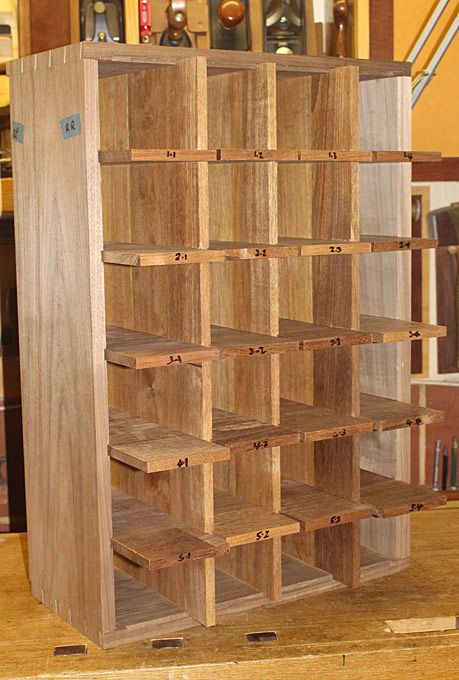
The chest will contain 24 drawers, in 6 rows (so 4 drawers across and 6 rows down) …
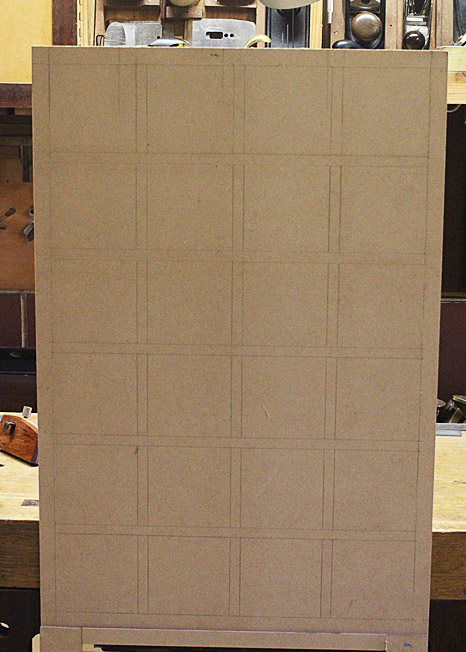
What has changed in the drawing above is the rows will be made to accentuate the vertical rather than the horizontal (by running the blades/dividers down first). This is more work, but is should create a different perspective.
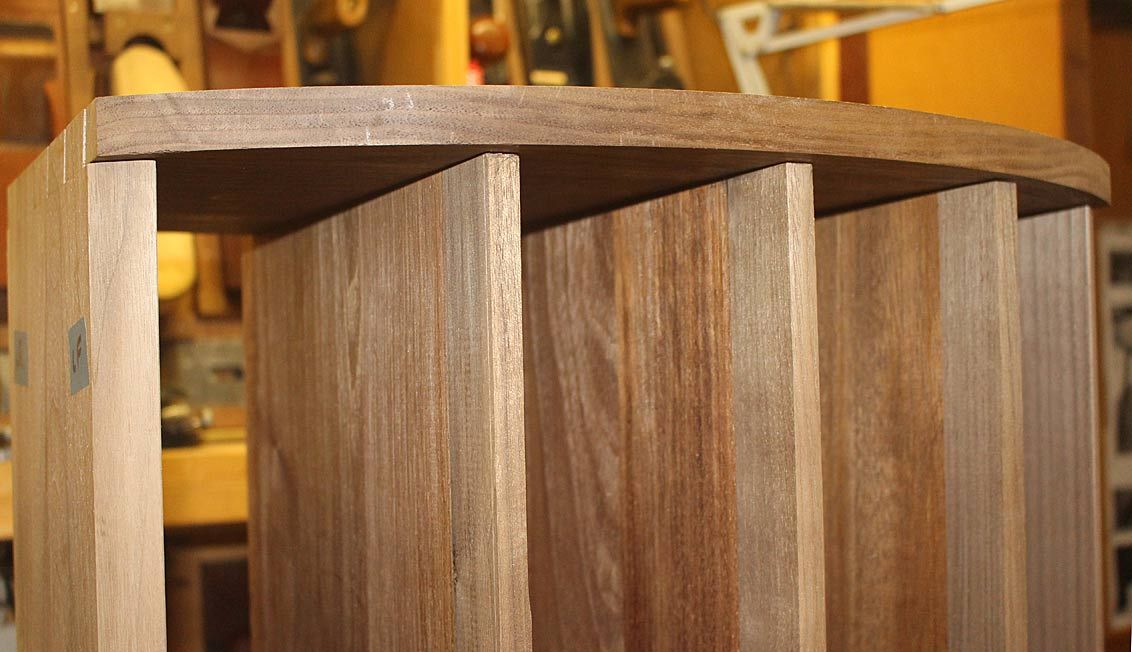
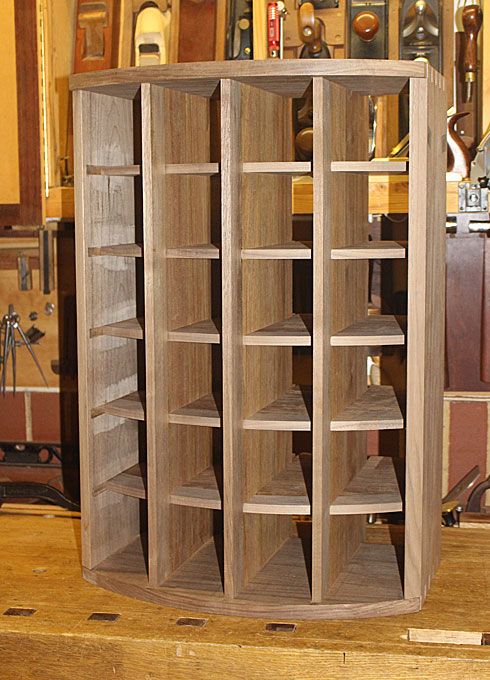
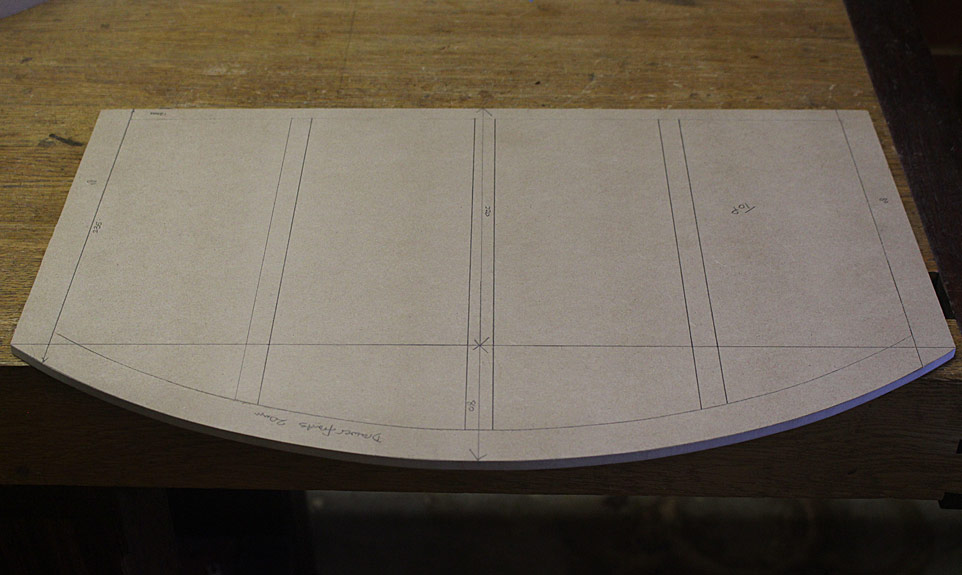
I have never seen a curved apothecary chest before, so this may be the first one …
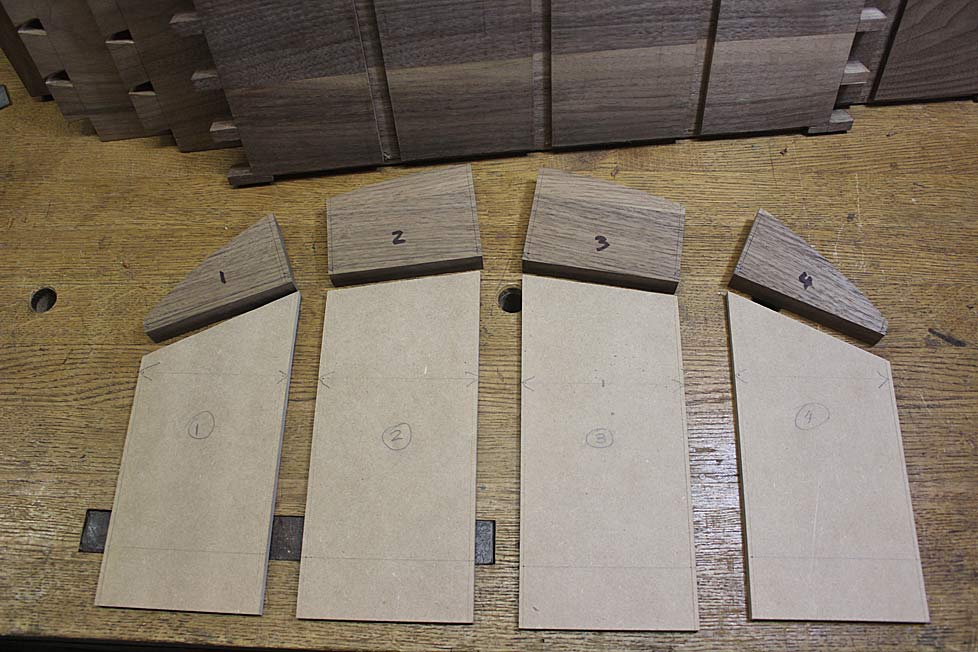
The wood is another first for me – black walnut from the USA. My local timber guy had a stack of 1” and 2” thick boards, all about 11-12” wide.
(For those who see metric measurements on the plans and here is mentioned imperial sizing, be aware that this is my common practice. The jointer-planer/thicknesser I have is European, and metric. The hand tools, such as a plough plane, are imperial).
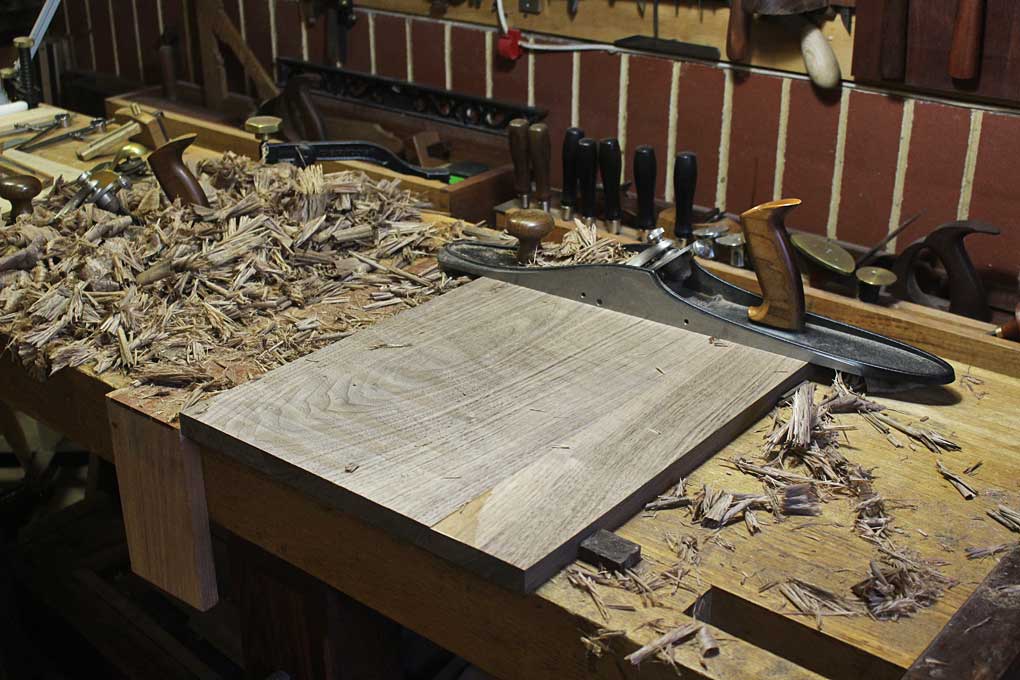
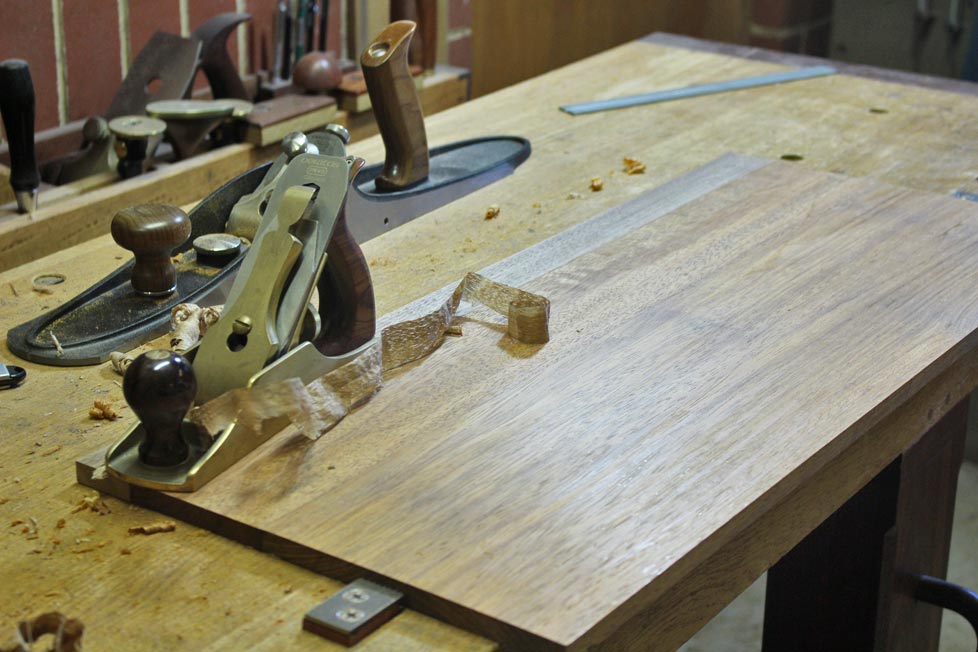
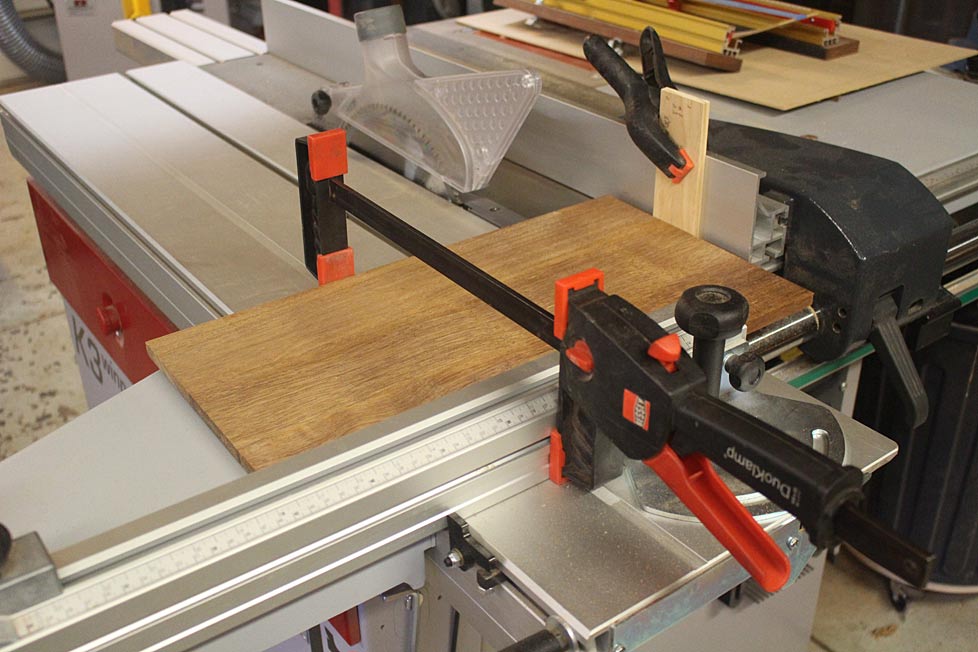
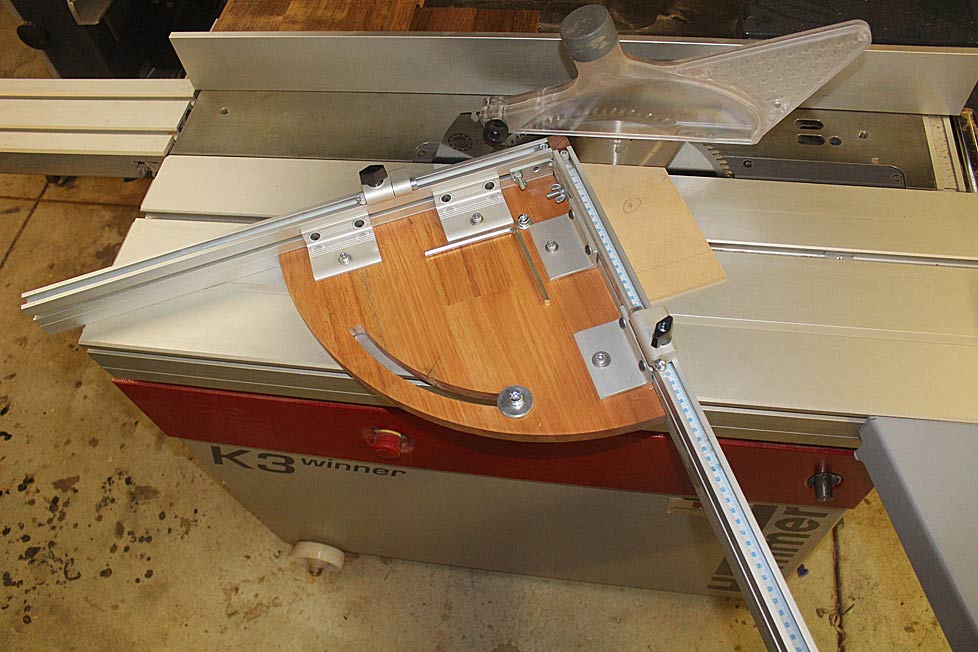
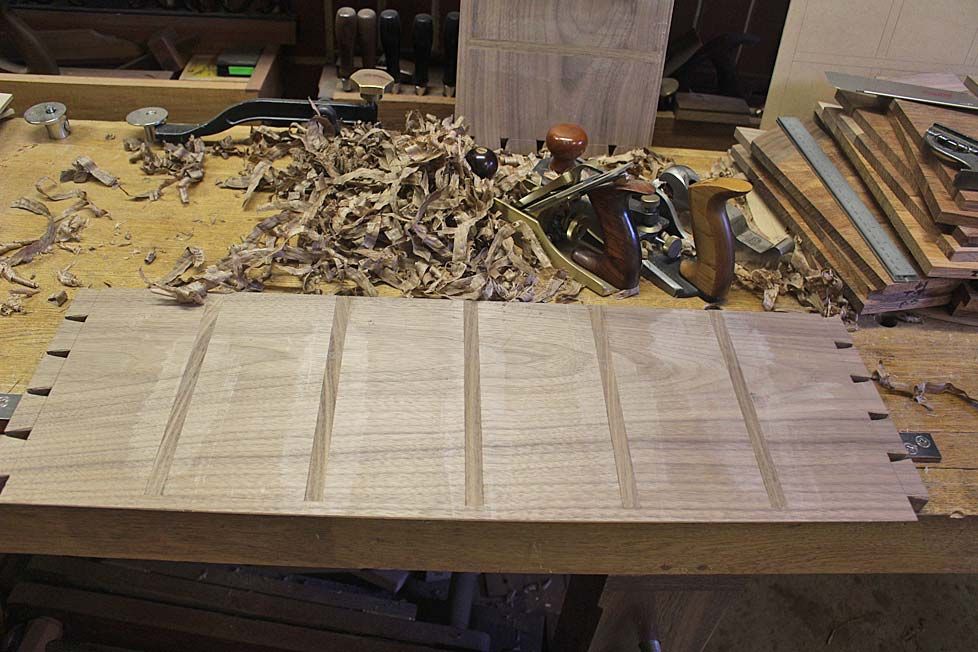
The boards are thicknessed a little oversize, glued up, and then taken to final dimension with hand planes.
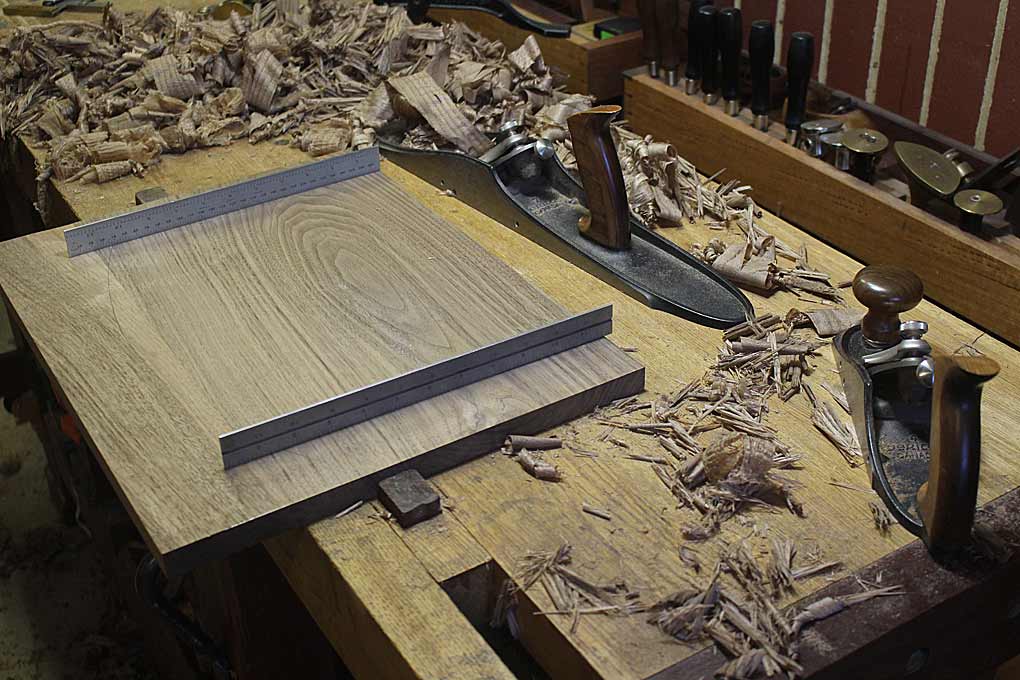
The walnut is so easy to plane. I get why so many rave about working with it.
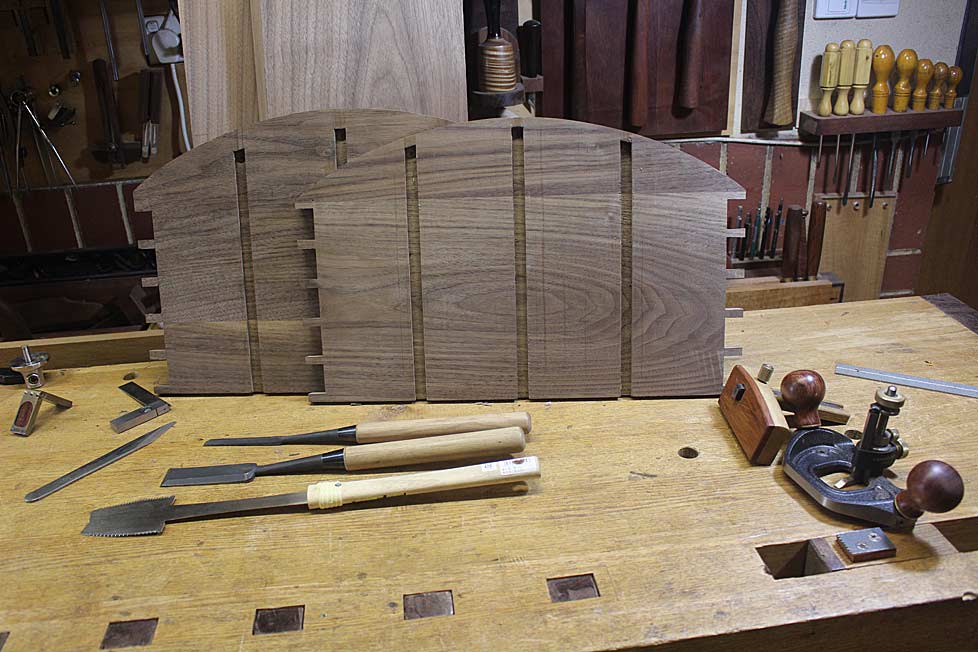
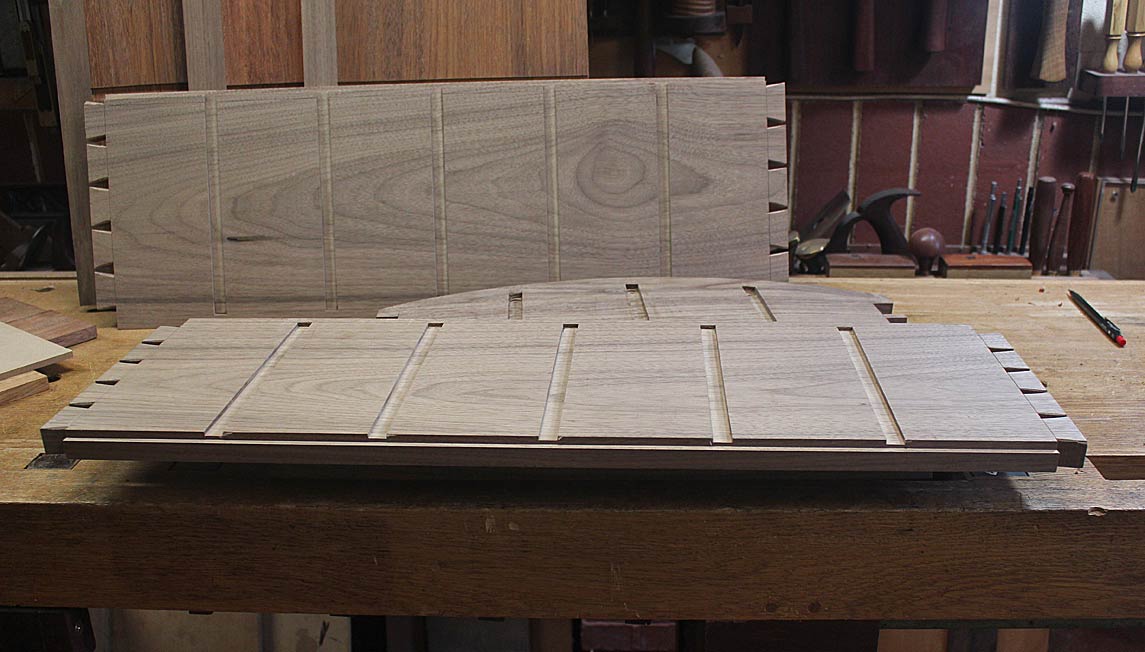
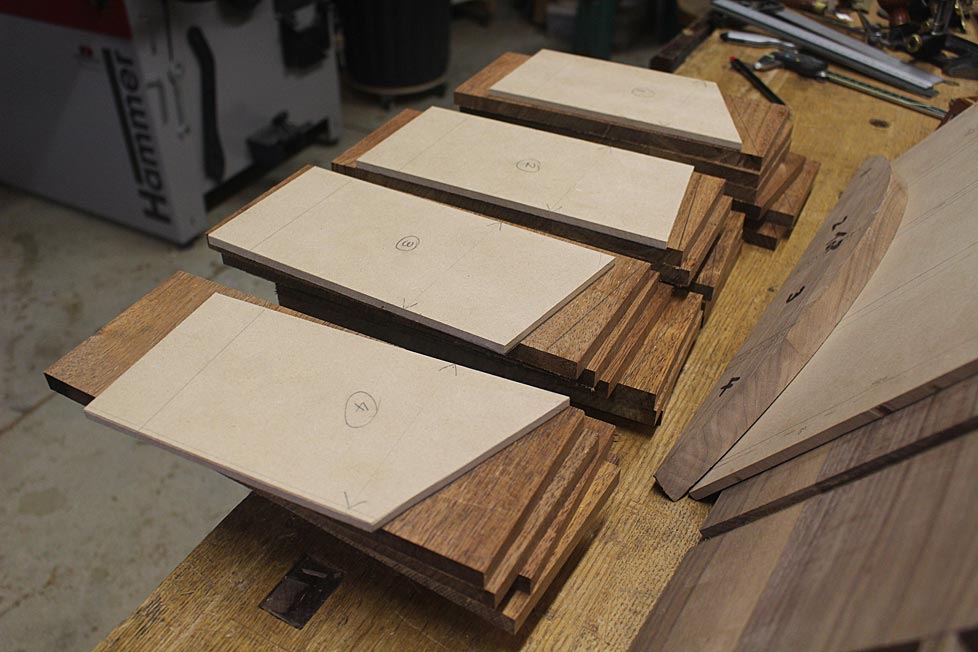
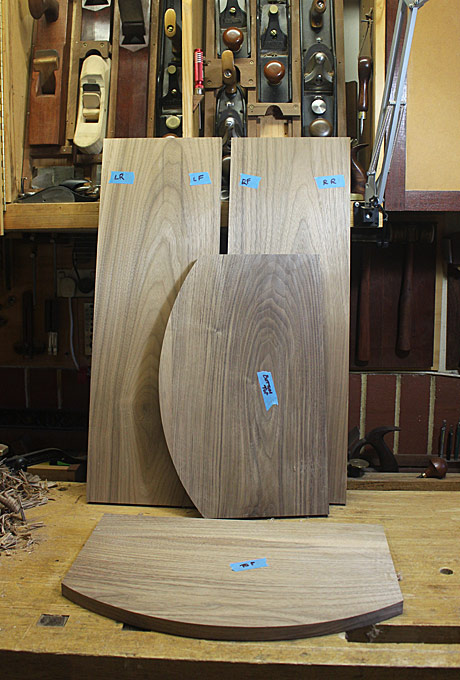
Don’t you love it when the carcase parts are done. These are all 20mm thick …
Starting to put it together
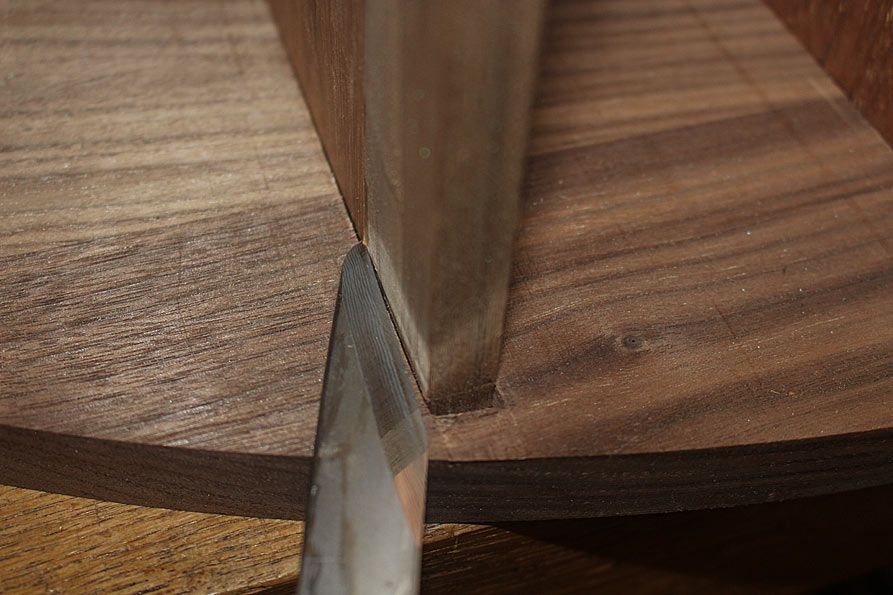
Starting from the bottom up, the side panels are left a little long as they will need to be given a curved bevel to meld with the bottom panel …
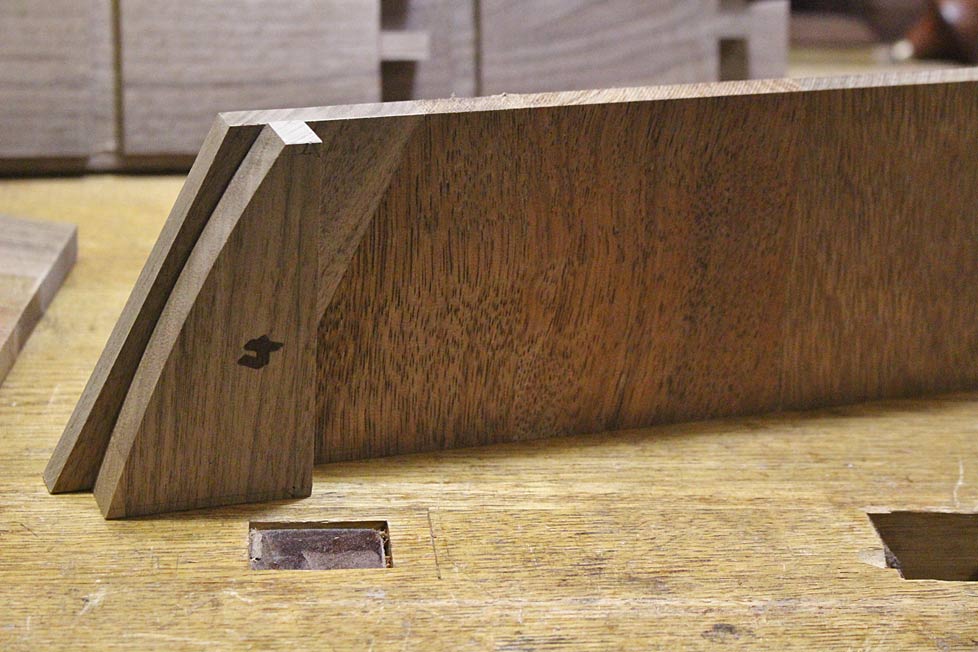
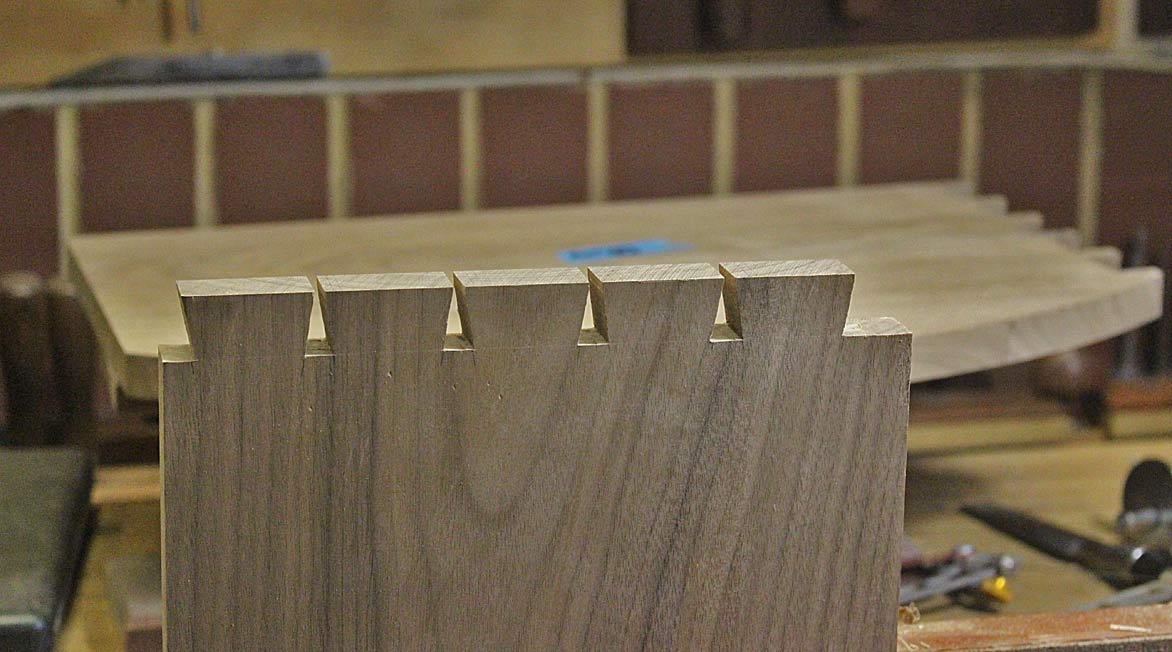
The dovetails are in the ratio of 6:1 – I felt the slightly extra wider base would add a little more authority.
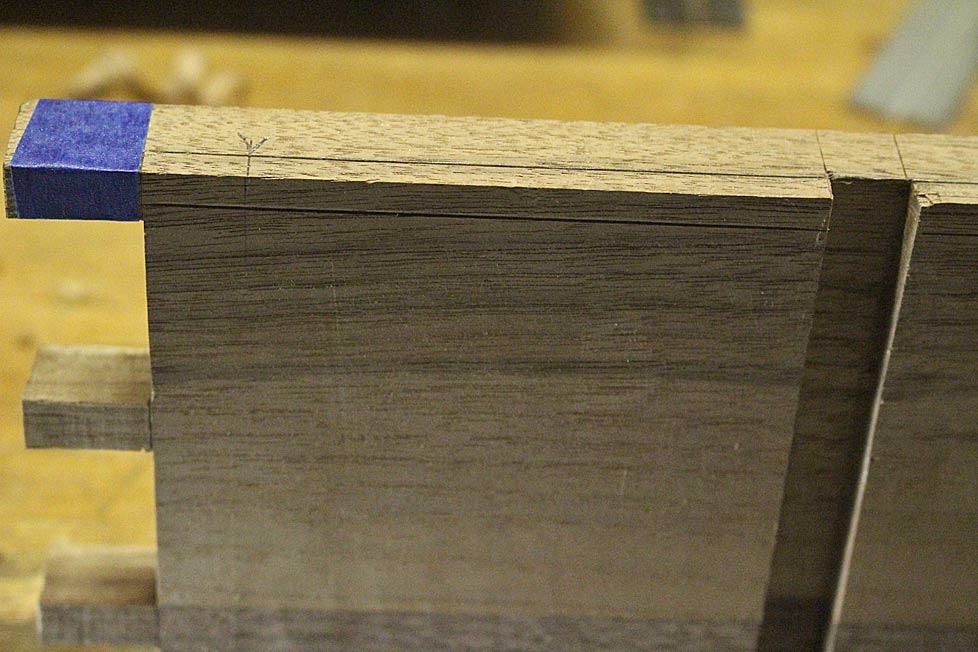
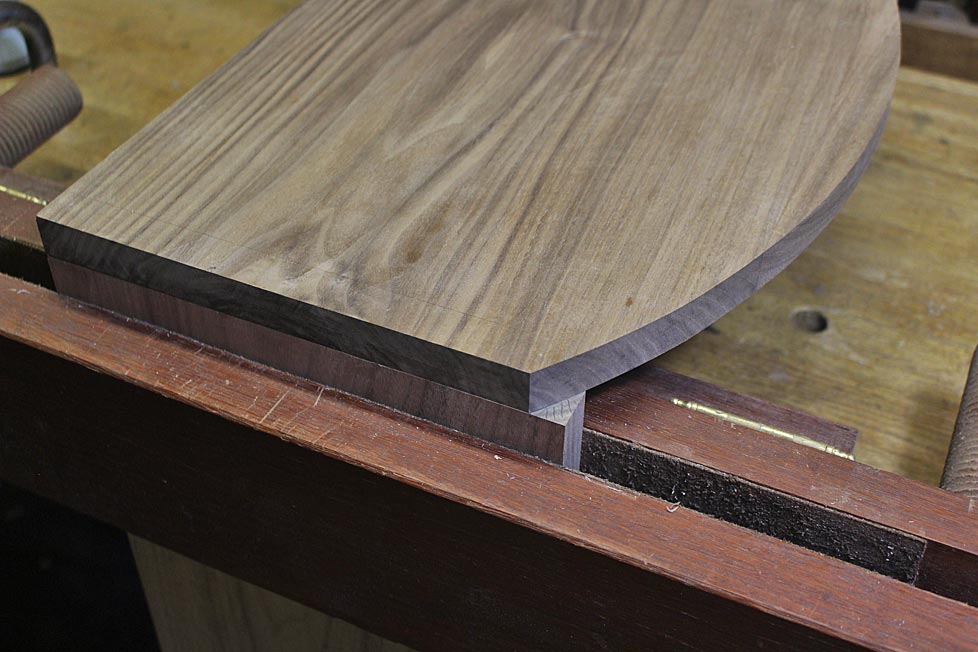
Here’s the first completed corner. It is important that the joints are tight (obviously) but also that they moved apart readily, since the cabinet carcase will be pulled apart, put together, and pulled apart many times as the drawer blades are measured and fitted ...
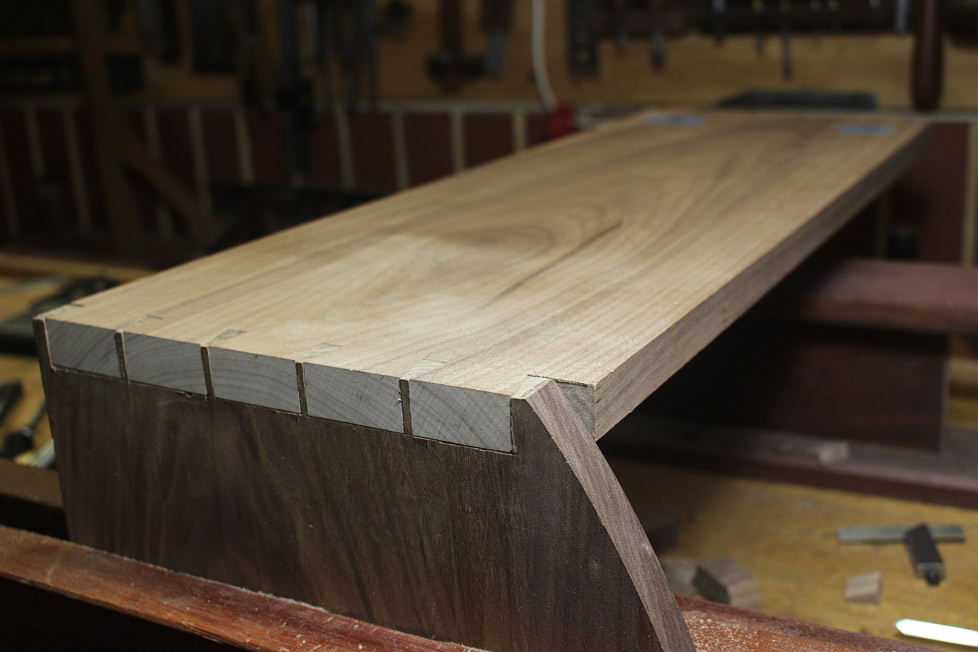
Note, also, the area that will need to be bevelled away. This is marked.
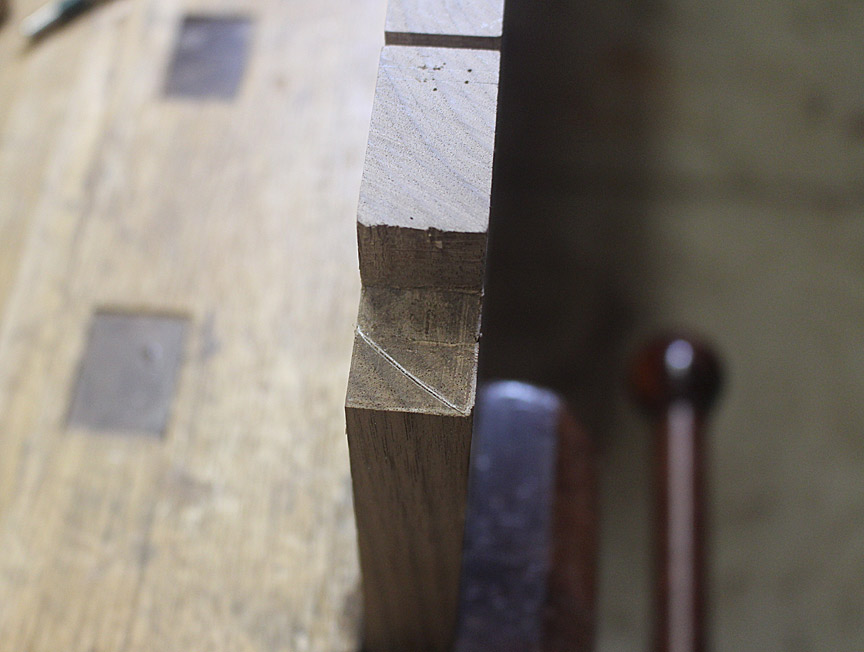
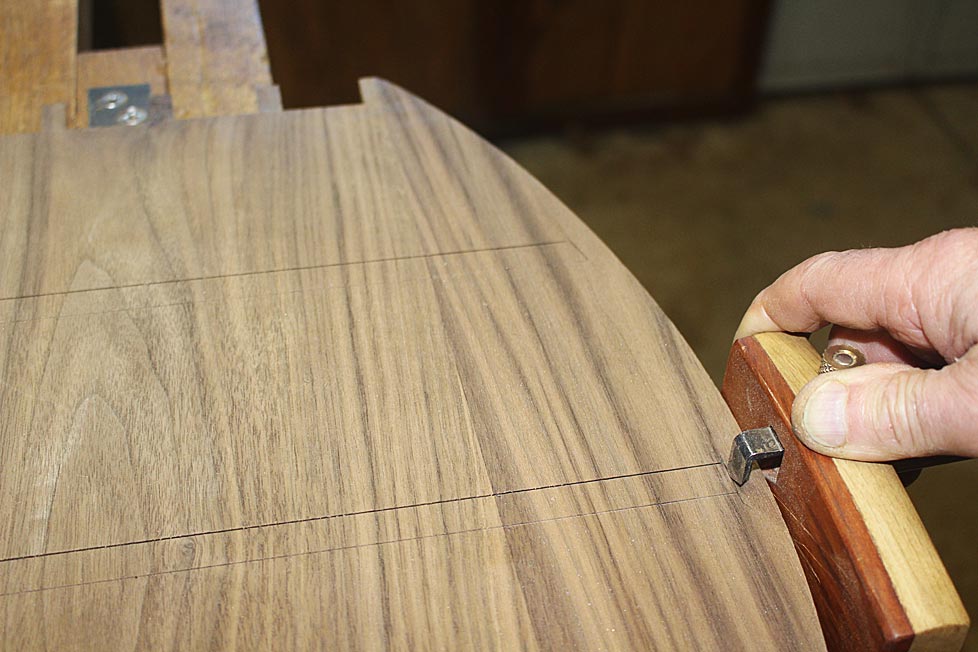
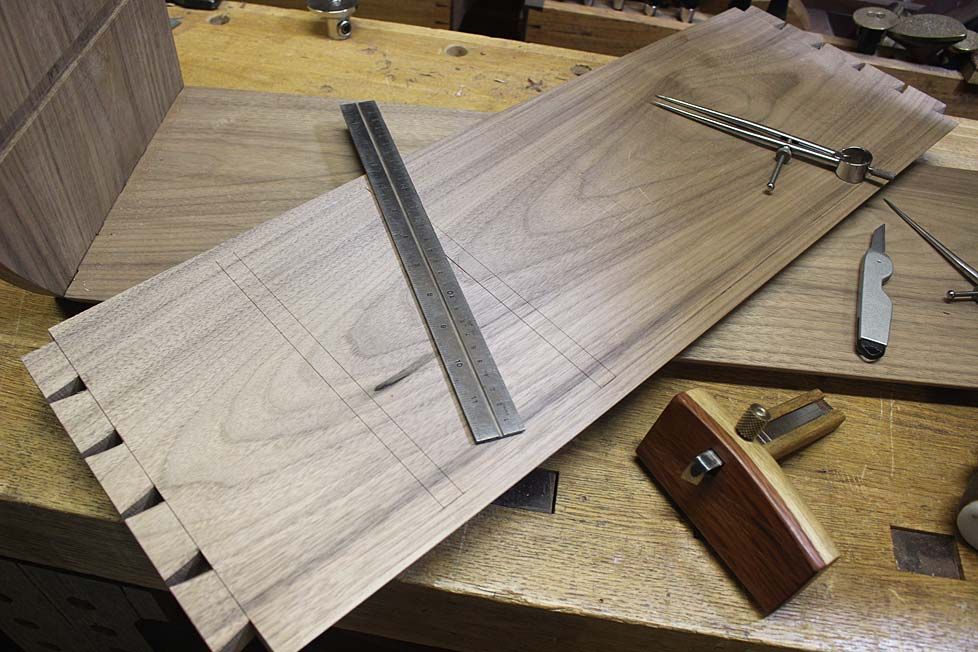
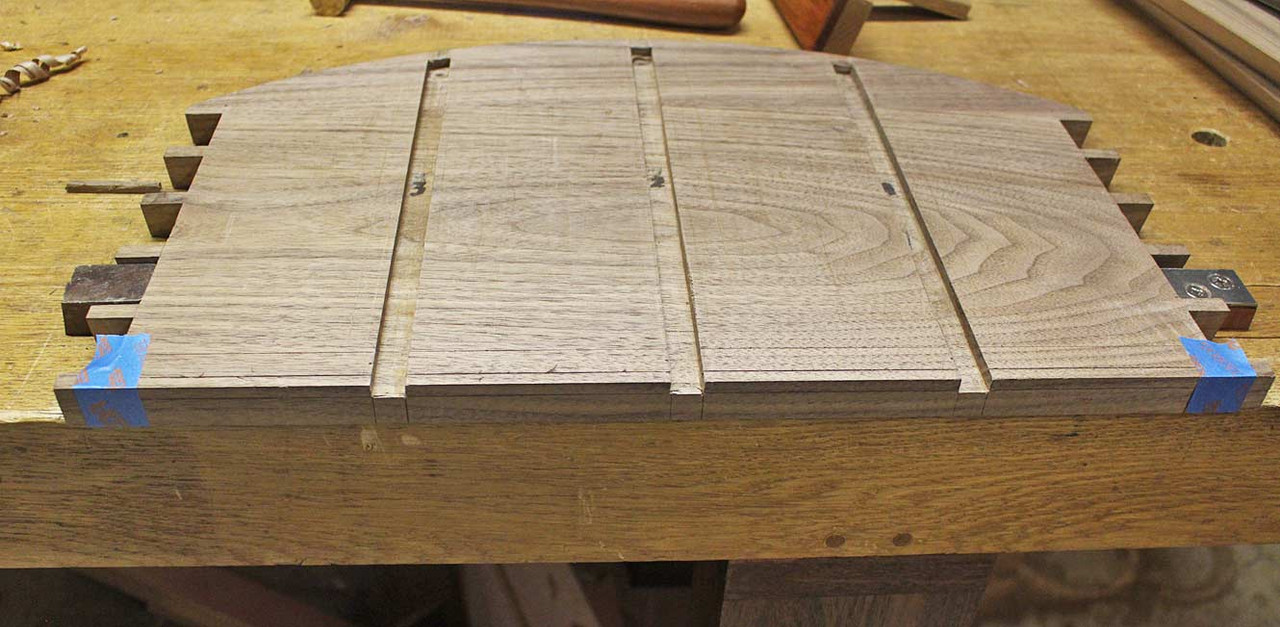
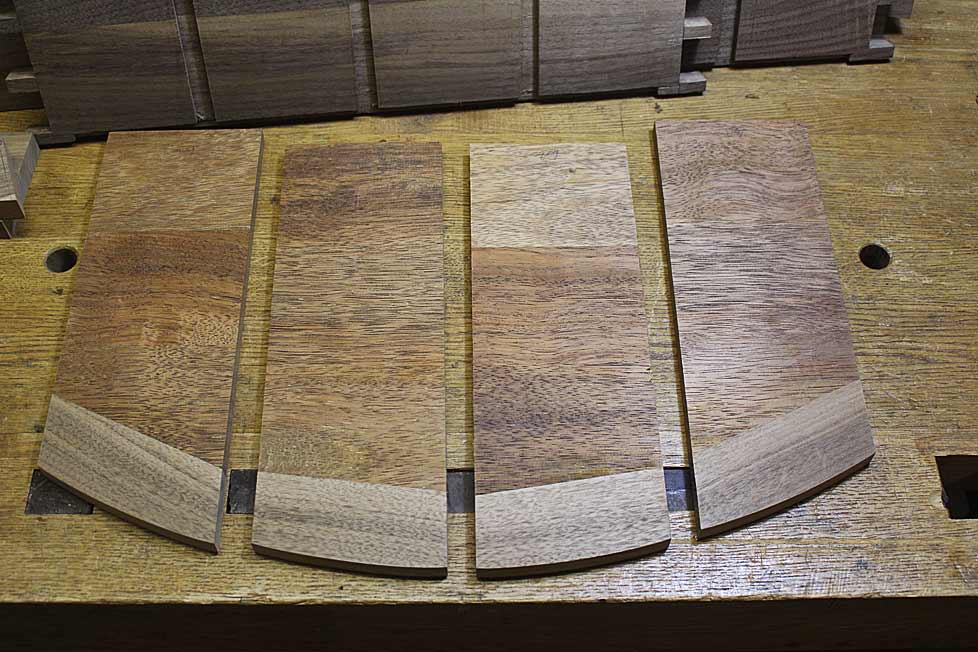
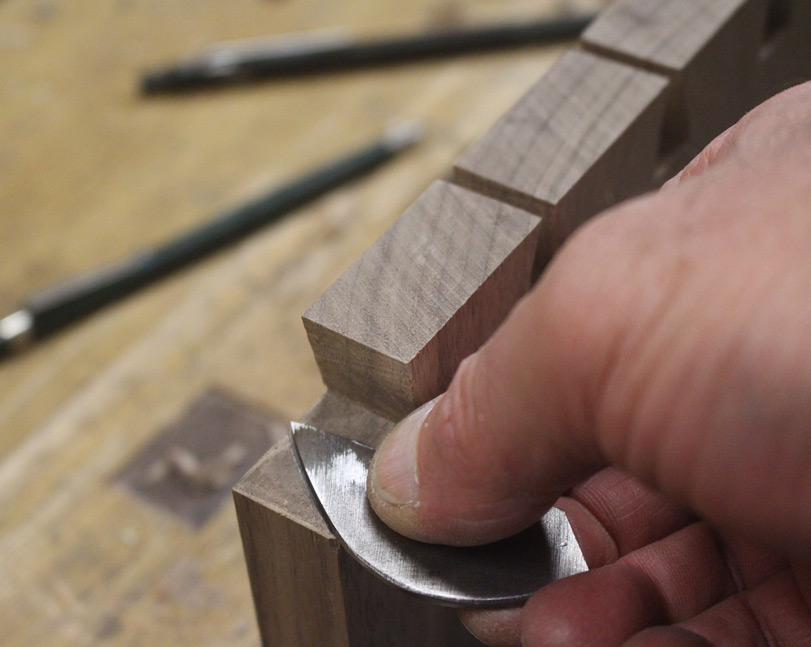
Now the dimension of the bevel is taken the length of the panel …
I made up a template of the curve by grinding a piece of scrap steel (chosen because it was lying around) …
… and the curve is transferred to the other end of the panel.
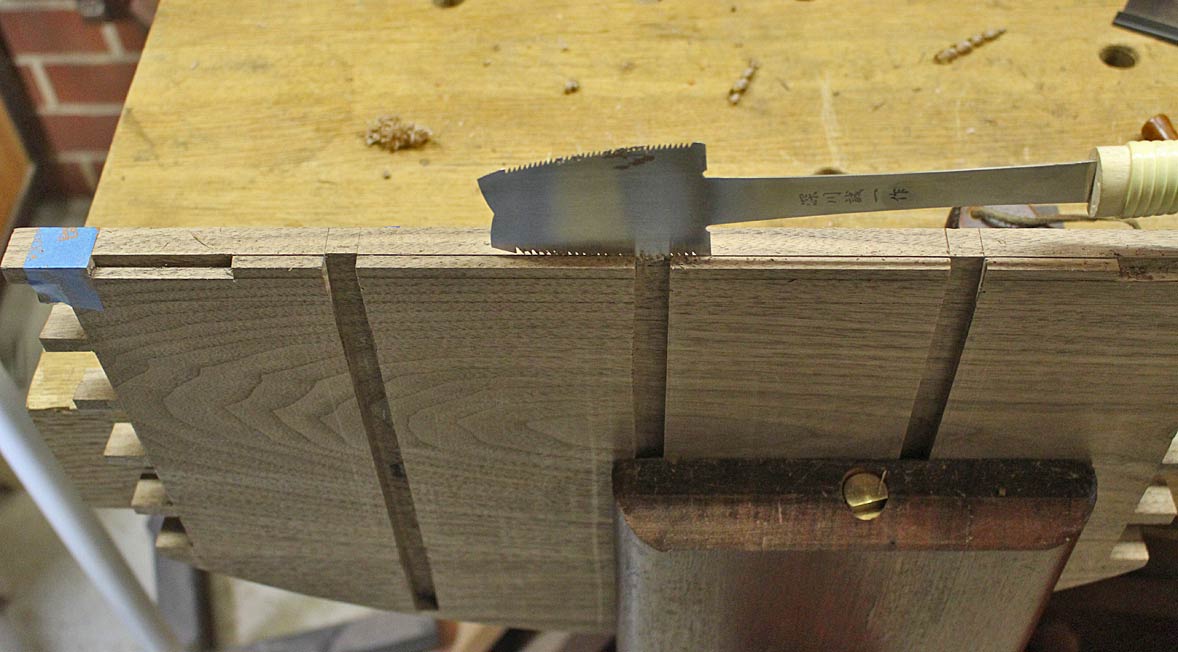
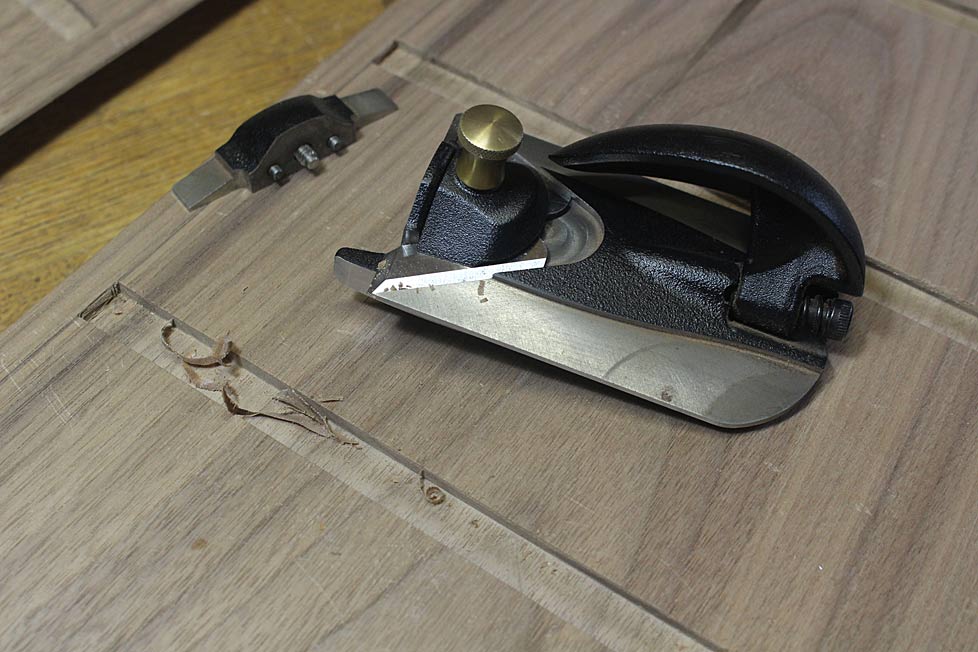
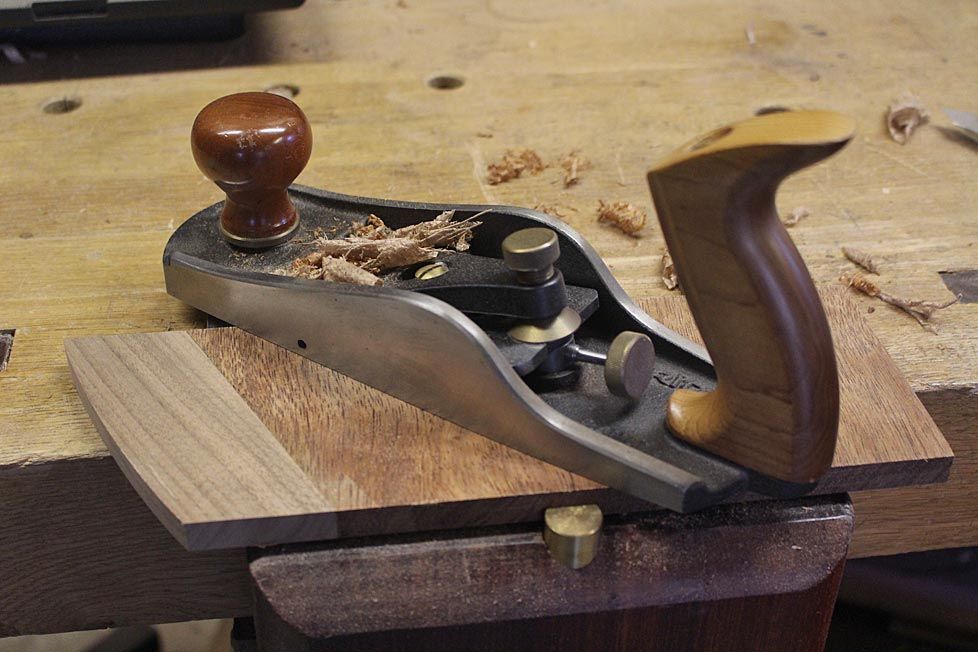
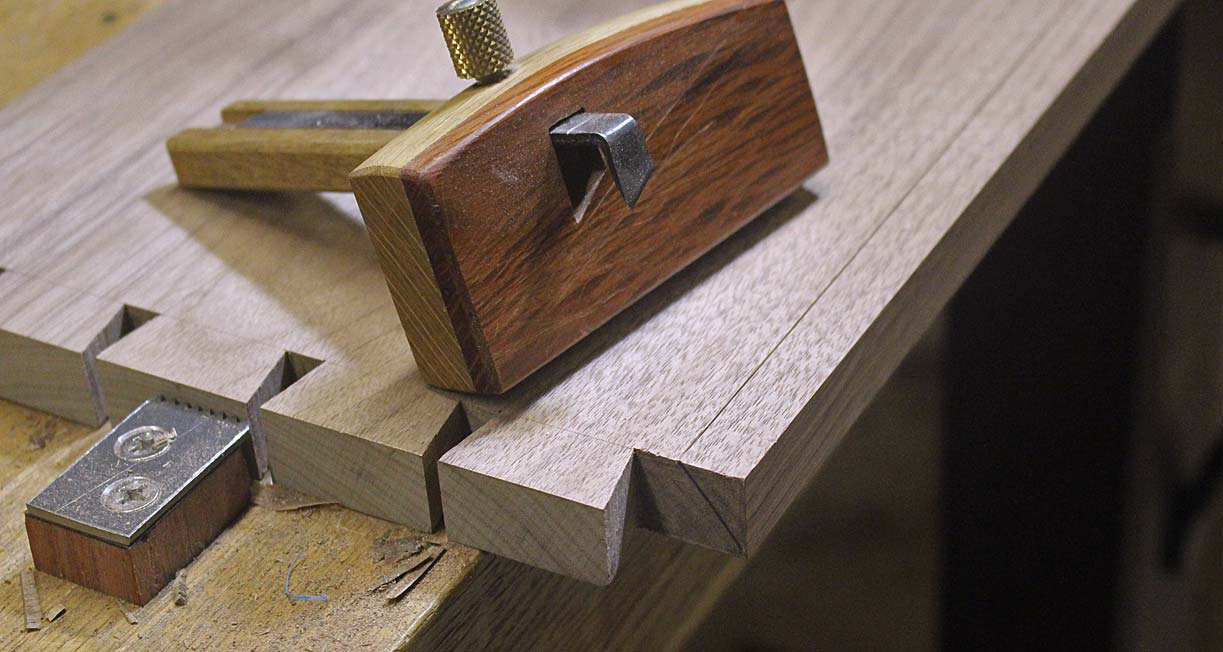
The waste is planed away with, firstly, a jack plane (shop made) …

... and then a modified HNT Gordon trying plane …
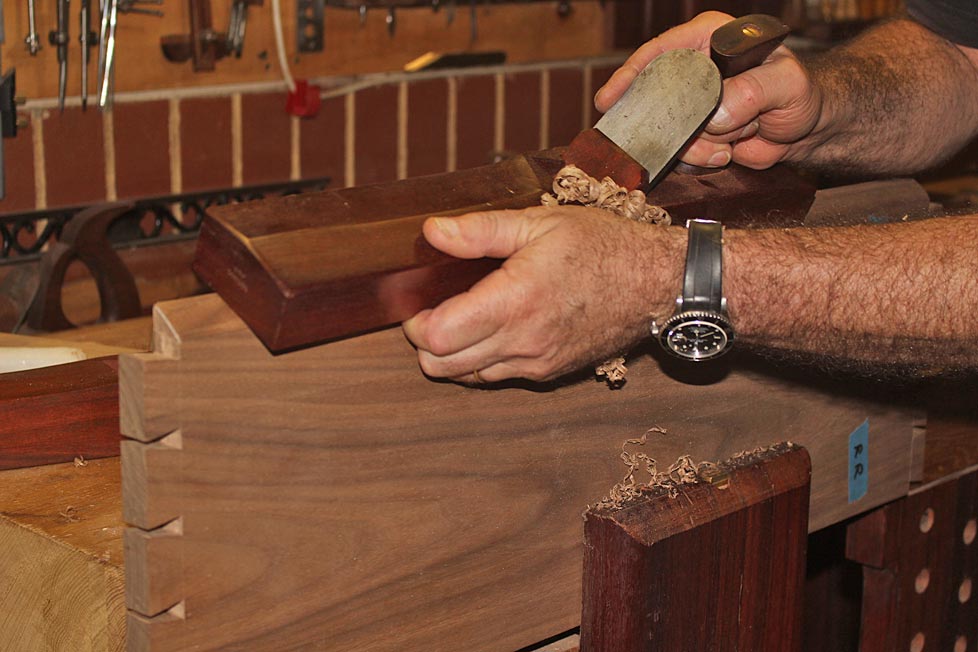
The reason for the trying plane is to keep the sides straight. A jointer plane could have substituted.
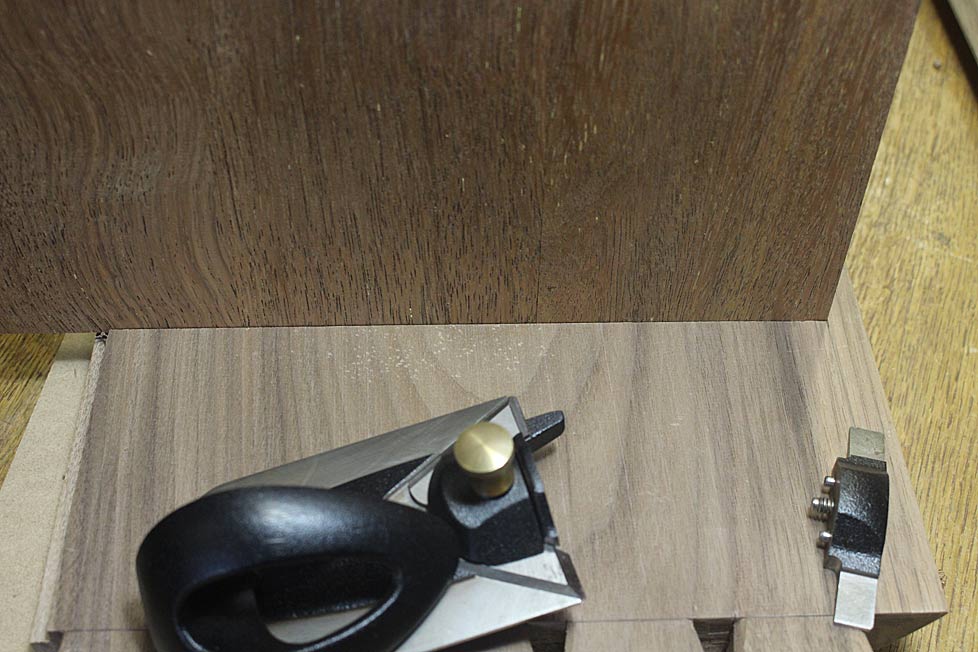
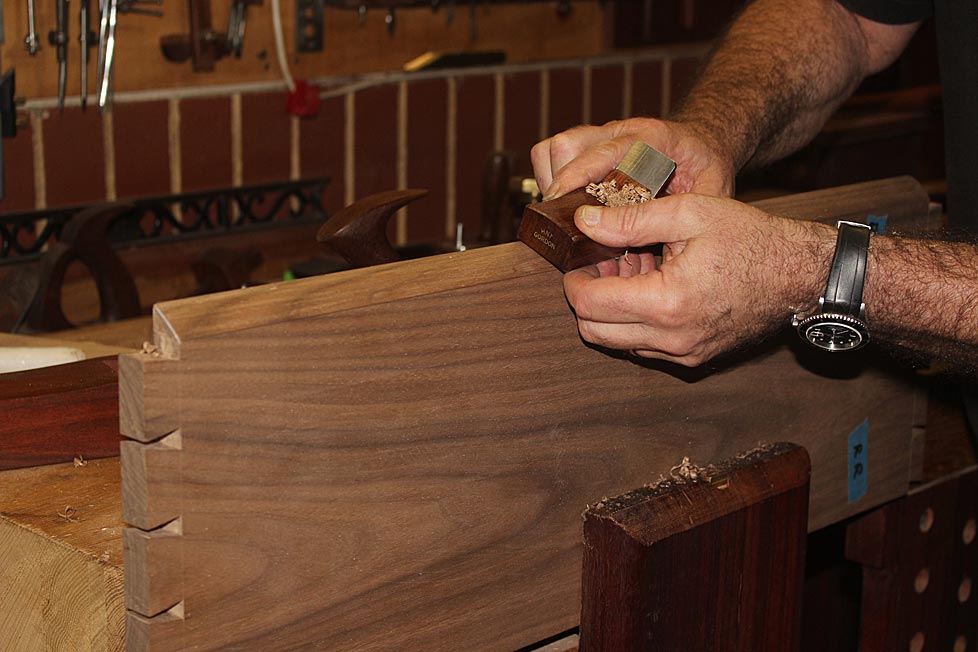
The final step here is to smooth and fair the surface with a HNT Gordon mini smoother …
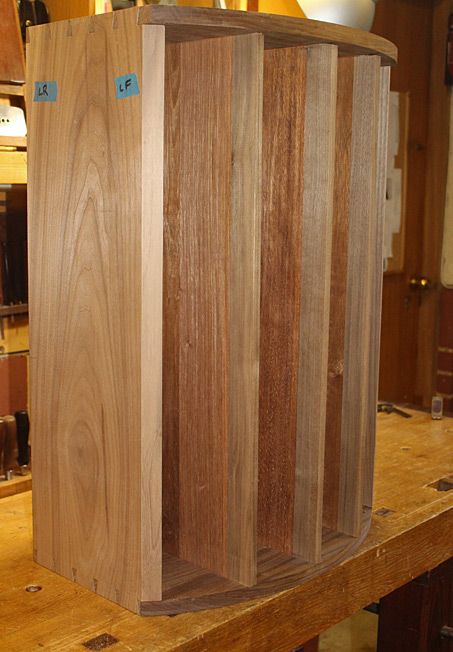
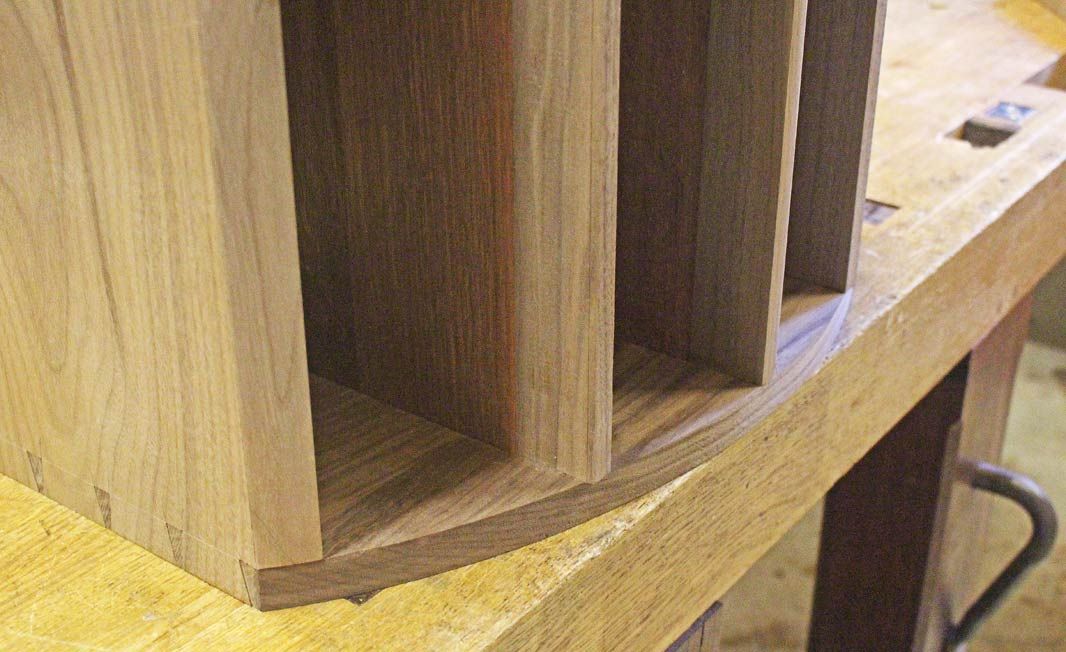
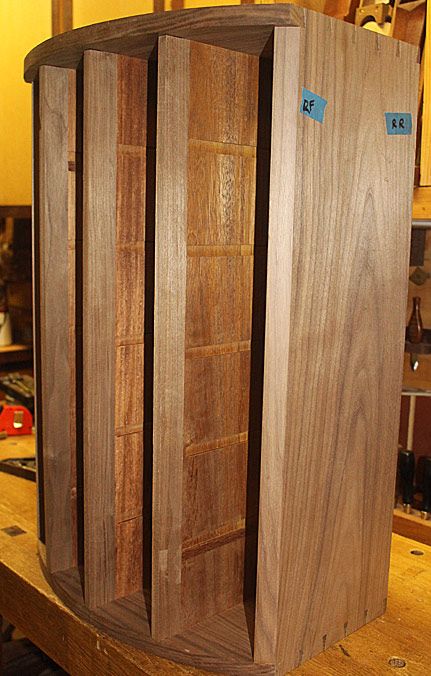
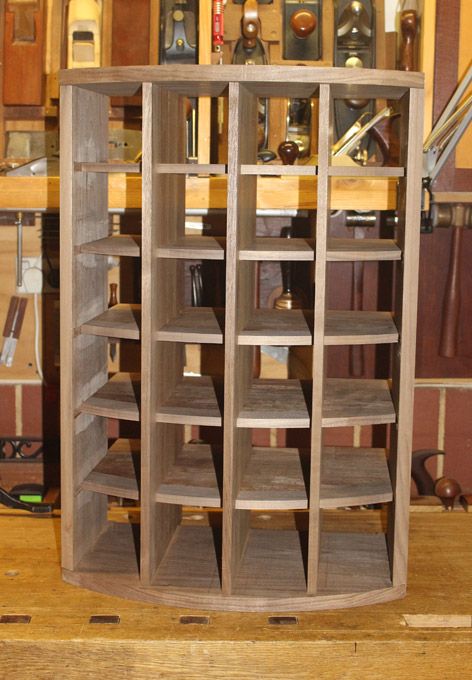
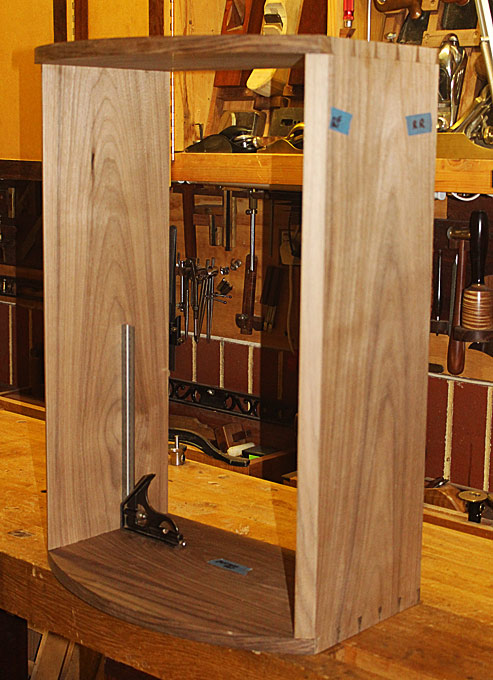
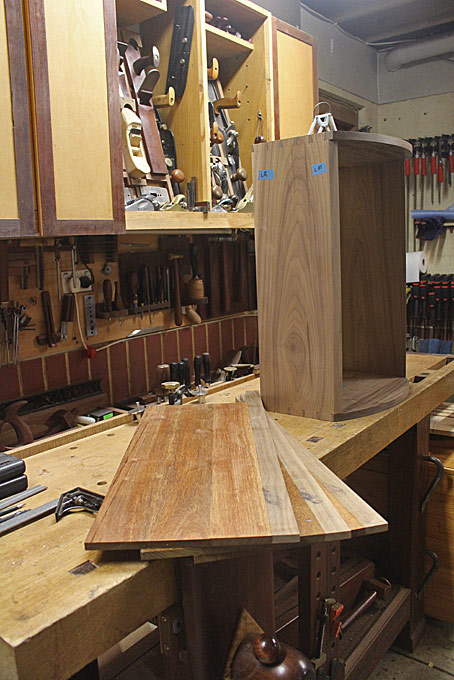
Finally, we get to complete the basic carcase (the flash makes the walnut look light, but it is dark in tone). the dimensions are 700mm high and 300mm deep (at the centre) …
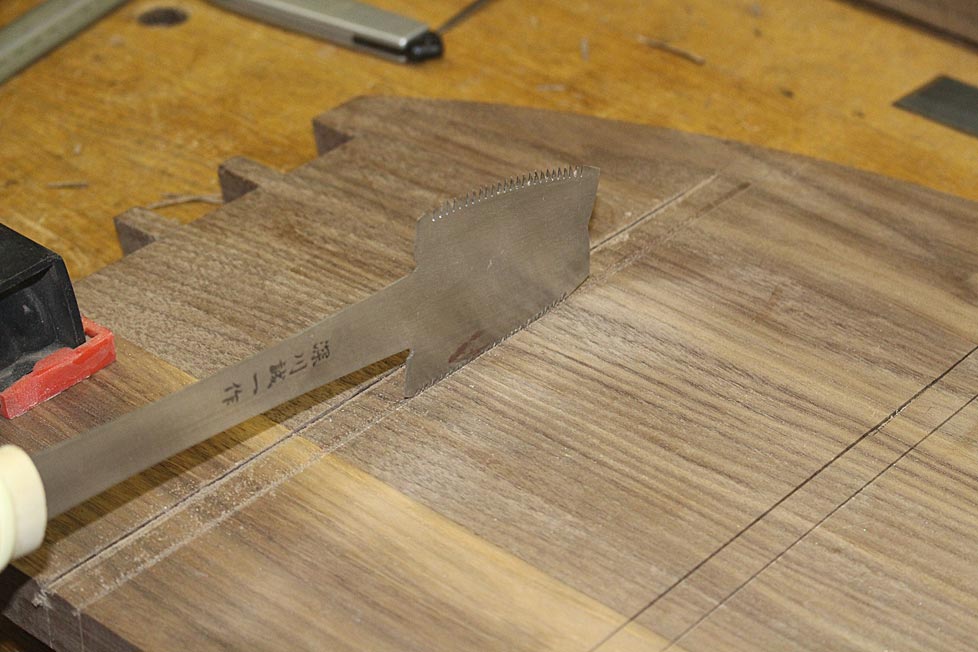
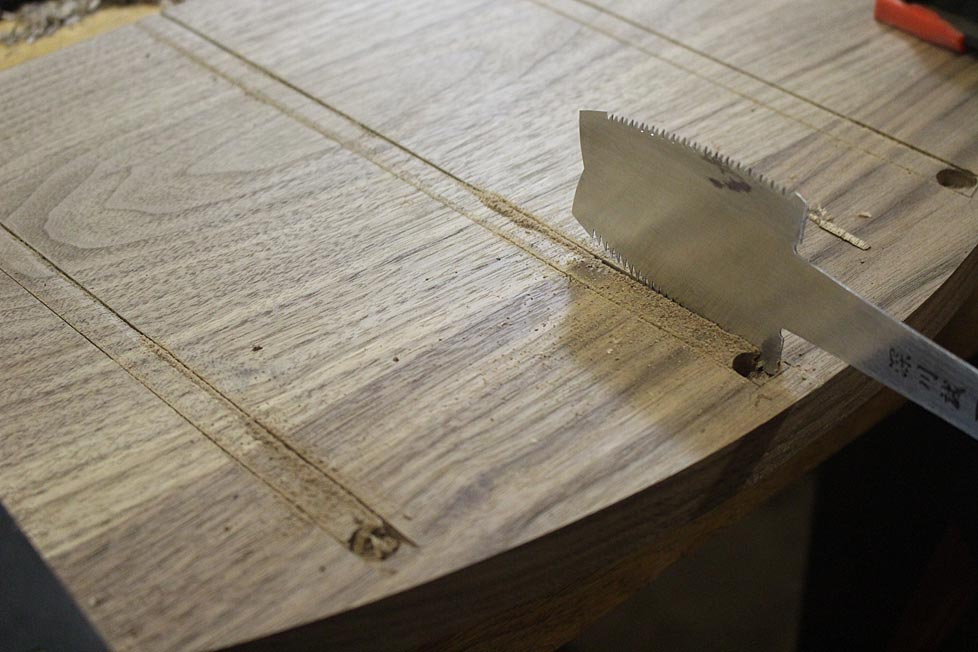
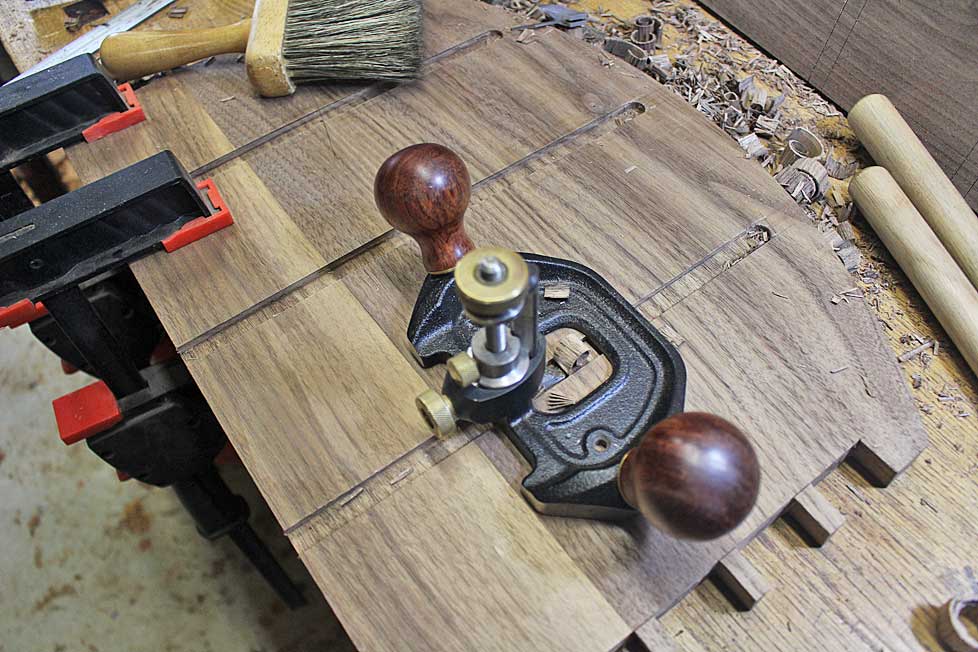
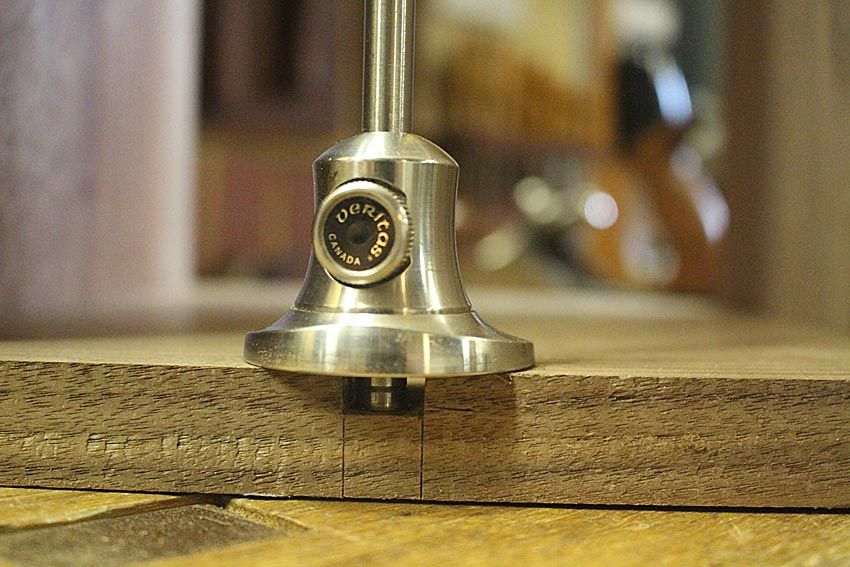
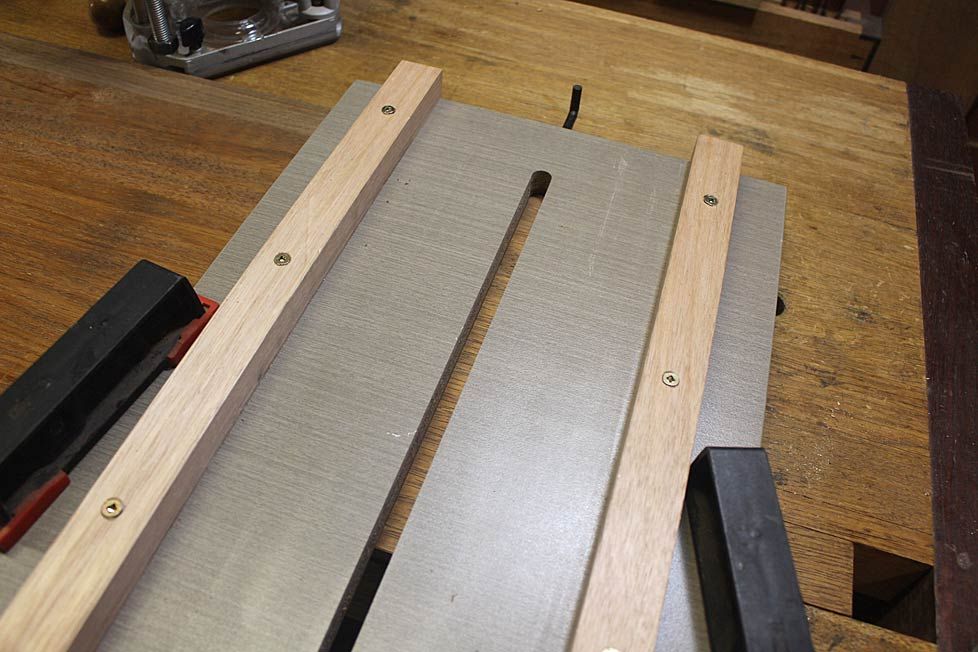
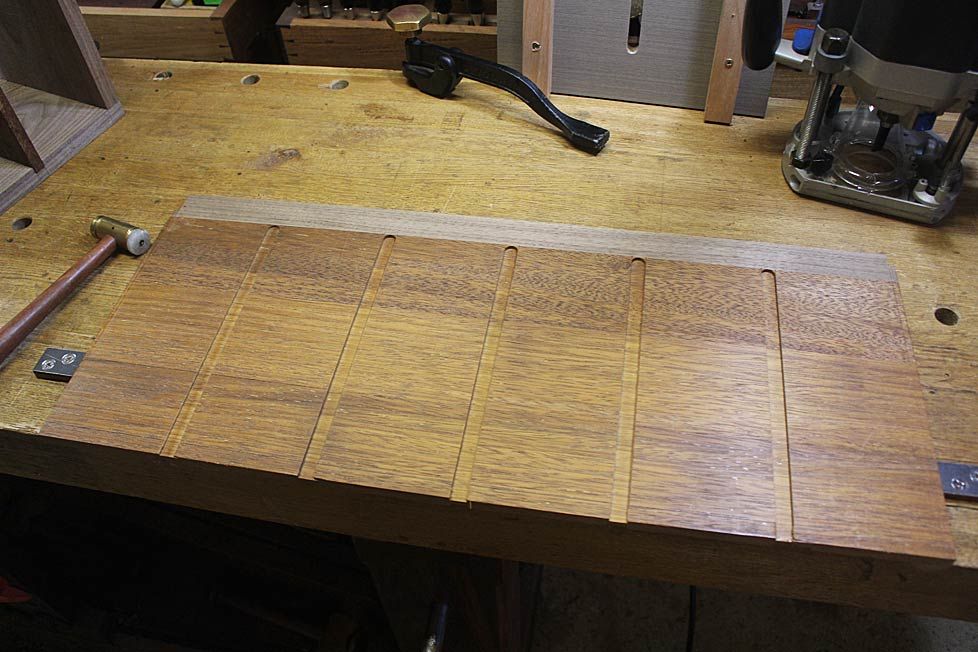
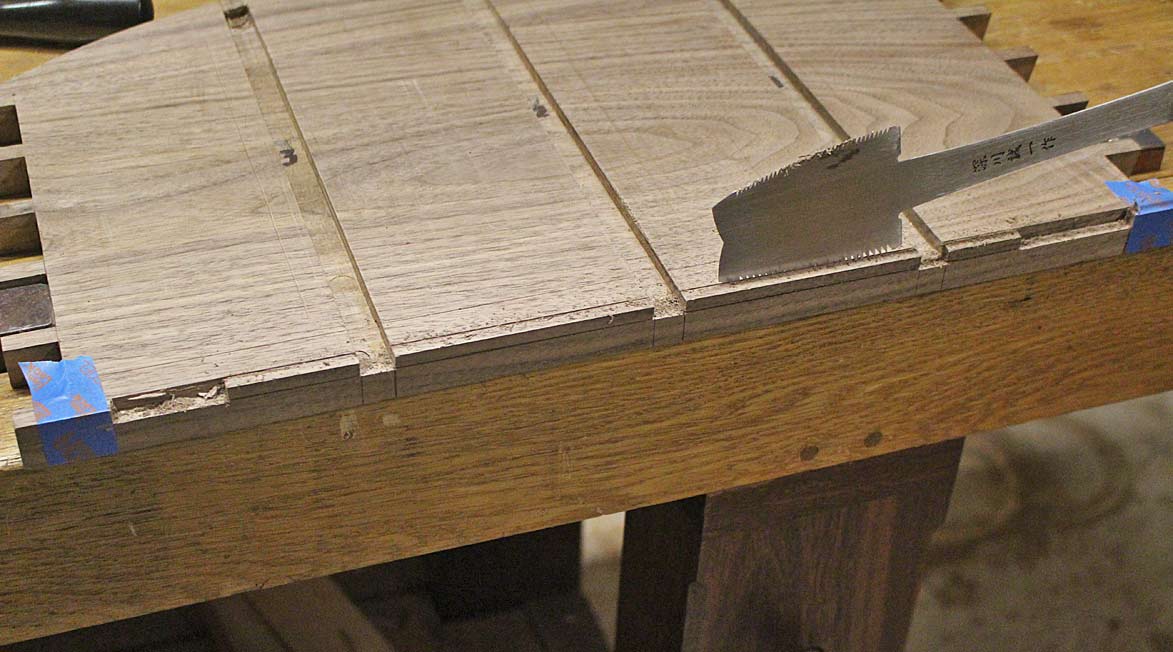
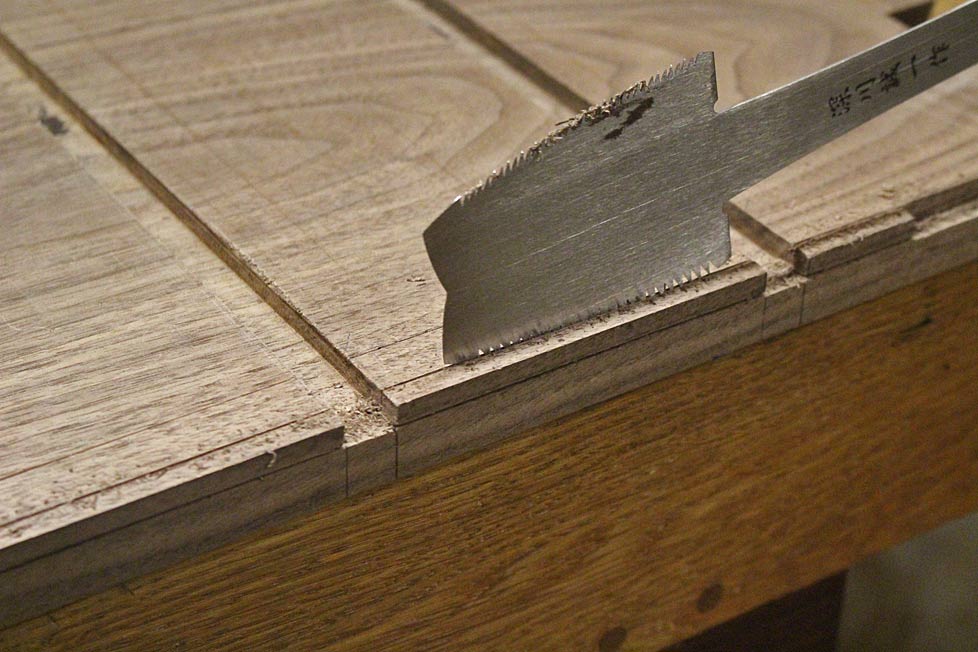
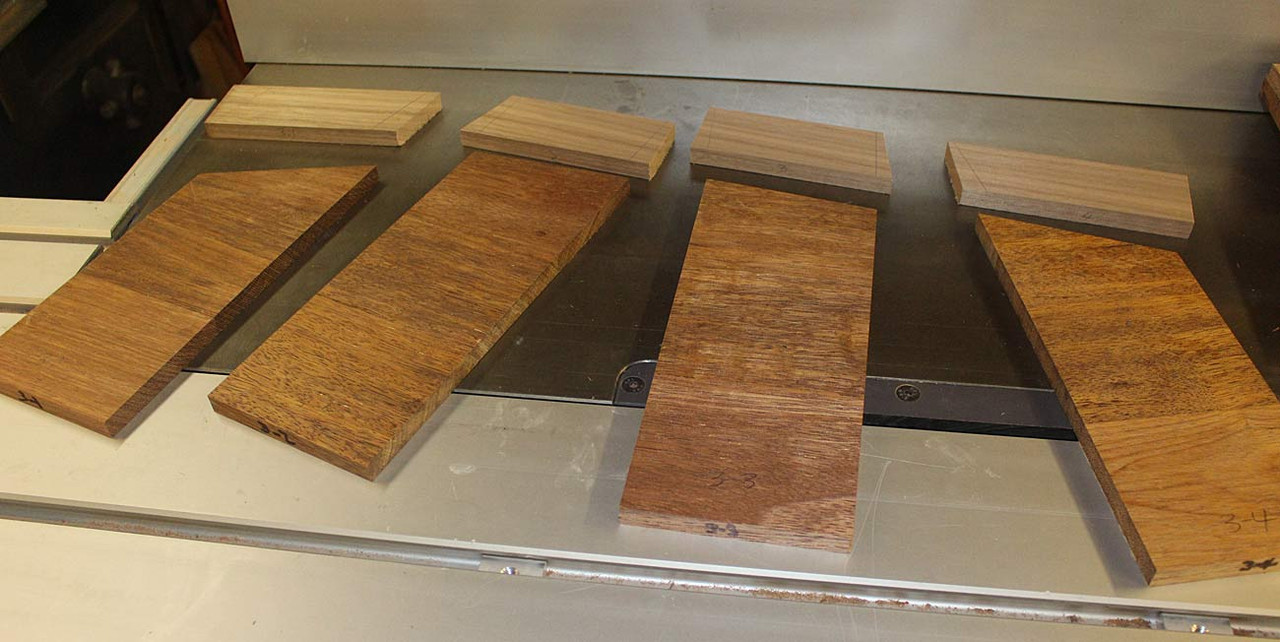
Starting the vertical drawer blades/dividers
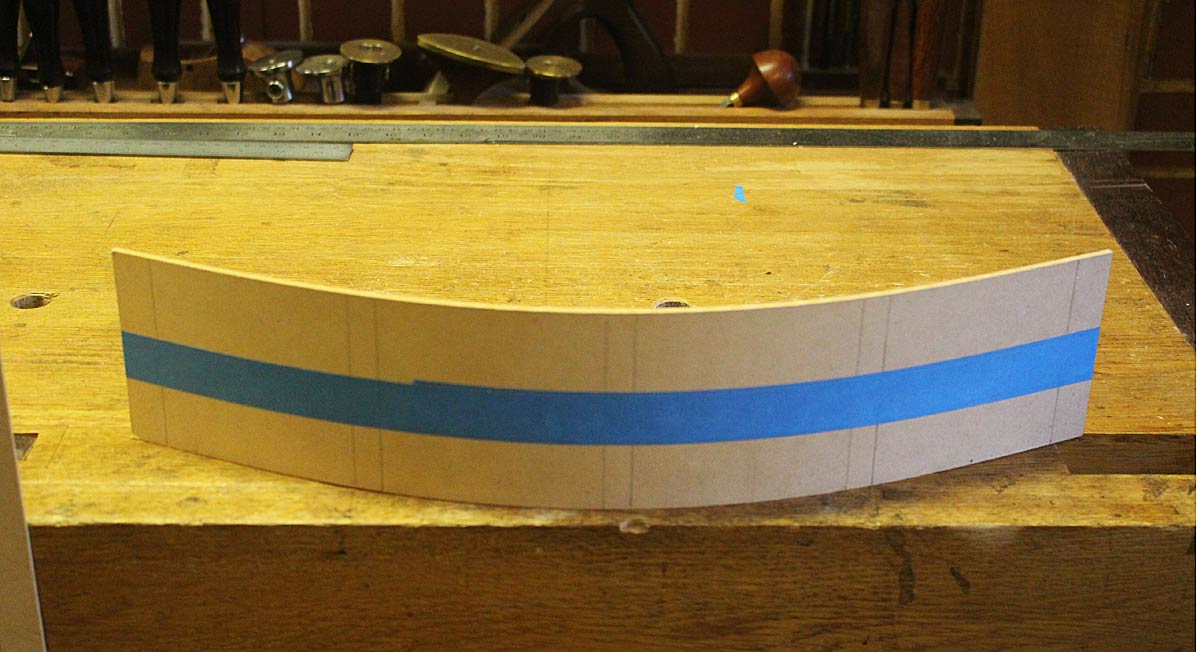
These are made with merbau as a secondary wood, with walnut facing …
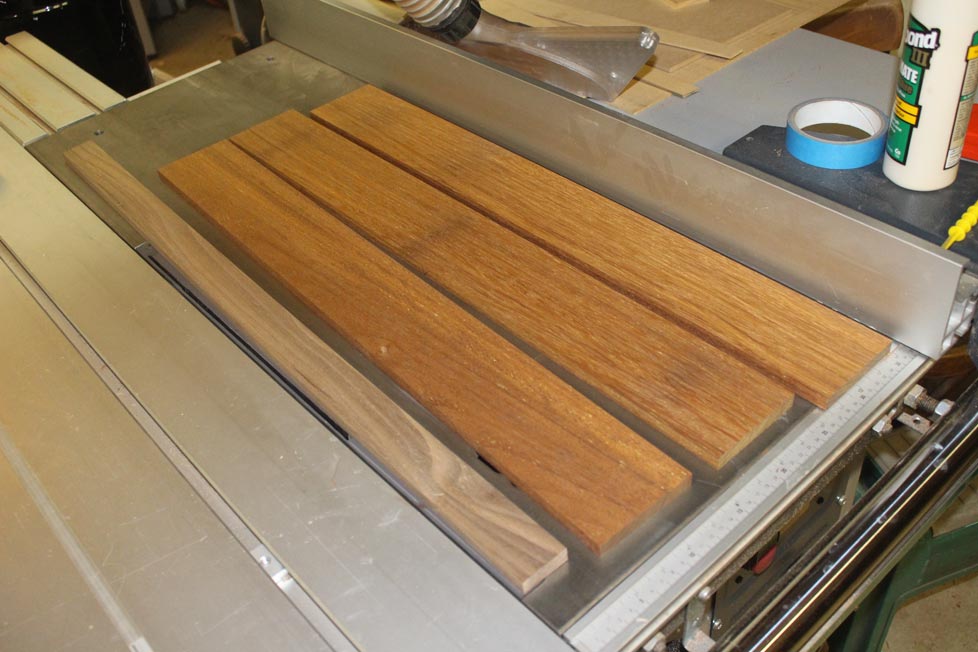
Merbau is from northern Queensland (some is imported from Papua New Guinea). It is hard and heavy, and typically used in Oz for flooring or outdoor furniture. I am using it because it is cheap and hard. As cheap as pine and as dense and wear-resistant as jarrah.
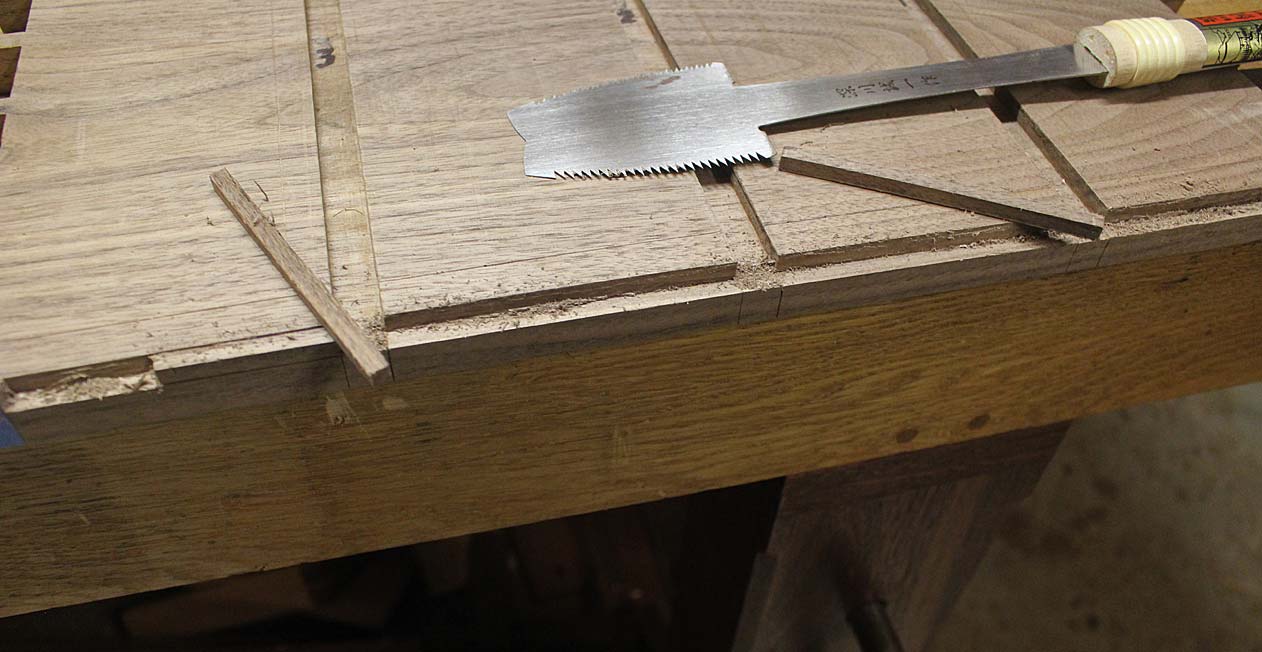
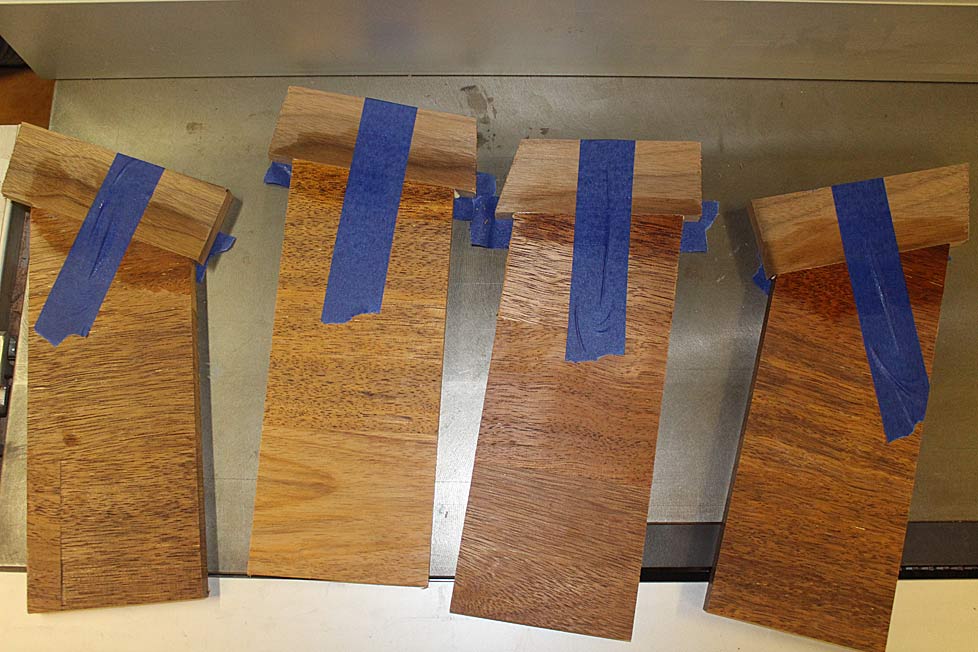
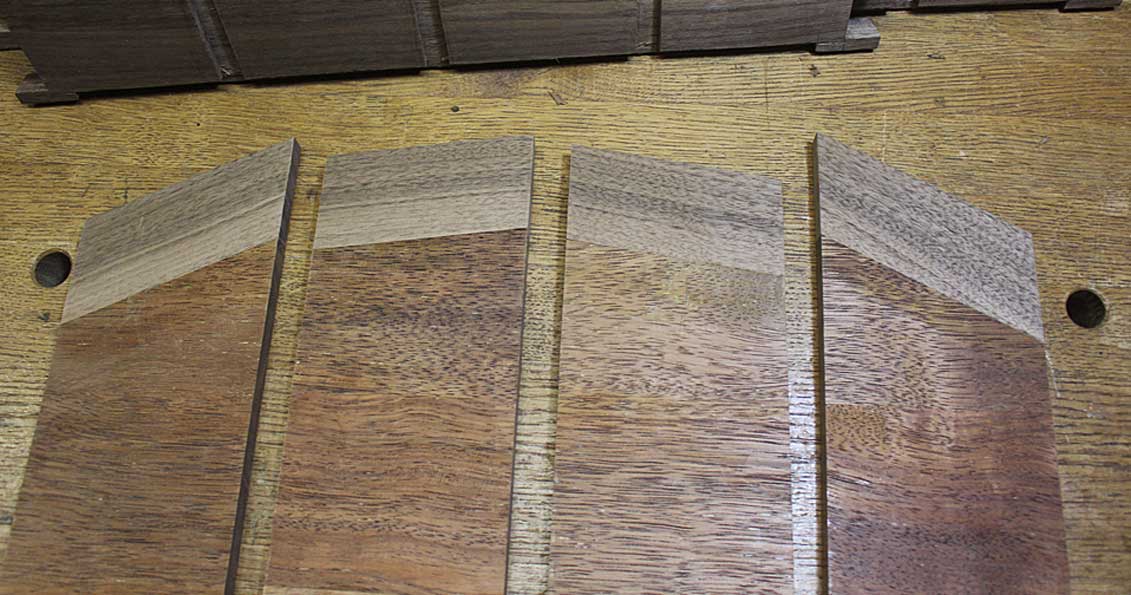
The boards are glued together and bound with blue tape ..

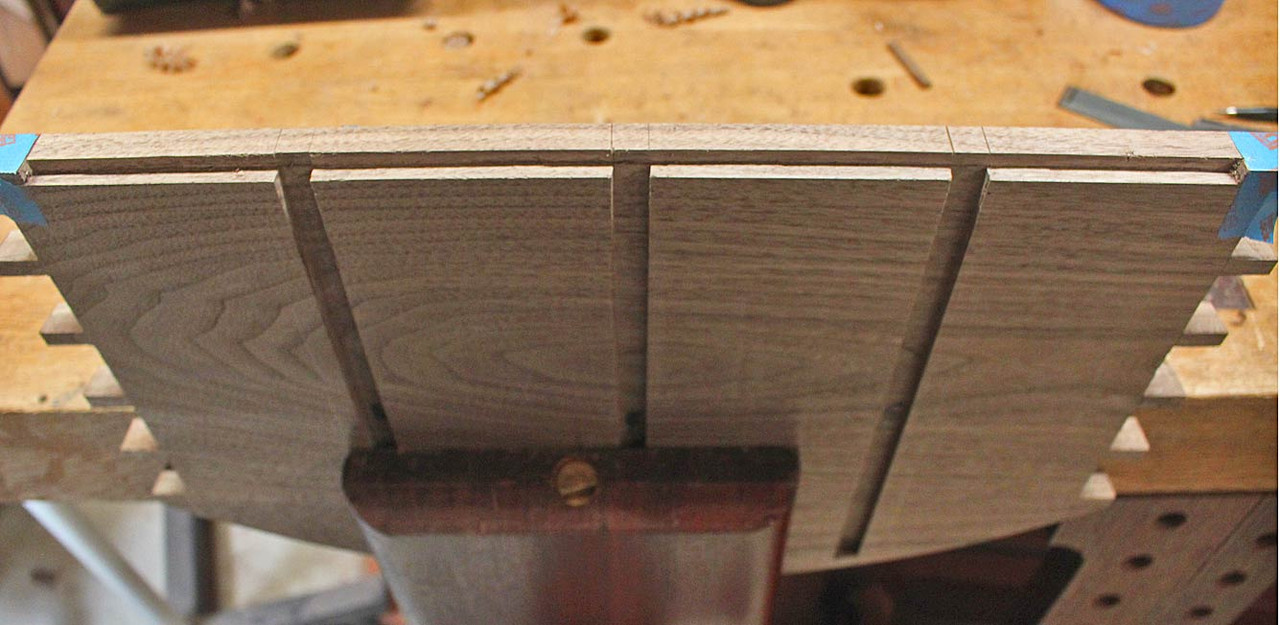
Three vertical dividers for now …
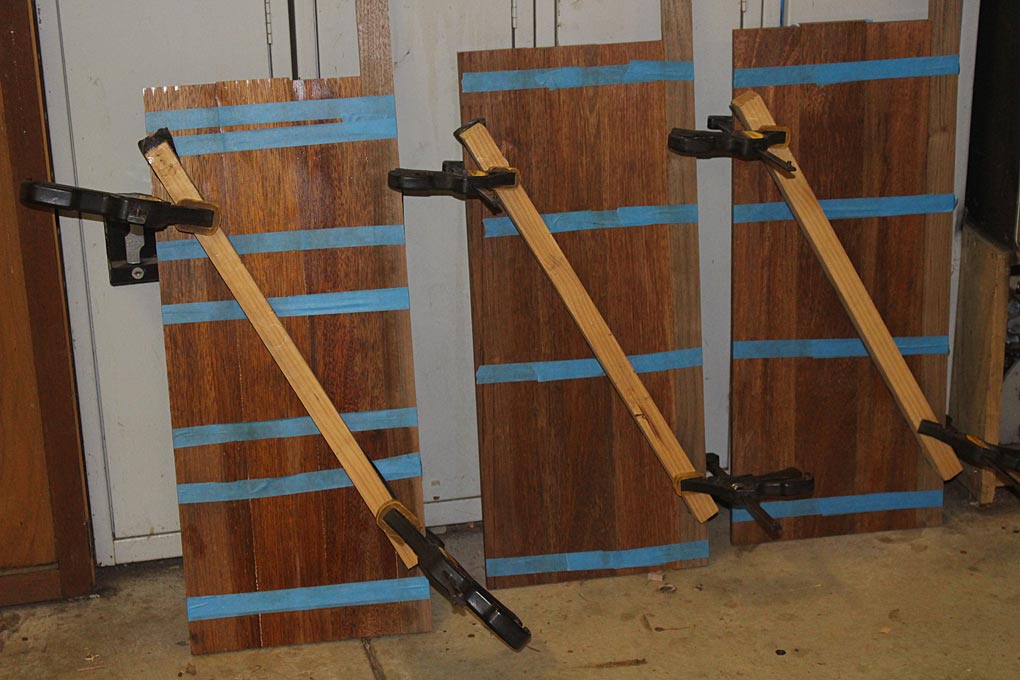
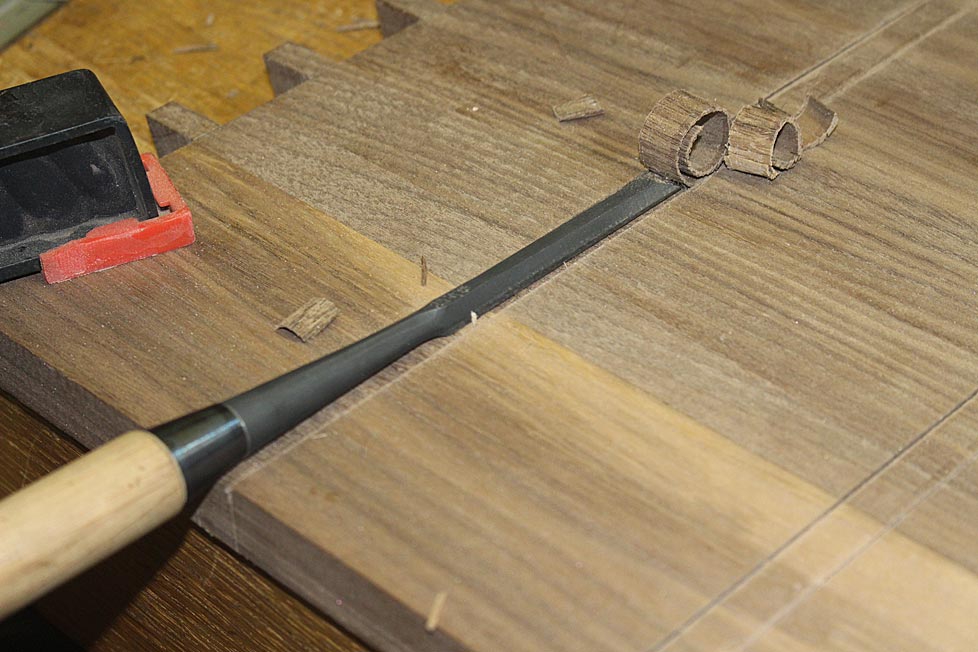
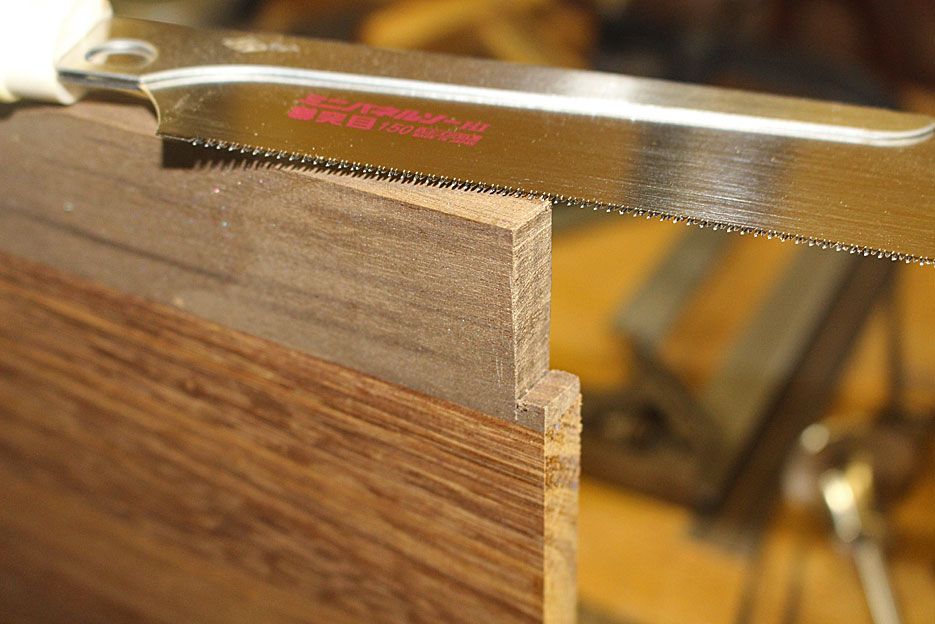
As before, they are also slightly oversize and will be planed to dimension to fit into 12mm wide dados.
More later.
Regards from Perth
Derek
The design was mostly worked out in idle musing, and then I drew it up on sheets of 6mm MDF (I like this since the sheets end up as a story board and may be stored away more easily if needed at a later date).
The orientation is vertical, rather than typically horizontal, more along the lines of a Krenov-styled cabinet. I’ve never built a Krenov-styled cabinet and, as far as I am aware, he never built an apothecary chest!
In other words, this is a chest on a stand. As an aside, I am not enamoured with the spindly legs of Krenov designs, and something with substance is needed. More on this at a later date.The chest will contain 24 drawers, in 6 rows (so 4 drawers across and 6 rows down) …
What has changed in the drawing above is the rows will be made to accentuate the vertical rather than the horizontal (by running the blades/dividers down first). This is more work, but is should create a different perspective.
I have never seen a curved apothecary chest before, so this may be the first one …
The wood is another first for me – black walnut from the USA. My local timber guy had a stack of 1” and 2” thick boards, all about 11-12” wide.
(For those who see metric measurements on the plans and here is mentioned imperial sizing, be aware that this is my common practice. The jointer-planer/thicknesser I have is European, and metric. The hand tools, such as a plough plane, are imperial).
The boards are thicknessed a little oversize, glued up, and then taken to final dimension with hand planes.
The walnut is so easy to plane. I get why so many rave about working with it.
Don’t you love it when the carcase parts are done. These are all 20mm thick …
Starting to put it together
Starting from the bottom up, the side panels are left a little long as they will need to be given a curved bevel to meld with the bottom panel …
The dovetails are in the ratio of 6:1 – I felt the slightly extra wider base would add a little more authority.
Here’s the first completed corner. It is important that the joints are tight (obviously) but also that they moved apart readily, since the cabinet carcase will be pulled apart, put together, and pulled apart many times as the drawer blades are measured and fitted ...
Note, also, the area that will need to be bevelled away. This is marked.
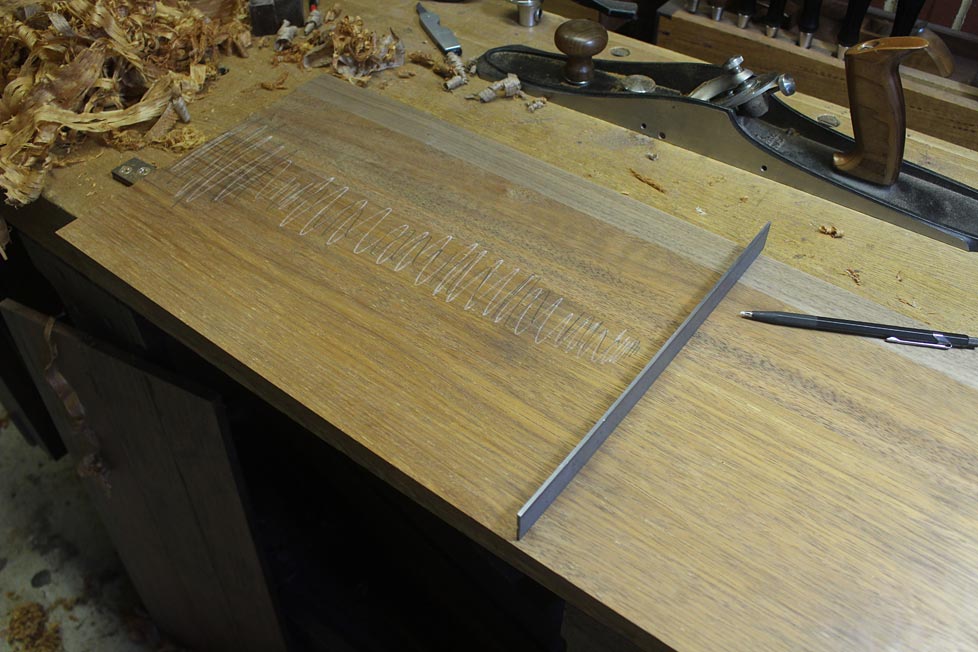
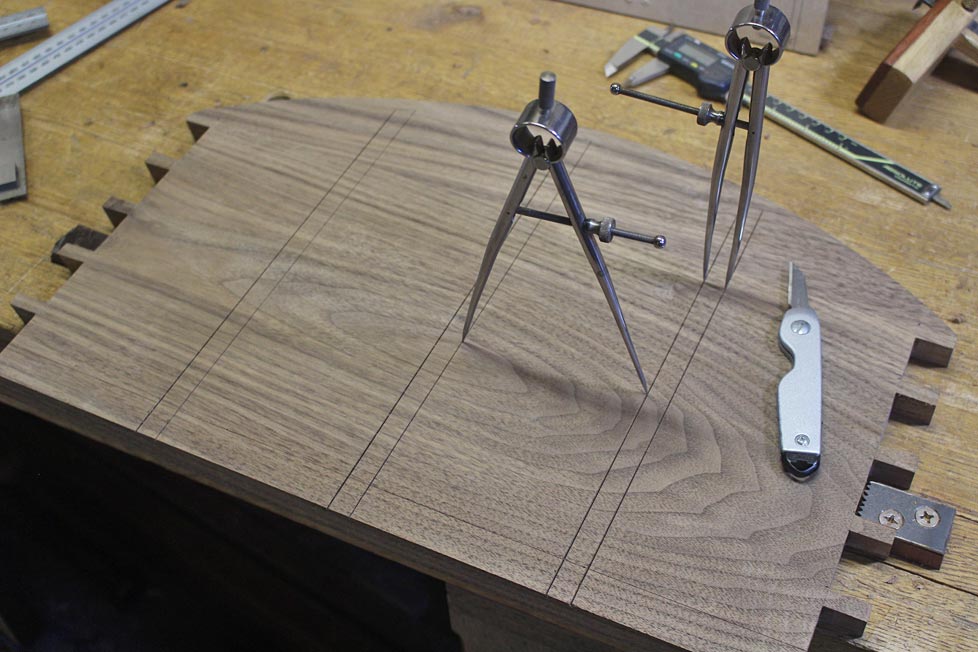
Now the dimension of the bevel is taken the length of the panel …
I made up a template of the curve by grinding a piece of scrap steel (chosen because it was lying around) …
… and the curve is transferred to the other end of the panel.
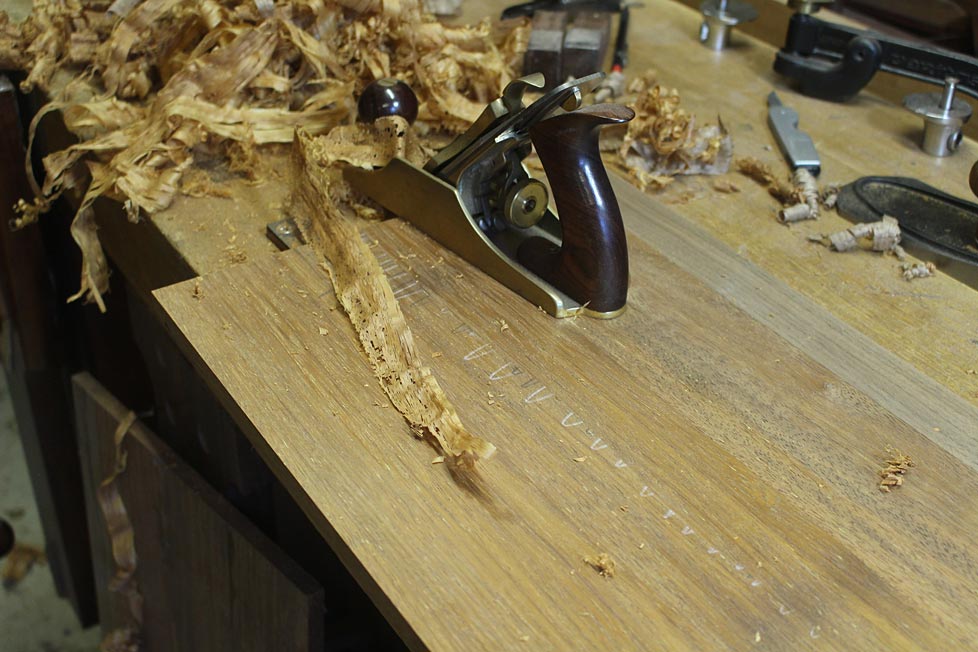
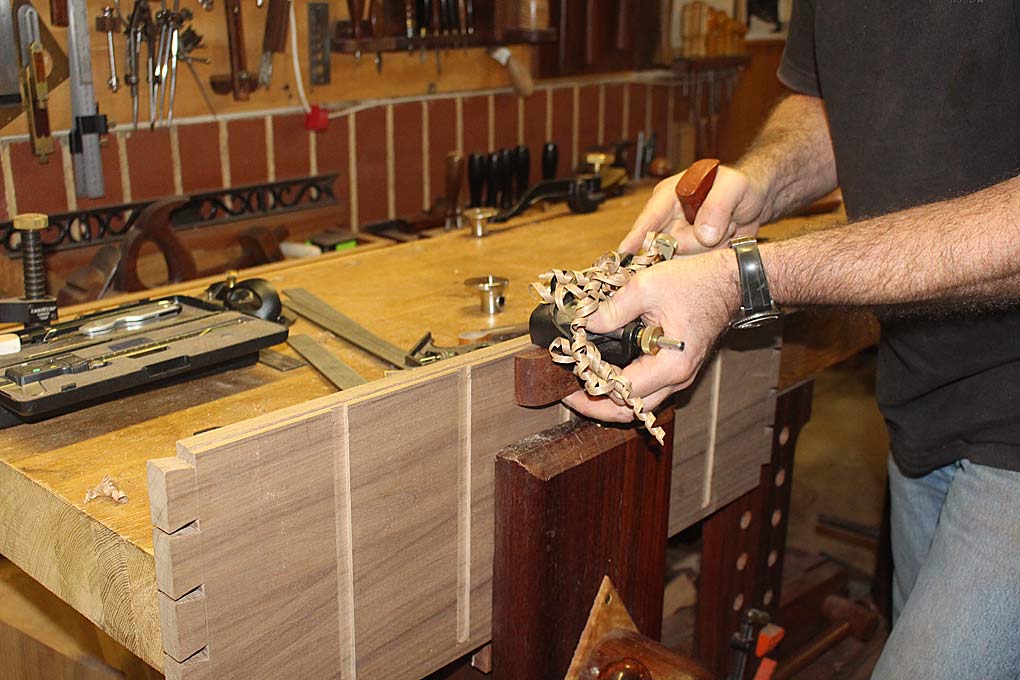
The waste is planed away with, firstly, a jack plane (shop made) …
... and then a modified HNT Gordon trying plane …
The reason for the trying plane is to keep the sides straight. A jointer plane could have substituted.
The final step here is to smooth and fair the surface with a HNT Gordon mini smoother …
Finally, we get to complete the basic carcase (the flash makes the walnut look light, but it is dark in tone). the dimensions are 700mm high and 300mm deep (at the centre) …
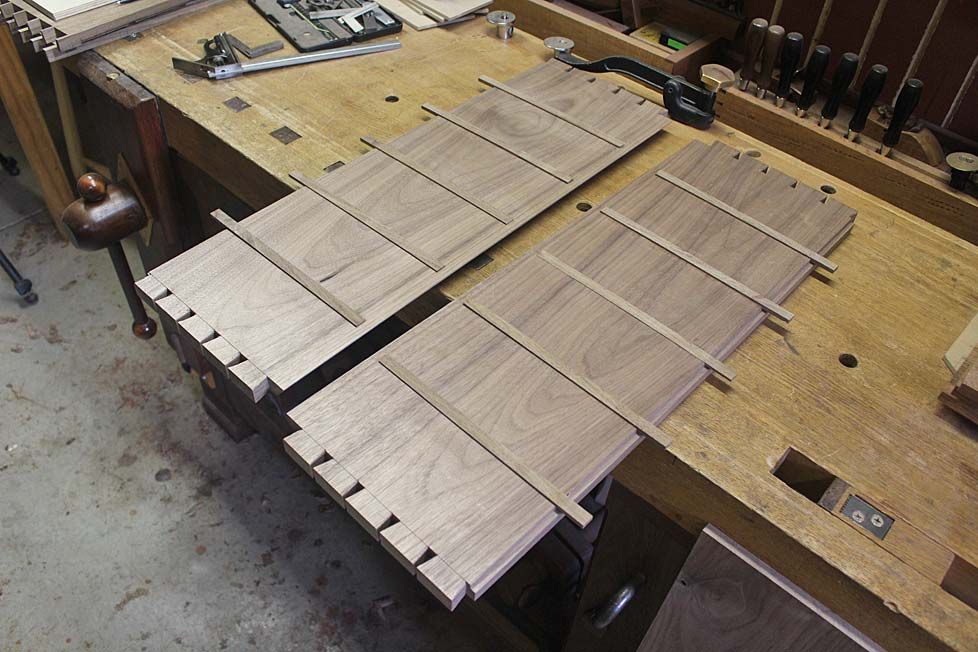
Starting the vertical drawer blades/dividers
These are made with merbau as a secondary wood, with walnut facing …
Merbau is from northern Queensland (some is imported from Papua New Guinea). It is hard and heavy, and typically used in Oz for flooring or outdoor furniture. I am using it because it is cheap and hard. As cheap as pine and as dense and wear-resistant as jarrah.
The boards are glued together and bound with blue tape ..
Three vertical dividers for now …
As before, they are also slightly oversize and will be planed to dimension to fit into 12mm wide dados.
More later.
Regards from Perth
Derek