You are using an out of date browser. It may not display this or other websites correctly.
You should upgrade or use an alternative browser.
You should upgrade or use an alternative browser.
Apothecary chest
- Thread starter derekcohen
- Start date
ilovesunshine
Member
- Joined
- Jul 22, 2018
- Messages
- 82
Hey,
This is seriously awesome!! Super impressed!! Well done! Can't wait to see the finished result Best wishes from the UK!
This is seriously awesome!! Super impressed!! Well done! Can't wait to see the finished result
derekcohen
Member
- Joined
- Jun 22, 2008
- Messages
- 1,036
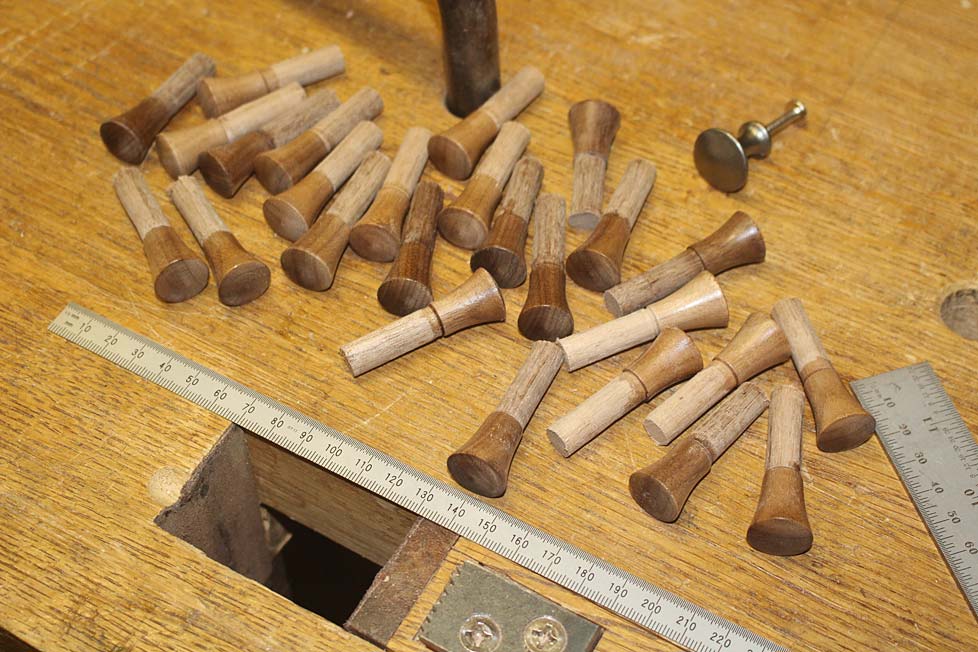
Well, I spent late afternoon turning knobs for the chest. I should have done this at the start, but thought it would take too long. In all, it required about 2 hours. They are not quite finished, but enough is done so you get an idea. And your thoughts, as always, are welcomed.
All along, Lynndy has said, "make the knobs in the same colour as the drawers". She wants them to blend in, and after staring at the chest knob-less for so long, I see her point. So they will be finished in oil and wax, as per the carcase and drawer fronts.
The iron knobs are 22mm wide and 21mm high. The new knobs are 18mm wide and 20mm high.
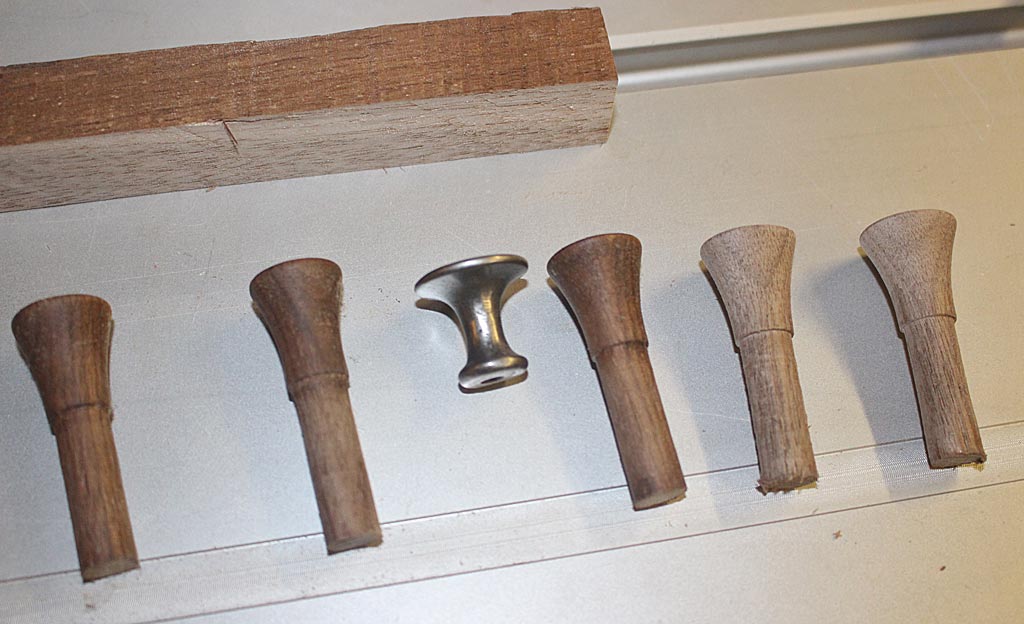
The tenon is 3/8" and long enough to extent through the drawer front and be attached with a wedge from inside.
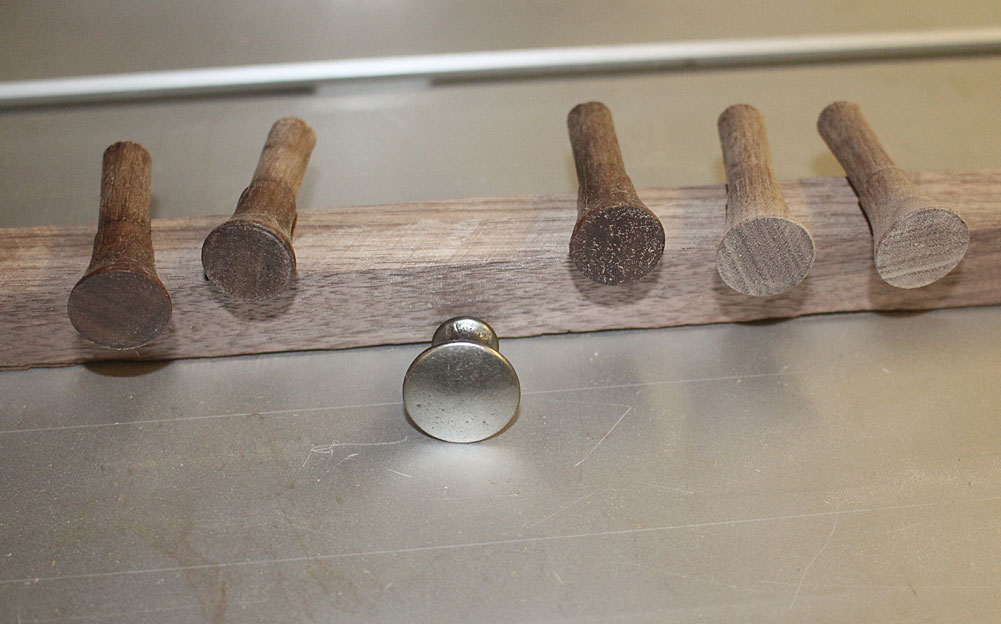
Some have a little wax to obtain an idea of the final colour.
There are enough here for all the drawers ...
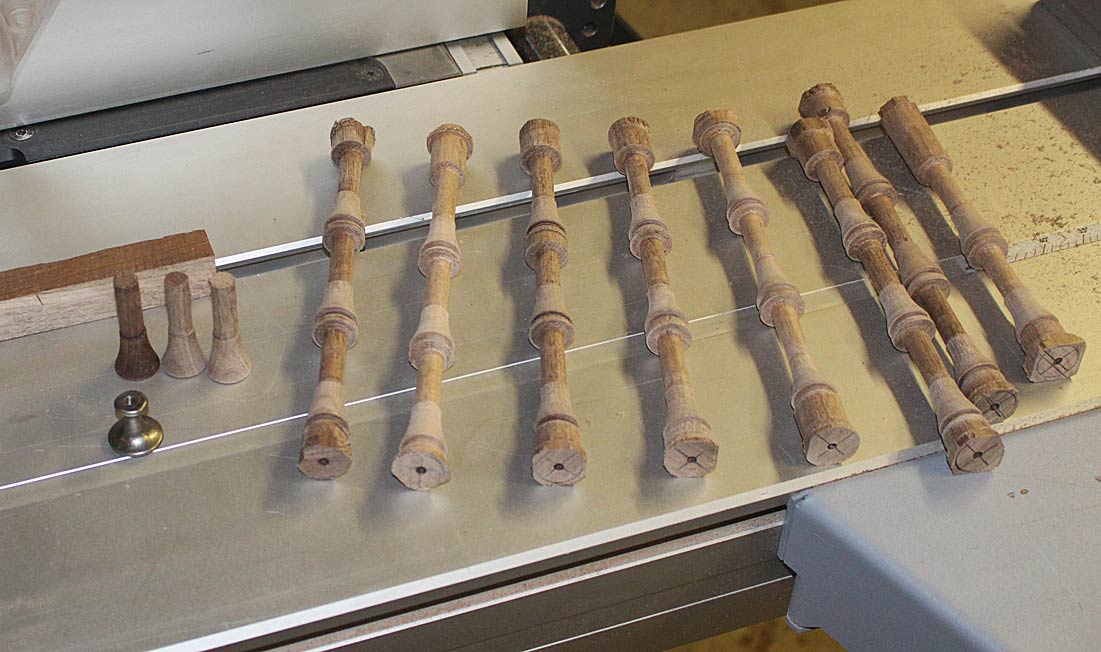
The idea is for the knobs not to dominate ...
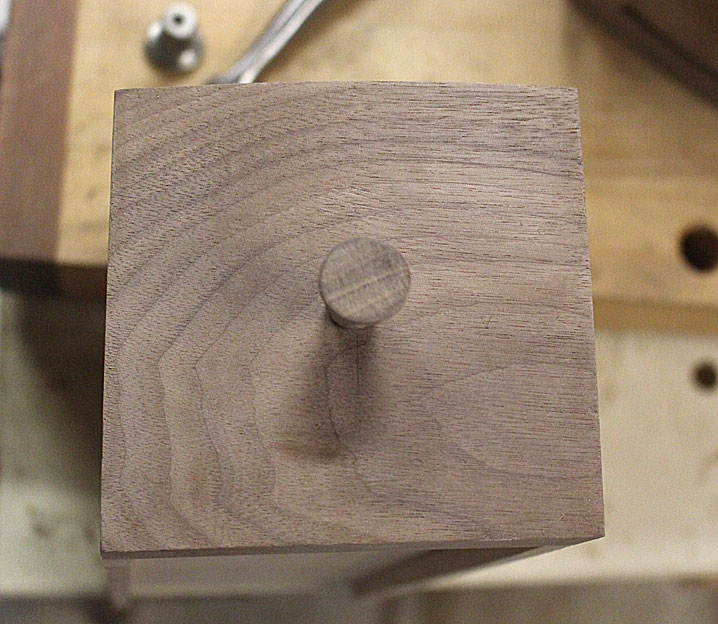
Thoughts?
Regards from Perth
Derek
All along, Lynndy has said, "make the knobs in the same colour as the drawers". She wants them to blend in, and after staring at the chest knob-less for so long, I see her point. So they will be finished in oil and wax, as per the carcase and drawer fronts.
The iron knobs are 22mm wide and 21mm high. The new knobs are 18mm wide and 20mm high.

The tenon is 3/8" and long enough to extent through the drawer front and be attached with a wedge from inside.

Some have a little wax to obtain an idea of the final colour.
There are enough here for all the drawers ...

The idea is for the knobs not to dominate ...

Thoughts?
Regards from Perth
Derek
nclemmons
Member
I like the wooden ones better. Less obvious. And I think with the base and finish, they will be a better compliment to the hand made nature of the chest. It's a lot of drawers which means a lot of knobs to compete with the rest of the details.
If you could find smaller black or even an oil rubbed finish in maybe 1/2" to 5/8" diameter those could be nice too.
Good evolution. Thanks for sharing the decision process.
If you could find smaller black or even an oil rubbed finish in maybe 1/2" to 5/8" diameter those could be nice too.
Good evolution. Thanks for sharing the decision process.
CirclDigital
Member
- Joined
- Jul 23, 2018
- Messages
- 71
Great solution..... such an awesome cabinet deserved better 
derekcohen
Member
- Joined
- Jun 22, 2008
- Messages
- 1,036
The knobs were completed this evening, and a finish coat of Shellawax applied ...
Regards from Perth
Derek

Regards from Perth
Derek
derekcohen
Member
- Joined
- Jun 22, 2008
- Messages
- 1,036
When you see shavings like this ...
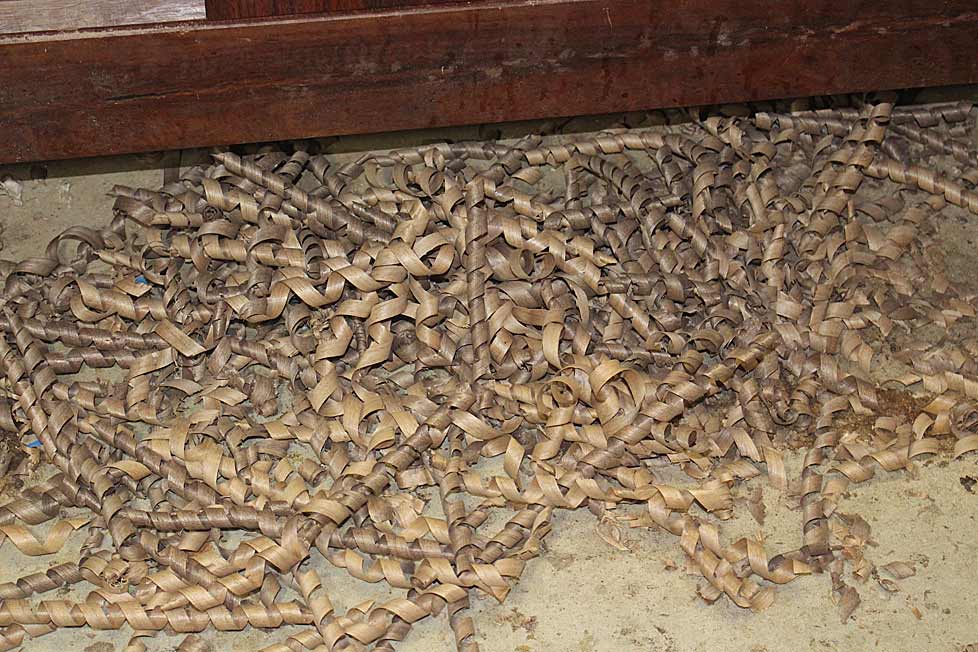
... you know a skew rebate plane is at work.

Shiplapping is the joining of boards using an overlapped rebate. The advantage of this is to allow for movement while presenting an outward solid and sealed surface.
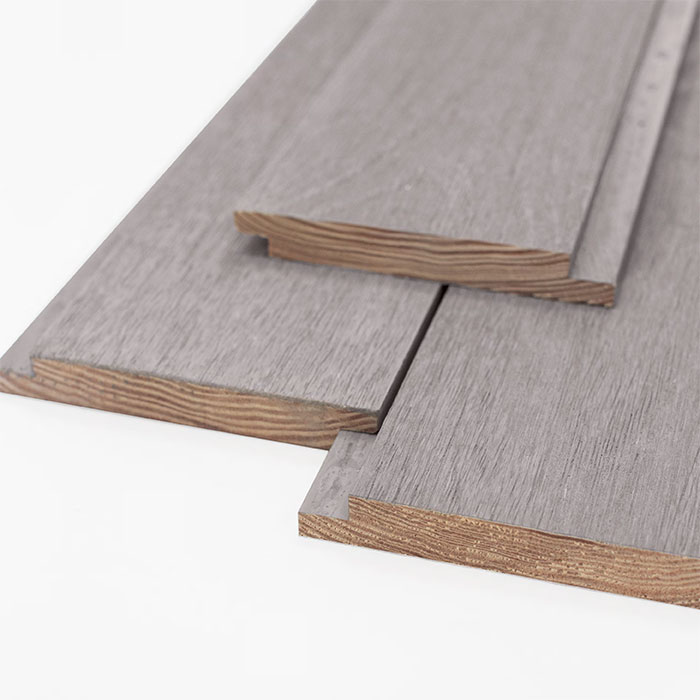
The rebate is on each, but opposite sides of the board. In this case, I have made the rebate 10mm wide. This will allow for an overlap of about 7-8mm.
Here I have made use of sections of Black Walnut that would otherwise be considered offcuts ...

The boards are 6mm thick, and each rebate is just 3mm high ...

Planing take a few minutes with the Veritas Skew Rabbet plane ...

When the carcass was dovetailed together, allowance was made for a rebate all around the rear of the chest. This required that the area close to the pins was left uncut ...

... which can be seen at the corners ..

The waste was now chiselled out ...

The boards could now be cut to length and fitted. The rebate gap between boards was set with a spacer ...

No glue is used as the boards are free to expand into the gap. A single screw holds them close to the overlap ...

Done ...

And no one will see any of this
Regards from Perth
Derek

... you know a skew rebate plane is at work.

Shiplapping is the joining of boards using an overlapped rebate. The advantage of this is to allow for movement while presenting an outward solid and sealed surface.

The rebate is on each, but opposite sides of the board. In this case, I have made the rebate 10mm wide. This will allow for an overlap of about 7-8mm.
Here I have made use of sections of Black Walnut that would otherwise be considered offcuts ...

The boards are 6mm thick, and each rebate is just 3mm high ...

Planing take a few minutes with the Veritas Skew Rabbet plane ...

When the carcass was dovetailed together, allowance was made for a rebate all around the rear of the chest. This required that the area close to the pins was left uncut ...

... which can be seen at the corners ..

The waste was now chiselled out ...

The boards could now be cut to length and fitted. The rebate gap between boards was set with a spacer ...

No glue is used as the boards are free to expand into the gap. A single screw holds them close to the overlap ...

Done ...

And no one will see any of this
Regards from Perth
Derek
Rob Lee said:Umm.....
Derek.... shouldn't the screws be clocked with the slots vertical
Snipe
Cheers -
Rob
Eagle eye!
derekcohen
Member
- Joined
- Jun 22, 2008
- Messages
- 1,036
Rob Lee said:Umm.....
Derek.... shouldn't the screws be clocked with the slots vertical, so the dust falls out??
Ok - only kidding, but truth is - I do this....
Sad.
Cheers -
Rob
Oh my ....
Heading back to the workshop ... now!
Regards from Perth
Derek
bertv
Member
Rob Lee said:Derek.... shouldn't the screws be clocked with the slots vertical, so the dust falls out??
That is hard to do with brass screws. You risk breaking them when overtightening. A possible solution is using a steel screw with the same dimensions first to establish a uniform hole, remove it and substitute with a brass one.
(For the real obsessive’s…)
derekcohen
Member
- Joined
- Jun 22, 2008
- Messages
- 1,036
As requested by a number of people, I have clocked the screws at the rear of cabinet. Gad, some are so OCD! 
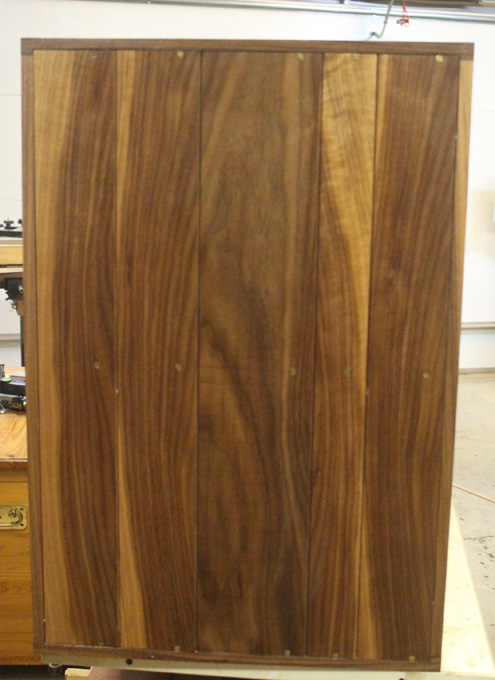
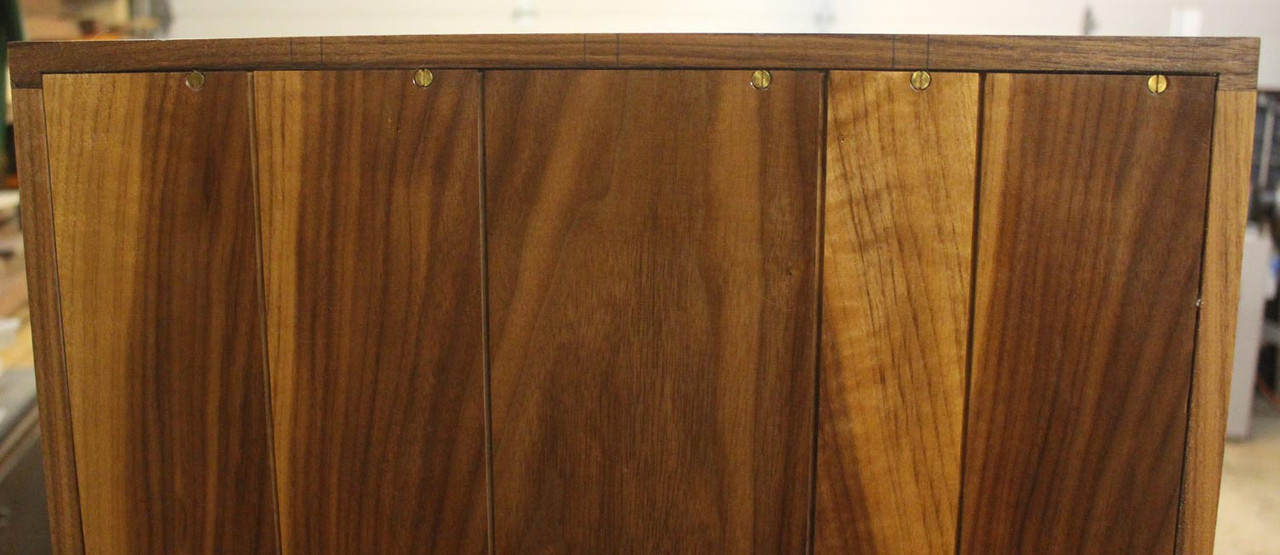
One coat of oil so far ..
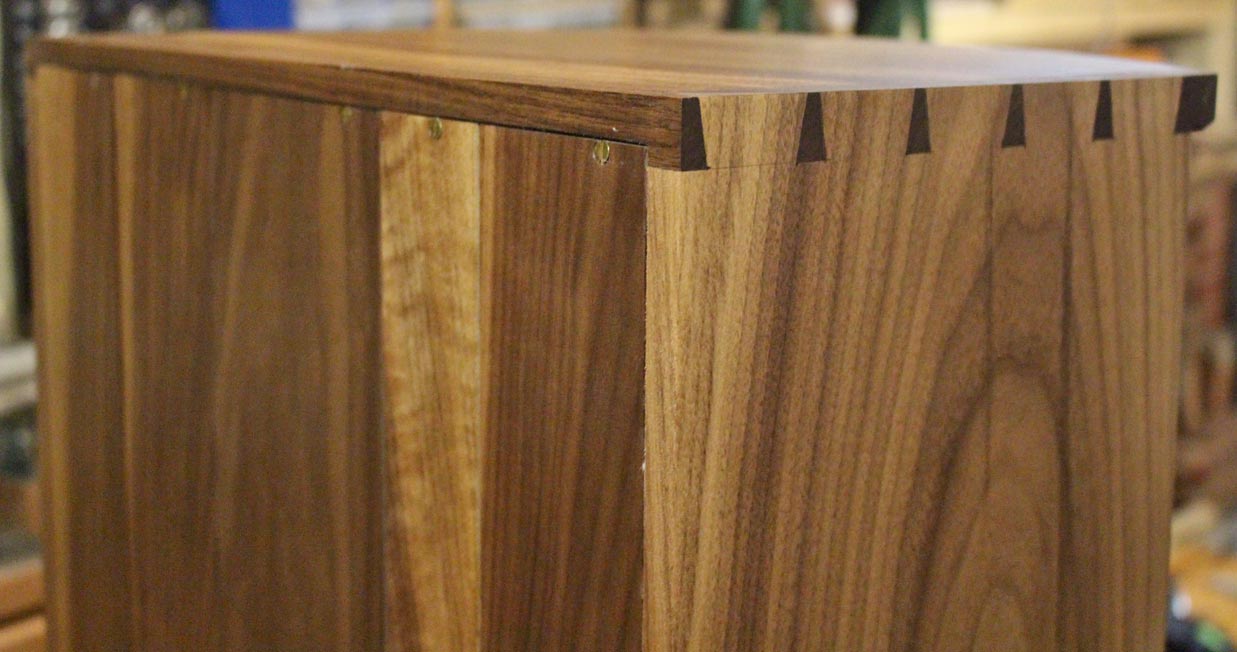
Regards from Perth
Derek


One coat of oil so far ..

Regards from Perth
Derek
derekcohen said:As requested by a number of people, I have clocked the screws at the rear of cabinet. Gad, some are so OCD!


Much better! But FYI we prefer CDO so it’s in alphabetical order.
One coat of oil so far ..

Regards from Perth
Derek
CirclDigital
Member
- Joined
- Jul 23, 2018
- Messages
- 71
derekcohen said:As requested by a number of people, I have clocked the screws at the rear of cabinet. Gad, some are so OCD!
Then those must be really obsessing over the different sized boards? I know I am a little even if it’s not my work and the back won’t be seen
With finish it looks even better.
derekcohen
Member
- Joined
- Jun 22, 2008
- Messages
- 1,036
Nah ... it's all good. Just a bit of fun 
Regards from Perth
Derek
Regards from Perth
Derek
derekcohen
Member
- Joined
- Jun 22, 2008
- Messages
- 1,036
When I attached the metal knobs (too large and not right ... ugh!), I was swayed by Lynndy, who said to place the knobs square to the drawer front, since she liked the idea of them fanning from the front of the chest and accentuating the curve. In practice, this was not a good idea. Opening the drawers felt wierd - one is used to a drawer opening in the directing of the pull. These drawers did not do so. The opened at an angle to the pull. It felt wierd. Lynndy thought it charming. She is wierd.
Having turned new Black Walnut knobs to match the drawer fronts, against the advice of some who argued for dark, perhaps Ebony knobs, I know had to decide how I would fit them. As before? No, I did not want that. I wanted to set the square to the drawer recess.
There were two issues here: how to drill them the same as each other.? It would look a mess if some varied out of line. And then there was the fact that the drawer fronts curves and angled, which meant that the knobs would go in at an angle. One side would sit in- and the other side proud of the surface.
I designed a couple of jigs to drill accurately. Fortunately I did not waste time making them ( I have no time in the kitty to get this piece ready for the upcoming West Australian Woodshow. It is days away). The simplest solution occurred to me last night. Use the drill press. Duh!
All that was needed was to ensure the drawer was held vertically, and then use progressively larger bits until the size I needed (3/8"), the tenon of the knob.

That went smoothly.
The holes were then widened slightly on one side with a step drill bit to allow to seat the knobs evenly.
I have begun installing the knobs with wedges. The cabinet and drawer fronts have had a coat of Livos oil, and you can now get an idea of how the knobs blend in (the drawers are proud of the cabinet as the oil is drying)

I completed the base for the chest this afternoon, but I am not thrilled with the design. I'll make a decision tomorrow whether to use it or not.
Regards from Perth
Derek
Having turned new Black Walnut knobs to match the drawer fronts, against the advice of some who argued for dark, perhaps Ebony knobs, I know had to decide how I would fit them. As before? No, I did not want that. I wanted to set the square to the drawer recess.
There were two issues here: how to drill them the same as each other.? It would look a mess if some varied out of line. And then there was the fact that the drawer fronts curves and angled, which meant that the knobs would go in at an angle. One side would sit in- and the other side proud of the surface.
I designed a couple of jigs to drill accurately. Fortunately I did not waste time making them ( I have no time in the kitty to get this piece ready for the upcoming West Australian Woodshow. It is days away). The simplest solution occurred to me last night. Use the drill press. Duh!
All that was needed was to ensure the drawer was held vertically, and then use progressively larger bits until the size I needed (3/8"), the tenon of the knob.

That went smoothly.
The holes were then widened slightly on one side with a step drill bit to allow to seat the knobs evenly.
I have begun installing the knobs with wedges. The cabinet and drawer fronts have had a coat of Livos oil, and you can now get an idea of how the knobs blend in (the drawers are proud of the cabinet as the oil is drying)

I completed the base for the chest this afternoon, but I am not thrilled with the design. I'll make a decision tomorrow whether to use it or not.
Regards from Perth
Derek
HarveyWildes
Member
- Joined
- May 3, 2016
- Messages
- 941
I think putting the knobs straight on was a good design choice. Looks great with the finish. Good luck in the show - you have a formidable contender.
Maybe you could bring us a pictorial of the show?
Maybe you could bring us a pictorial of the show?
Similar threads
- Replies
- 2
- Views
- 869
