HarveyWildes
Member
- Joined
- May 3, 2016
- Messages
- 941
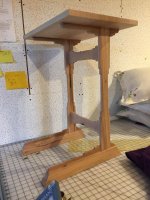
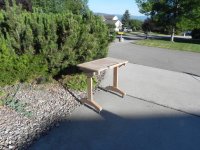
I'm making a table for my wife's book reading, overstuffed arm chair. The table will sit to the side of the at chair, tucking over the arm and under the chair. The top is 14 x 20 more or less. It's made from a beautiful piece of quarter-sawn sycamore that I found at the local Woodcraft.
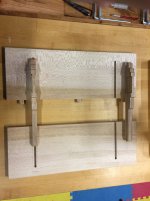
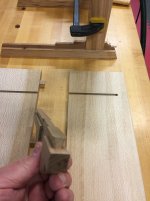
The top is a glue up of two pieces. You'll see the dominos that I used for alignment, but the key to the structure are the supports that fit in the sliding dovetails in the top. The supports had to allow for a tight fit over the arm chair's arm, keep the table top from torqueing, and allow for movement of the top. The supports will be glued to the top at the last half inch of the dovetail only, just behind that saddle joint that fits onto the legs.
I used dominos to get as flush a glue joint as possible. Since I have to glue the top with the bottom supports in place, I can't plane the bottom flat. I'll have to use a sander on the bottom. So the more flush I can get the table top joint, the better.
View attachment 1
View attachment 2
I'll post more pictures as I finish up the legs and glue the whole thing together.