Bugsysiegals
Member
- Joined
- Mar 19, 2016
- Messages
- 908
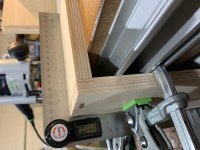
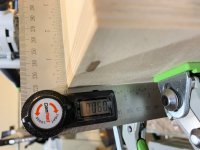
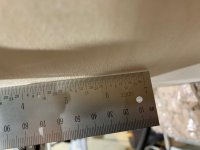
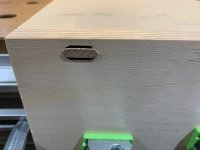
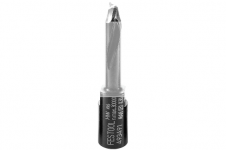
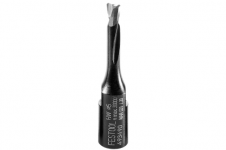
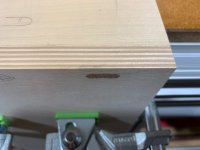
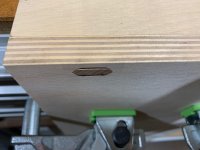
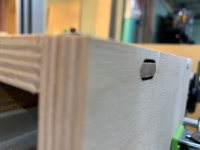
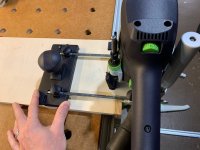
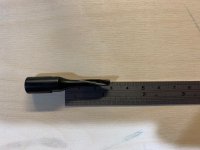
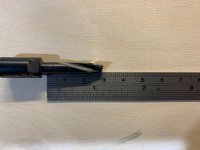
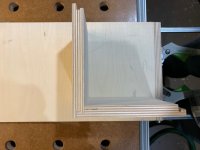
I was going to use my drawer lock router bit but my zero clearance fence isn't working as well as I'd like so I've decided to use Domino's instead. I thought it would go smooth until the machine started feeling funny at the end of the plunge. I wasn't sure what was going on until I removed the Domino ... the bottom of the bit flares out and the bit was elongating the hole as well as burning the wood!
It seems I need to stop as soon as I feel this different feeling and then just cut off the excess Domino? I'm unable to move on to the middle Domino until these are cut flush but wonder whether there's any particular type of hand saw I should buy which will cut the excess Domino while minimizing the scaring of the wood itself?
View attachment 1 View attachment 2

")