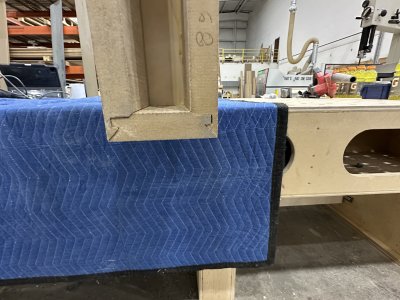
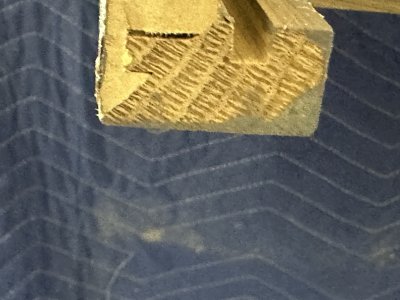
I've used 1/2" MDF to make pretty large sub enclosures using butt joins that have stood up to terrific abuse exceedingly well. To help give them maximum strength I glued and nailed a timber bead on the internal joints.
I think there are too many cabinet builders here and they are working to cabinet [over-] building standards. The cabinet manufacturers’ Association says that wall cabinets should hold 600 pounds before failure. Speakers have to hold a lot less.
Two points:
First, I’ve watched numerous car modification TV shows where they install custom high-end sound systems. They always use MDF and they always use glue and a brad gun.
Second, in the early 1970s (probably 1972, when I got a new job) I bought a pair of “high-end” speakers. I still have them, and they still sound pretty good. I spent $100.00 when they were on sale, which does not sound like much but is the equivalent of $782.00 in 2025 according to the Bureau of Labor Statistics. The speakers are about 20” tall and 12” wide (I can measure them when I get home). They have a very nice walnut veneer over particle board. No fasteners are visible. According to my neighbors at the time, I played the music “too loud”. I looked at the joints and they are all tight and solid.
So the joinery has lasted 53 years—I don’t use them much anymore, preferring headphones—so I expect another 53 years going forward.
I agree that lock miters, if you can get past the setup, offer superior strength—cabinet makers’ strength—but if the conventional miters or butt joints are not glue-starved, then they should do fine. Acoustically, MDF is the preferred material.
I would note that in the TV car shows, the “finish” was typically a light weight carpet glued to the surface (all the corners had generous round-overs), though occasionally leather or vinyl.
If nailed, and round-overs corners are planned, then placement of the wire brads gets a bit fussy as you don’t want to use a round-over bit over steel nails.
If anyone is interested, I can post photos of those antique speakers along with the sizes (and material thickness).
Addendum: As far as toxicity goes, I wear a cartridge-type mask when cutting MDF or plywood on the table saw or router table. I fail to do so when hand-sanding though. Also note that facial hair dismisses the effectiveness of these maaks. In that case, a positive-atmosphere mask (filtered air blown in) is preferred (but I don’t own one). Any task that causes you to cough, warrants the use of a make of some sort.
Suggestion: If using a cartrdige-style mask with vinyl seals for the face, It is a good idea to wipe the seals with rubbing alcohol between uses. Bacteria on the seals can lead to a resurgence of teen-style acne.