MTbassbone
Member
- Joined
- Oct 24, 2016
- Messages
- 71
Anyone have a circle jig suggestion for OF1010 router? I am looking at this one:
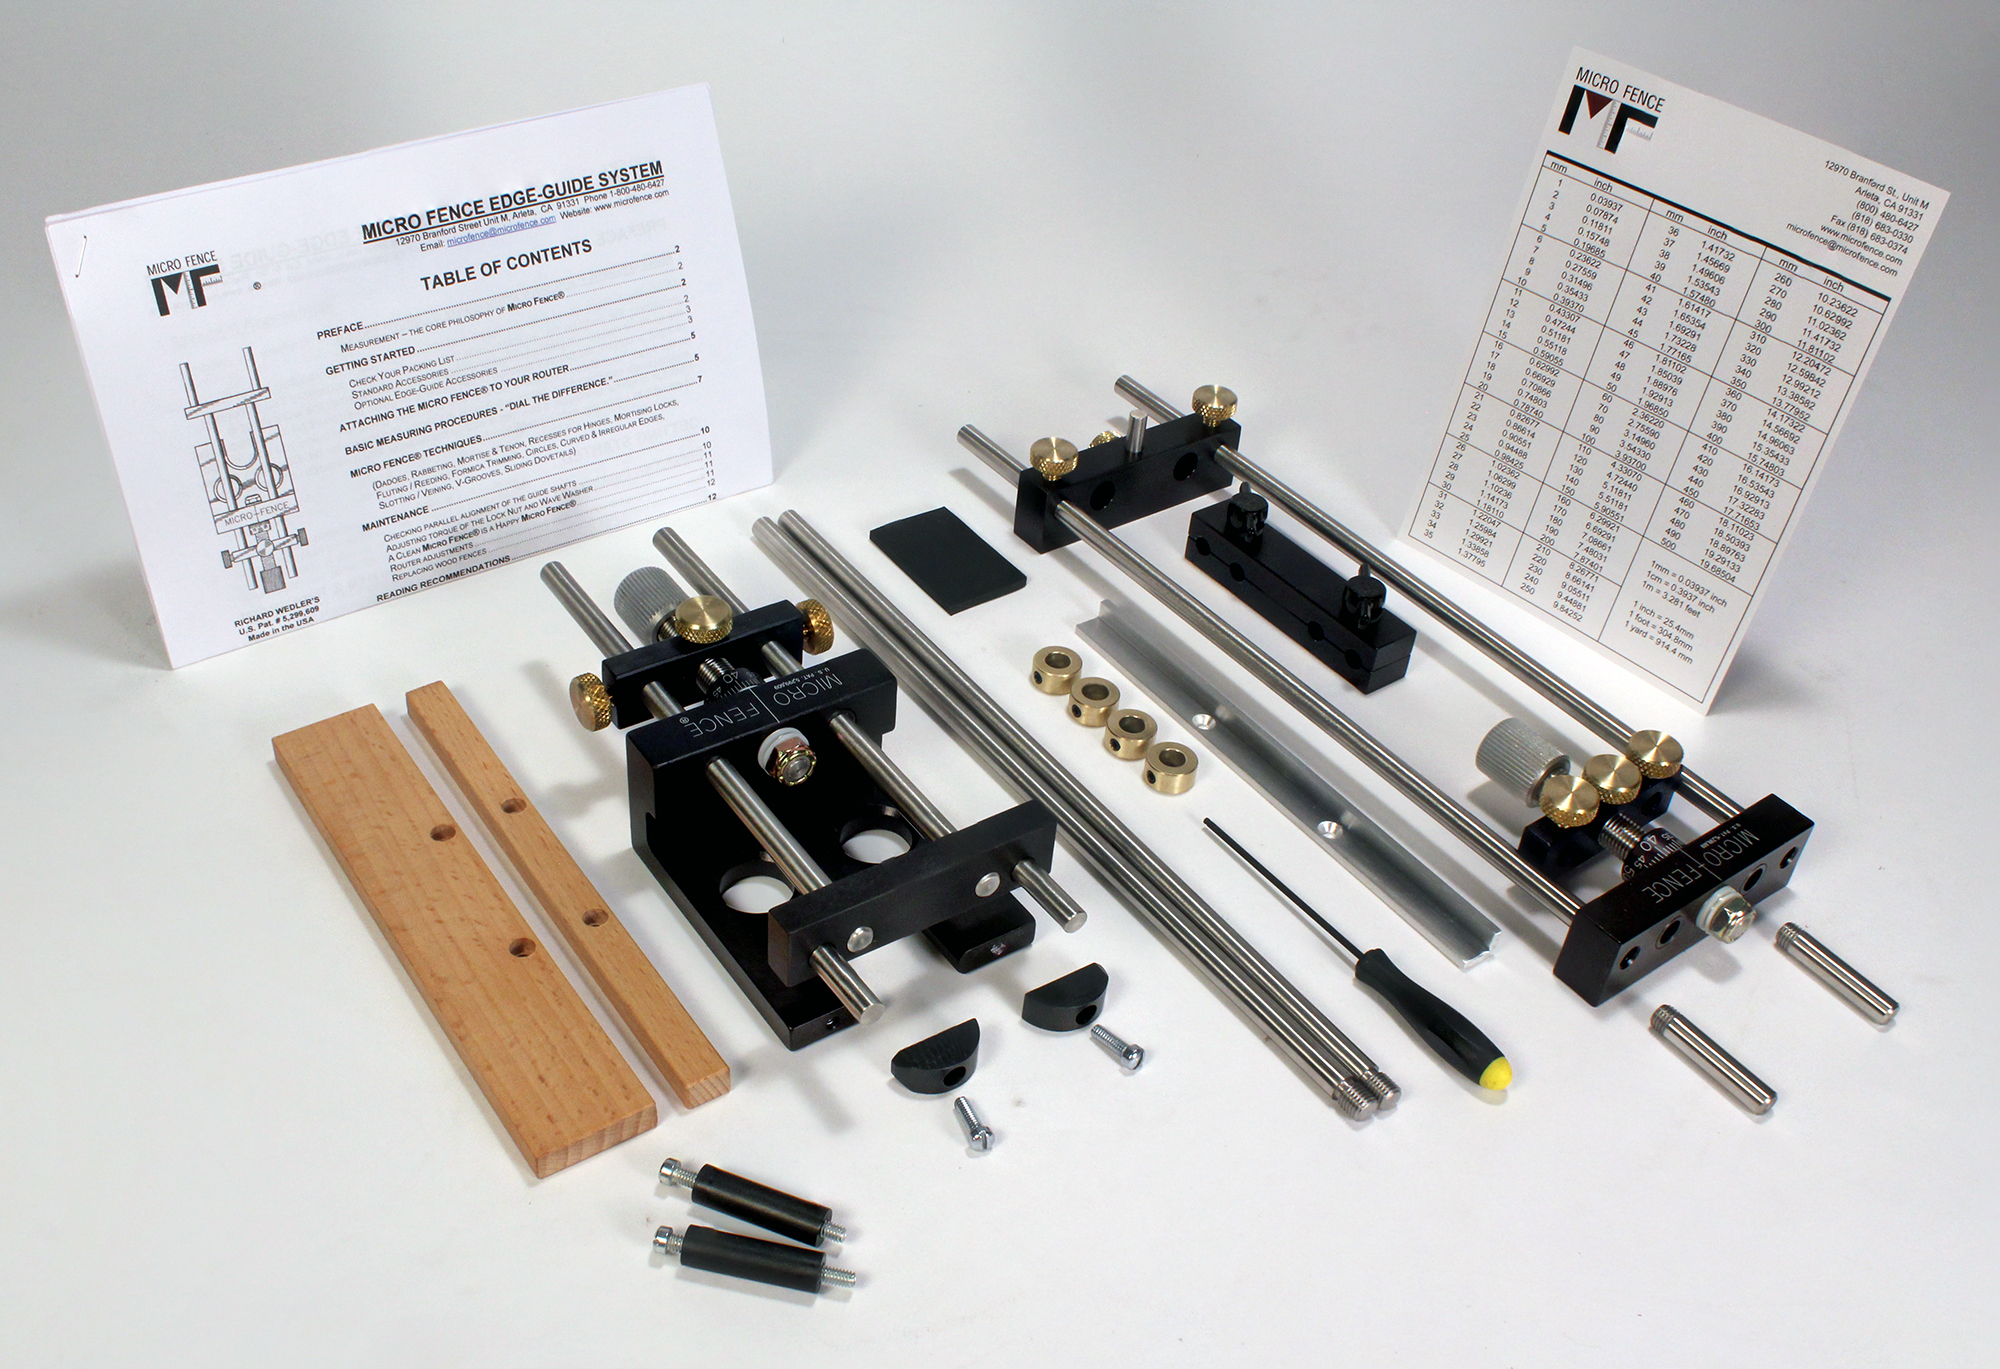


I looking to purchase to cut circle out of speaker baffles to fit the drivers. I need it to be able to cut small to medium sized circles.
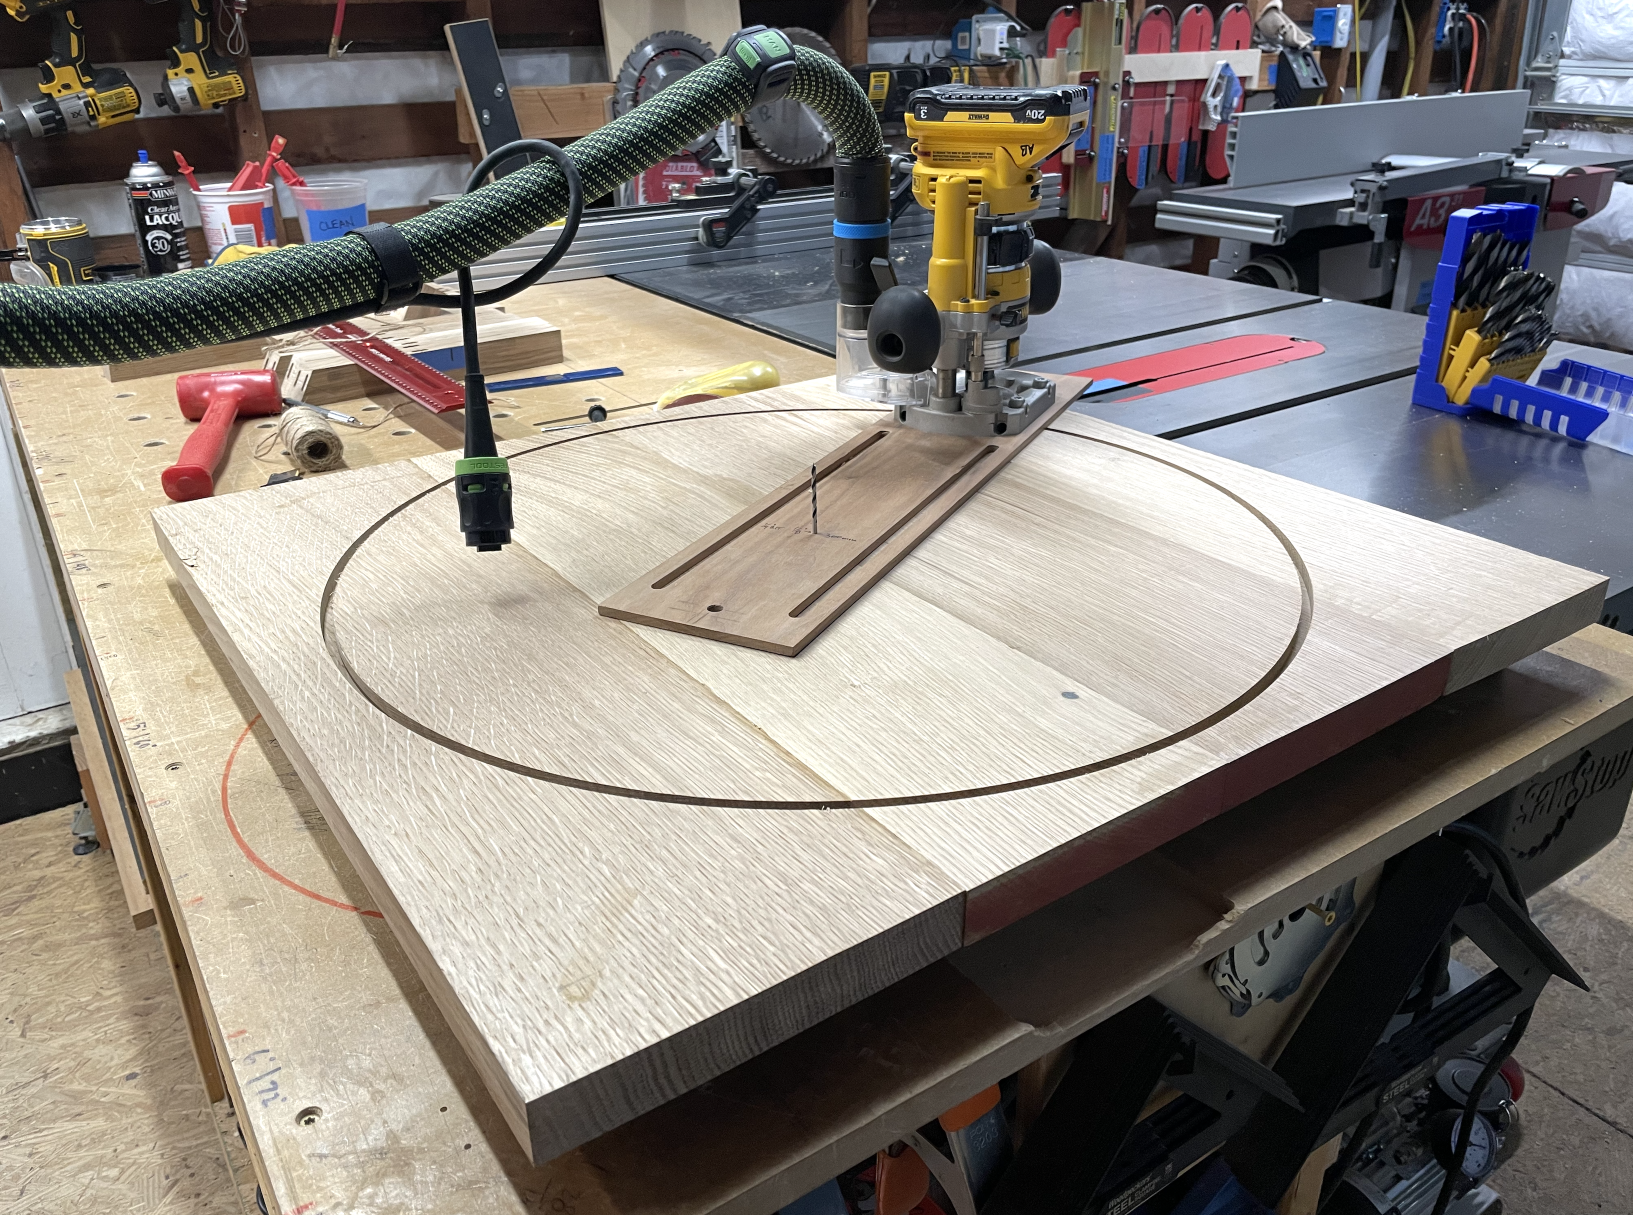
If it is something you are only going to use very rarely, then a shop made jig can work, though setup will be more tedious.
...
Functionally it works as well as a store-bought version. If you are going to make frequent use of it, go ahead and buy one. Otherwise, make one yourself.

 www.woodcraft.com
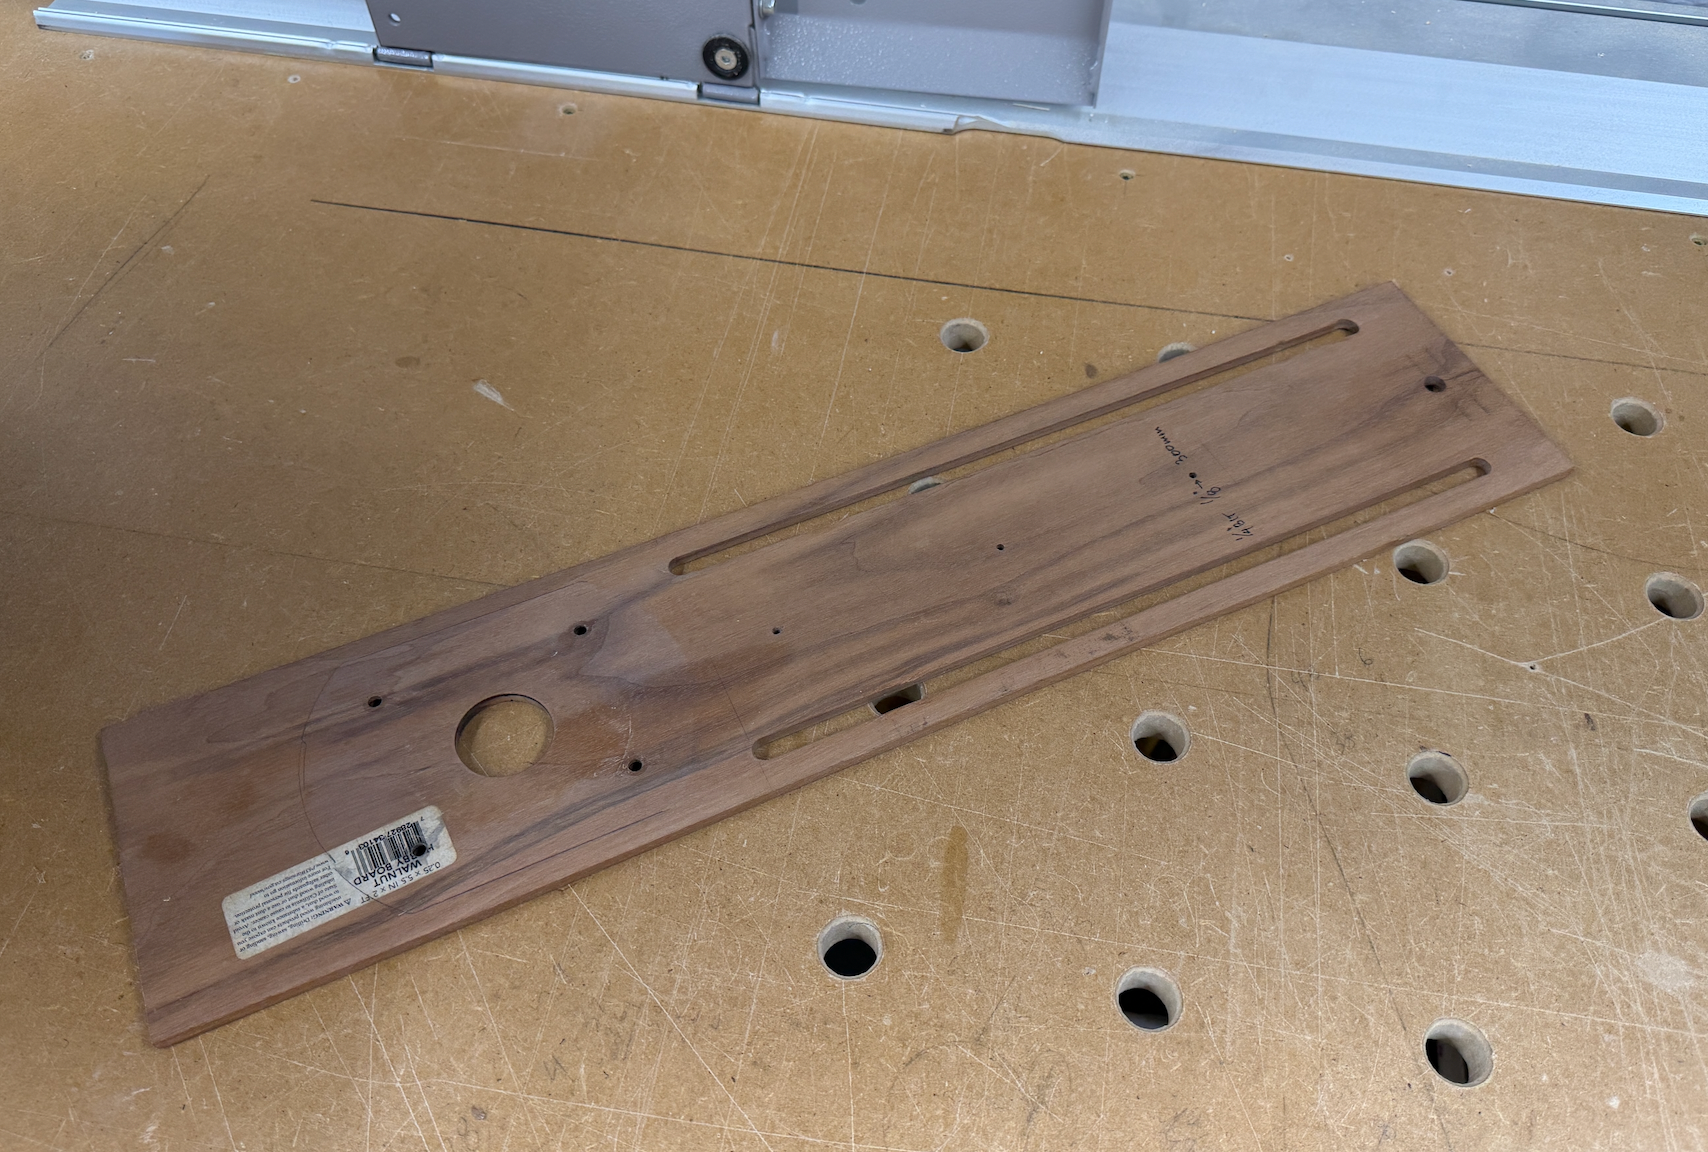
And I love that it still has the "Walnut Hobby Board" sticker!This old piece of scrap has been been very useful and whenever I need a circle, I just add a new hole to pivot from.
I thought that’s what the holes in the guide rails are for?
Tom
Smallest would be 45 mm in diameter and biggest would be 150.5 mm in diameter. I realize I could use a hole saw for some of them but I fear the cut quality would suffer.How small?

You could use the hole saw to make a pattern/jig that you then rout out with a guide bushing or ball-bearing pattern bit. Although 150mm is a pretty big hole saw.Smallest would be 45 mm in diameter and biggest would be 150.5 mm in diameter. I realize I could use a hole saw for some of them but I fear the cut quality would suffer.
Another vote here for the M Power jigI've used this one for speaker building for last 15 years, have cut anything from 2" tweeter holes to 14" subwoofer. Initial setup is a bit fiddly but works great. Also handy for various edge trimming tasks where a larger base support is helpful.
Not sure if the rods are correct diameter for your router though.
Buy M-POWER Combination Router Base at Woodcraft
7 functions out of the box include: small and large circle compass; off-set mortising; anti-tilt support; reference dadoing; faux panel copier; offset base. Fits all routers with fence rod drillings and quickly attaches to your router base. Improves stability and increases accuracy.