Clamping Jig for Cabinet drawers.

Joined
Dec 4, 2019
Messages
56
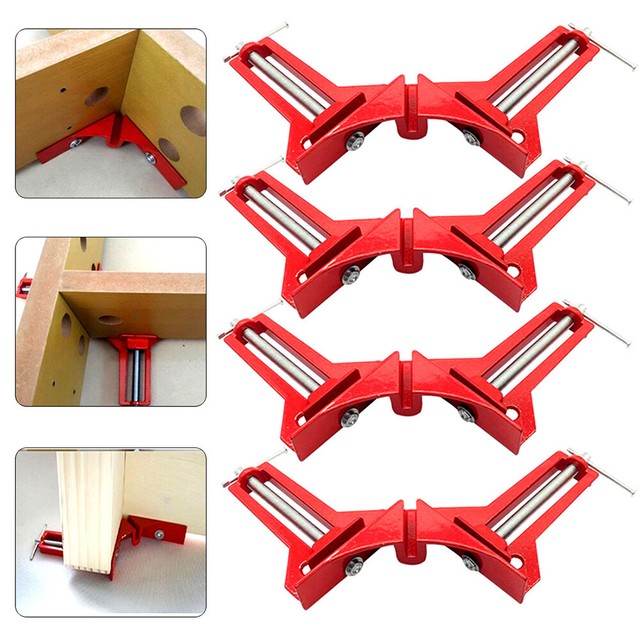
I'm working on my first project building kitchen cabinet drawers for a kitchen / pantry.

Wondering what's the best way to keep the drawers fronts and sides square for Kreg joinery.
I have looked at Clamp-It from Rockler.
Wondering if there is any other better way to do it?
 
I use my MFS rails for this, when I am not in the shop. You set them up for the exact size of the drawers (you want the outside dimensions of your drawers to fit snugly in the opening of the rails) and then it is off to easy mass production! Squareness guaranteed. So, if you already own an MFS, you could do that.

[Edit] Sorry, I overlooked part of your question. The above is for squaring the body of the drawers, not really for aligning the fronts.
 
I use "picture frame" clamps on all four corners of my cabinet boxes and drawers.  On cabinet boxes I add one more clamp at the top of the corner I am joining. 

I use dovetails for drawers so I just assemble and check for squareness and then unclamp.  It seems to stay in place. 

The clamps are good for face frames too.  Bessey and Jorgensen (Pony) make these and there are a number of knockoffs that are pretty good too.  Cheap clamps.

I also have the heavy-duty ones from Bessey

s-l640.jpg


maxresdefault.jpg

 
While you should shoot for square during assembly of the sides and front, the final squaring up is achieved when you attach the bottoms. It is critical to cut the bottoms accurately.
 
Yes I have those. But the issue is since my stock is 1/2 inch thick and it's 28 on one side and 21 on the other, balancing and keeping it square is a pain in the rear.
 
I do most of my plywood drawer boxes with pocket holes. 

First I cut everything as square and true as I possibly can.  I go with a bit of a loose tolerance on the drawer bottoms, 1/16 gap all around.  The gives plenty gap for squaring at the end of the process.

Then I assemble the drawer and clamp the sides using K body clamps just like I would if it was blind dovetail glue up.  Get it roughly lined up in the clamps.  Apply a little pressure.  Using a mallet I tap all the surfaces flush and straight and then tighten the clamps and drive the pocket screws.  You can put so much pressure with k bodies that the pocket screws can't pull it out of alignment.

I take it out of the clamps and test the assembled and screwed drawer for squareness.  If the parts were cut accurately it will be very close to square.  And if it's not truly square it will be a slight parallelogram.  If it is a parallelogram I wrack it a little to get it square.  Then from the bottom I put a few short crown staples all around the perimeter through the bottom and into the sides to lock it in place.  The staples need to be well set on the sides if you're using undermount slides.

I've done it with 1/2" ply drawer sides using the little 3/4" screws and the micro jig.  It seems flimsy but it seems to work fine.  I do use a bunch of them no more than an inch apart.  You've to to be very careful with those little screws in plywood.  They are the fine threads meant for hardwood.  I turn my drills clutch down very low.     
 
I made my shop drawers using 3/4" thick plywood and pocket screws and glue for the fronts and backs.  I used 3/4" for the drawer bottoms too because they would be carrying some heavier than normal weights.  I mounted my drawer pulls very low on each drawer so that the bottom carried most of the stress in pulling open the drawer.

I must have done something right.  15 years later the drawers are all fully functional and have been subject to harsh treatment over the years.
 
Back
Top