sdscolumbia
Member
- Joined
- Sep 1, 2020
- Messages
- 14
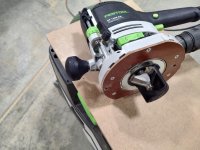
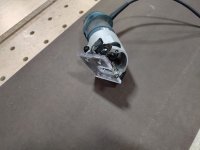
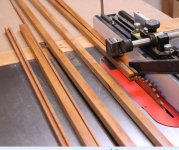
tjbnwi said:I’d use 1x and rip these with the track saw, set the bevel to 45.5º.
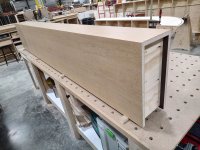
Assemble 3 sides using tape fold method, make sure you insert side 4 to keep things square.
Seeing as you have to remove these, make some U-shaped spacer to keep the covers from moving around. Install the back face with some trim screws, painted to match the finish.
If I didn’t have remove these I’d hold them in place by gluing the 4 piece in place using plastic stretch tape as the clamp. Once the glue dried injecting expanding foam will lock the cover to the posts.
Tom
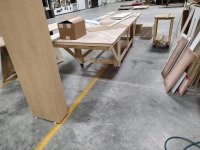
Thanks for all the great suggestions. Leaning toward this method. Found this youtube video which show exactly what I want to do (he even moves the track to cover the 12') -- I wiil just add a removable 4th side held on with trim screws. I will add braces inside the exact dimensions of interior held in with temporary kreg screws to make sure it is square while drying and screw in the removable side with no glue and maybe dominos to help locate it. I can burnish the edges with a large screwdriver to hide any miter irregularities.
Actually, upon rewatching, he uses the table saw to cut the miters and slides the track to cut the boards to width at 90 degrees. Still may try moving the tracks to make the miters.
I can't screw into the tent poles so I may just add bracing inside and use shims to wedge it into place before screwing in the removable side and/or use clamps at the top.
I also have to make 24' cross beams to sit on top of the columns for the top of the "pergola" -- plan on using the largest dominos my 500 will allow and Kreg HD screws and maybe some mending plates to hold these boards together (16 foot and 8 foot 2X6s, with the joints staggered on the two boards) Not glued so they can be assembled on site.


")