dirtydeeds
Member
- Joined
- Nov 22, 2007
- Messages
- 1,009
thank you to all of you who made suggestions for fixing my OF1400, particular thanks go to Mike Chrest
mike subsequently pm'd me and suggested i posted photos. i couldnt resist the chance to show off :")
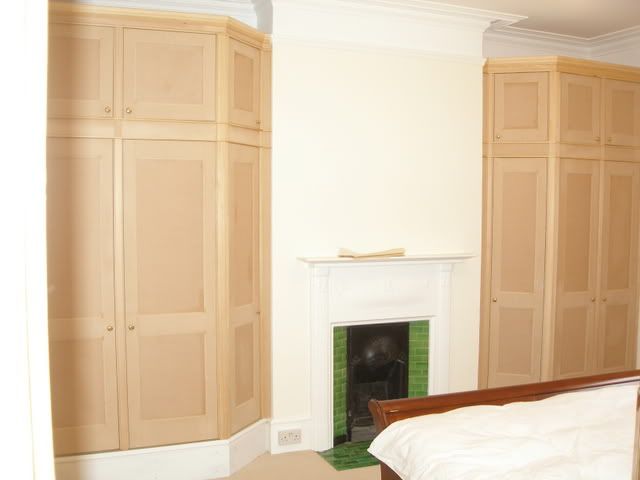
the project is in an edwardian house (1906) in dulwich village uk.
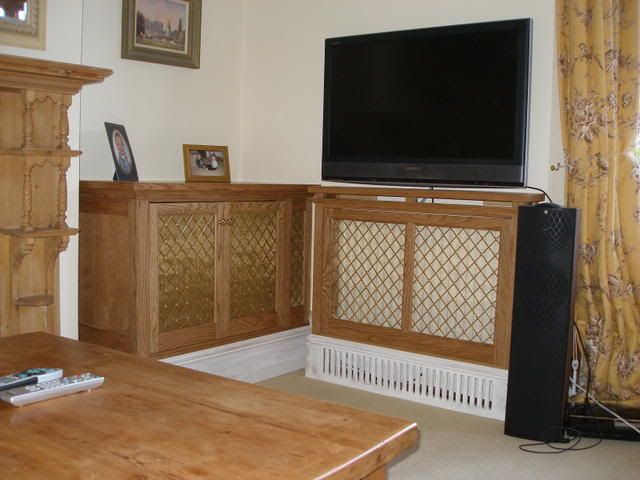
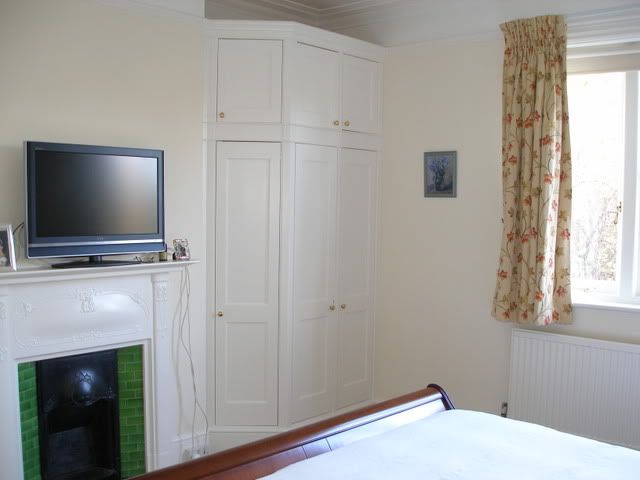
bedroom wardrobes in mdf. the rest in oak:- 3 radiator cabinets, a hi fi unit and a main cabinet with lighting and some torsion box shelving
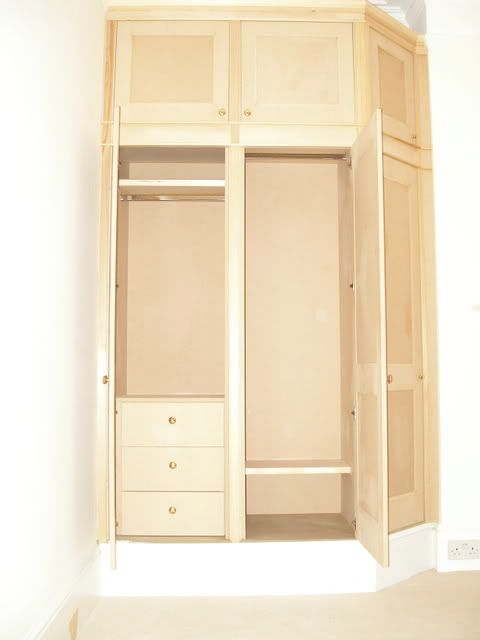
wardrobes before painting

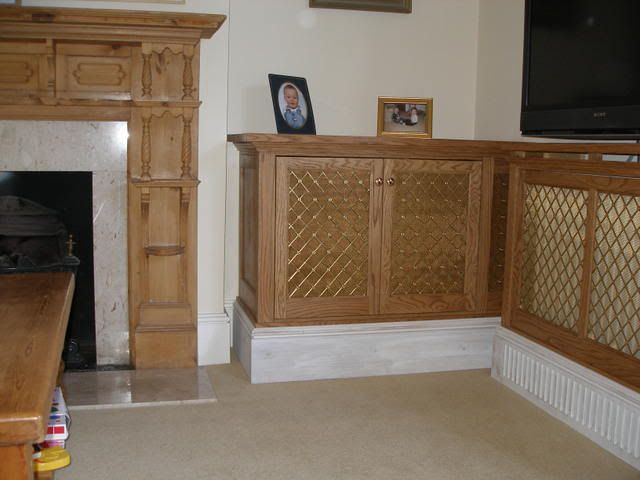
hi fi cabinet
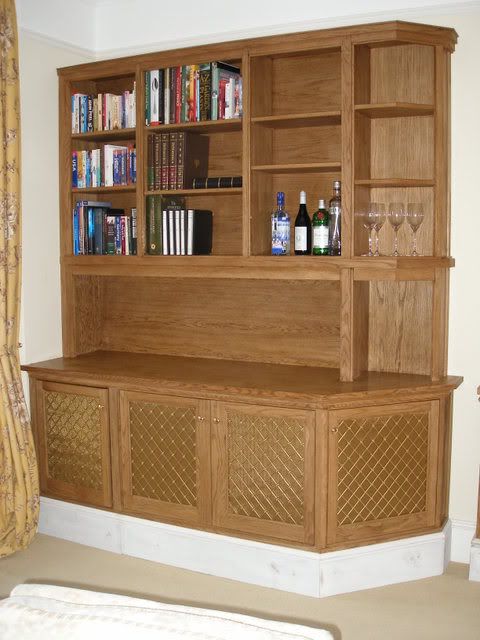
main cabinet
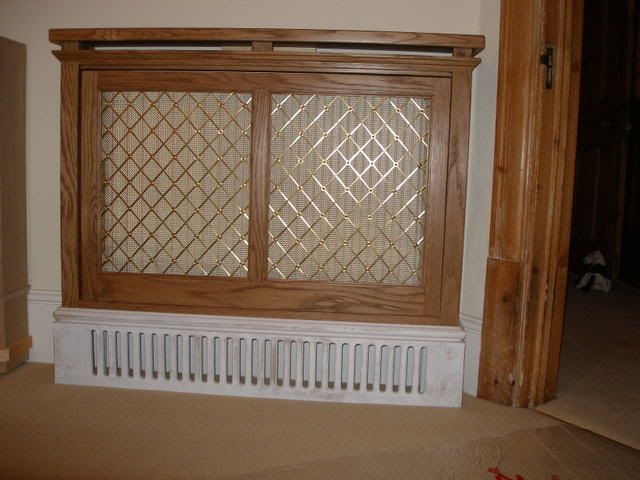
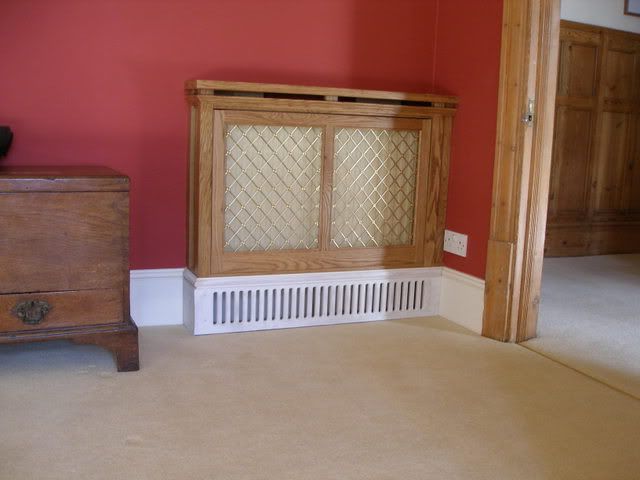
radiator cabinets, one of which ive shown already
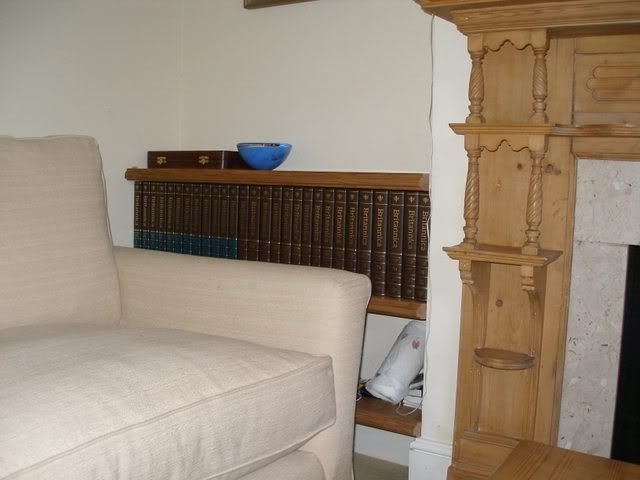
torsion box shelving mostly hidden by sofa unfortunatly
mike subsequently pm'd me and suggested i posted photos. i couldnt resist the chance to show off :
the project is in an edwardian house (1906) in dulwich village uk.
bedroom wardrobes in mdf. the rest in oak:- 3 radiator cabinets, a hi fi unit and a main cabinet with lighting and some torsion box shelving
wardrobes before painting
hi fi cabinet
main cabinet
radiator cabinets, one of which ive shown already
torsion box shelving mostly hidden by sofa unfortunatly
 its a hand rolling cigarette paper
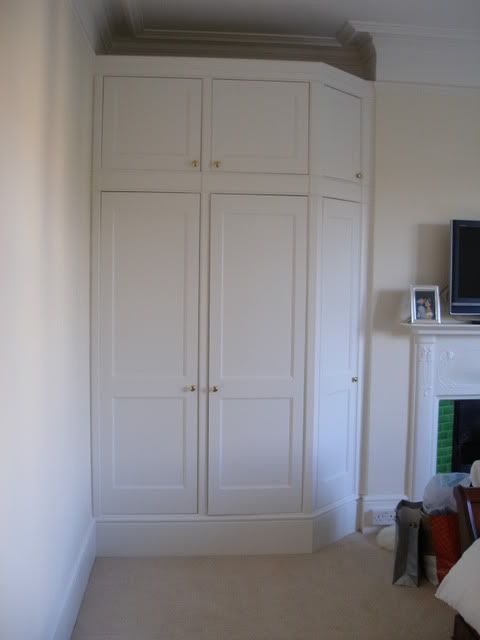
")