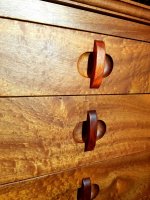
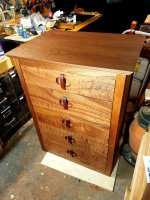
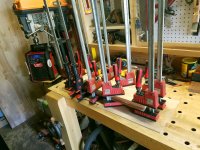
First on the handles/pulls -- I was initially just going to use some metal ones, but my eyes started to glaze over after like the 20th page of handles in the Lee Valley hardware catalog, so I just decided to make my own working off a reference image I had seen some place online.
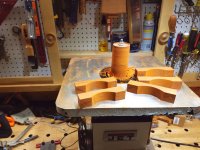
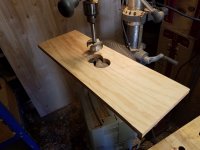
I had already built the drawers, however, so the challenge was to do all that excavation of a recess on the fully assembled drawers. I did it in two stages. First I built a jig to create the oval shape. Two side by side plunges with a 2 3/4" fostner bit on the drill press:
View attachment 1
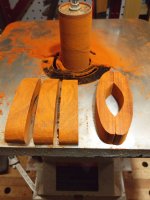
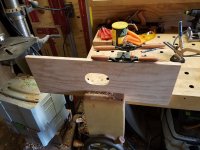
Then connected the holes using the plunge attachment on the Vecturo, followed by some final smoothing of the transition with a spokeshave:
View attachment 3
View attachment 2
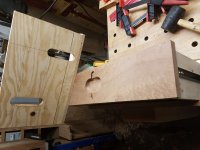
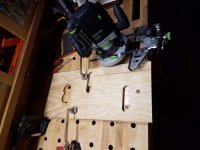
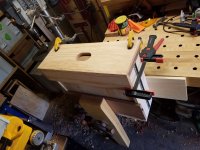
Then I attached a lip on two sides of the board, so that it would automatically align in the same place on each drawer front:
View attachment 4
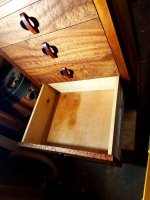
Clamped up the each drawer in my leg vise, and clamped the jig to the drawer:
View attachment 5
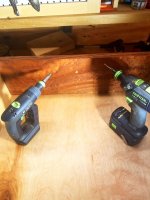
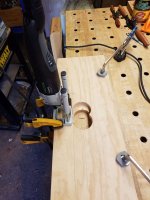
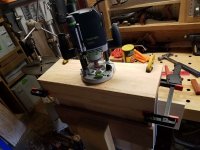
Then used the 2200 with a 1 3/8 core box bit and the 40mm copying ring to create the rounded depression:
View attachment 6
View attachment 7
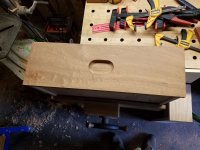
The core box bit doesn't really leave a flat bottom, so I sanded it out smooth with a bowl sanding drill attachment I normally use on my lathe:
View attachment 8
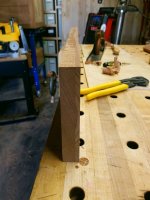
Similar principle for the vertical handle mortise. Used a 1 3/8" straight bit to cut some slots (I had to make two because the top drawer was 6", while the rest were 8") in a board with the edge guide:
View attachment 9
Then put lips on two sides (which were later reversed when I was doing the mortise for the 6" drawer):
View attachment 10
Then swapped out for a 1" straight bit on the 2200 outfitted with a 1 3/8" copy ring, which fit snugly in the slot so there would be no movement in creating the vertical mortise:
View attachment 11
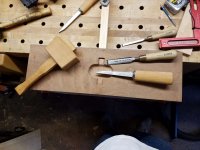
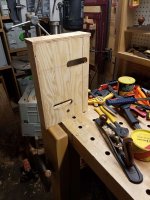
Finished up by squaring off the mortise with some chisels:
View attachment 12
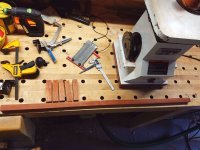
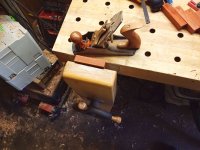
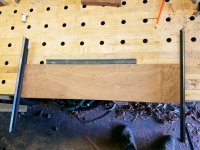
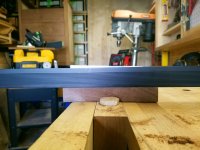
I had some scrap padauk lying around, so I cut it into 1" x 1 1/32" strips. The extra 1/32" was so that I could get an exact fit shaving off a bit at a time with a plane:
View attachment 13
View attachment 14
View attachment 15
The shaping of the handles was done on the spindle sander:
View attachment 16
View attachment 17
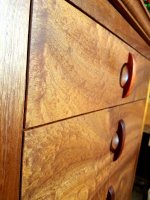
Followed by some hand sanding to relieve the edges.
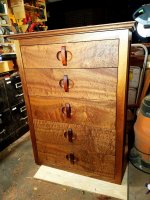
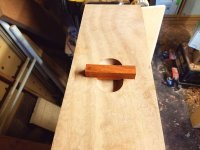
Applied the handles in the mortise with CA glue, but countersink some screws through the back for extra security:
View attachment 18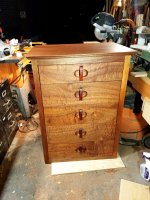


") .
. but this sapele thing is something I may need to try. [thumbs up]