Overtime
Member
- Joined
- Jan 25, 2007
- Messages
- 265
Following the lead from the trailblazers in the DomiDrawer post of three weeks ago, I thought I would give it a try.
Project - 16 utility grade ( heavy duty) drawers For three base units. Material - 1/4" 1/2" and 3/4" baltic birch. Two size boxes - 4 1/8 and 5 1/2 tall. Solid faces will be added. And hung on full ext BB slides.
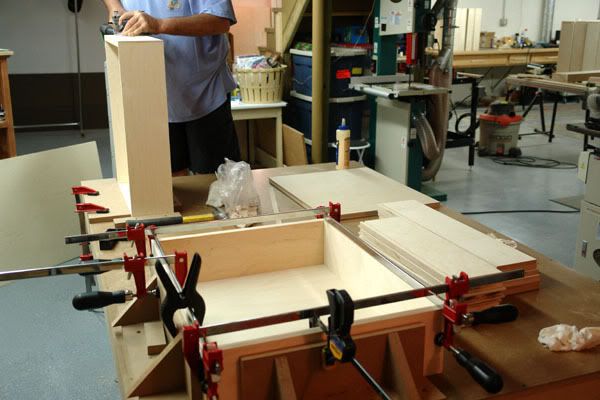
A 1/2" rabbit was cut on the ends of 3/4" (fronts and backs) - sides are 1/2" and a 1/4" daddo was cut in all stock for the bottom. Using a temp squaring jig I glued (bottoms also) and nailed the outer corners with 18 ga 1 1/4" brads then clamped em up for 15 -30 min. After they were tight I set them up to get Dominoed. Using a temp stop to hold the drawers in place and standing on a step stool.
I was planning on setting the 5mm domino cutter on the deepest setting - hoping to get them close to flush after driving them in. And benefit from the strength of a deeper fit. But not to be and as noted before the 5 mm bit flairs out towards the bottom of the cutting surface at the shank. And since the bit screws on there is no adjustment. Only the 5mm bit has this feature ( as needed for strength of the skinny bit) just my luck.
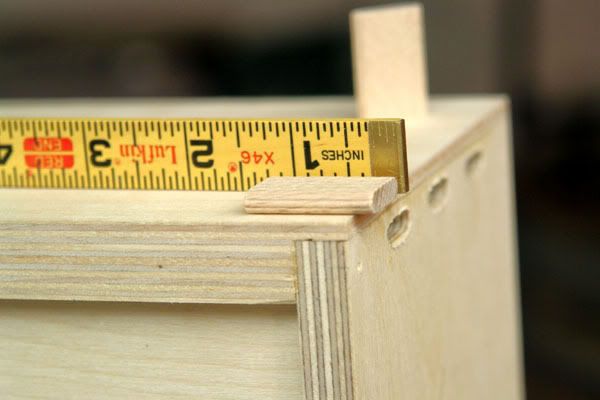
This means that when using the 28mm cut depth you get a flair out cut at the top of the hole. So I used the 25mm depth which made the domino sink about a light 1/2" into the rabbited 3/4" stock and thru the 1/2". Could have stepped up to 6mm but the fives were a good fit in the rabbit and I have lots of fives. So 5mm it is. I am glad I used the 3/4" stock for the fronts and backs with the rabbits.
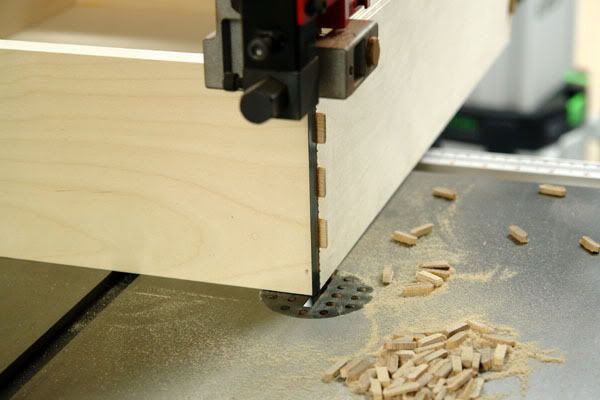
I cut the nubbs off at the band saw ( did not expect to have this extra step ) and hated to see them go
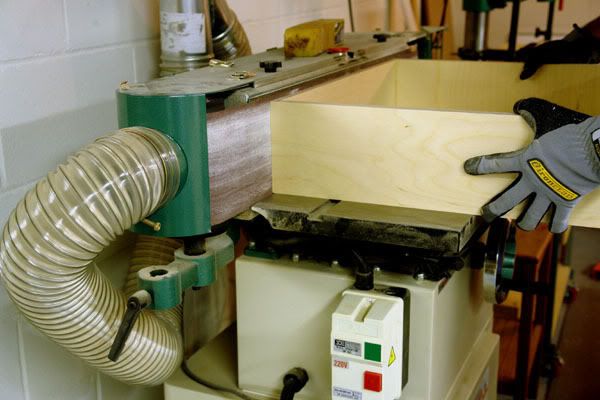
Then over to the osc edge sander to finish off the nubbs.
I used the index pins on the 5 1/2" boxes and that worked well - on the 4 1/8" boxes I marked and cut. Brads , glue and dominos that should hold em. Looks not a priority here but in a more formal application they would look just fine (without the brads)
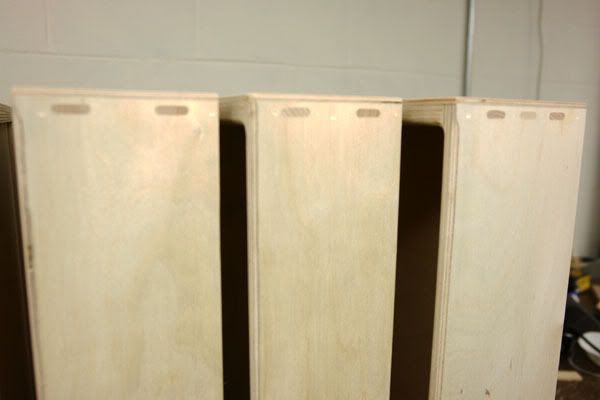
The process went smoothly up till midway thru I sideswiped a (stray) brad nail I thought I toasted the bit. But no it made it no problem. Even with cutting thru all that plywood. 164 domino$ cut and used. Time to make my own stock.
Project - 16 utility grade ( heavy duty) drawers For three base units. Material - 1/4" 1/2" and 3/4" baltic birch. Two size boxes - 4 1/8 and 5 1/2 tall. Solid faces will be added. And hung on full ext BB slides.
A 1/2" rabbit was cut on the ends of 3/4" (fronts and backs) - sides are 1/2" and a 1/4" daddo was cut in all stock for the bottom. Using a temp squaring jig I glued (bottoms also) and nailed the outer corners with 18 ga 1 1/4" brads then clamped em up for 15 -30 min. After they were tight I set them up to get Dominoed. Using a temp stop to hold the drawers in place and standing on a step stool.

I was planning on setting the 5mm domino cutter on the deepest setting - hoping to get them close to flush after driving them in. And benefit from the strength of a deeper fit. But not to be and as noted before the 5 mm bit flairs out towards the bottom of the cutting surface at the shank. And since the bit screws on there is no adjustment. Only the 5mm bit has this feature ( as needed for strength of the skinny bit) just my luck.
This means that when using the 28mm cut depth you get a flair out cut at the top of the hole. So I used the 25mm depth which made the domino sink about a light 1/2" into the rabbited 3/4" stock and thru the 1/2". Could have stepped up to 6mm but the fives were a good fit in the rabbit and I have lots of fives. So 5mm it is. I am glad I used the 3/4" stock for the fronts and backs with the rabbits.

I cut the nubbs off at the band saw ( did not expect to have this extra step ) and hated to see them go

Then over to the osc edge sander to finish off the nubbs.

I used the index pins on the 5 1/2" boxes and that worked well - on the 4 1/8" boxes I marked and cut. Brads , glue and dominos that should hold em. Looks not a priority here but in a more formal application they would look just fine (without the brads)

The process went smoothly up till midway thru I sideswiped a (stray) brad nail
