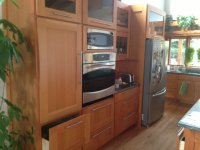
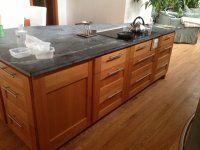
For my kitchen cabinets, I built the boxes with prefinished ply and installed those. Then I cut the face frame pieces and finished them separately before installing them. 4mm dominos helped keep the frame pieces aligned to the boxes, and pocket screws hold them in place. It was kind of a hybrid between frameless and face-frame cabinets.
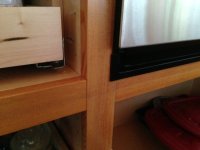
Here's an example of the details, kind of. The "face frame" piece spans the two cabinets. You can also see the pocket hole in the upper left cabinet.
[attachthumb=#]
It came out pretty well, with a look somewhere between the traditional and frameless. For most of the face frame pieces, they were just 38mm strips, enough to span the two pieces of ply. I put spacers in other places where I needed to put outlets or whatever. The boxes are all very solidly put together. The face frame pieces are not attached to each other except with dry-fit dominos, so there's an occasional small gap, but nobody has noticed that.
[attachthumb=#]
[attachthumb=#]
")