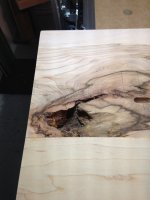
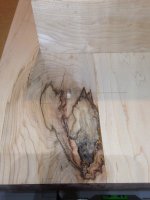
The best practice in joining flatsawn boards is to alternate the bark side, exactly as you have done here.
My previous post was mostly concerned with subsequent seasonal movement. Since these boards are flatsawn I think they're are too wide for long term stability. If everything else was perfect I'd rip the middle third out of each of those boards, invert it and glue it back in.
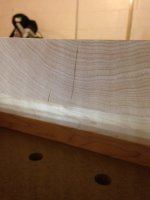
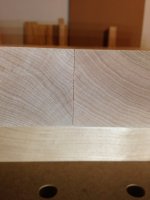
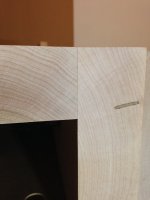
But, as others have pointed out, the biggest problem here is with the jointing. The glued up joint is only about 89.5* per half so the left side drops about a degree below the center board. So, you need to re-rip at the joints as well.
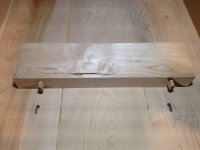
After you re-rip, clamp up the boards dry and check with the straight edge (assuming the individual boards are still dead flat). If you still get big gaps under the straight edge as in this photo then you should re-adjust the screws that set the 90* (or 0*) angle.
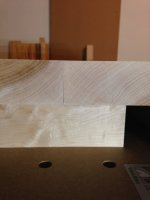
A simple alternative to adjusting the screws has already been suggested, invert alternate boards and the two off-angles become complementary. To try to clarify, if you consider the three horizontal boards in this photo, presumably all with edges at about 89.5*, and simply invert the middle board in that assembly, then the drop on either side of the middle would be eliminated.
(Instead of 89.5 + 89.5 = 179, by simply inverting one board [from the orientation it was at when ripped] you get the equivalent of 89.5 + 90.5 = 180)
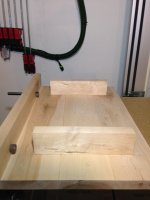
The steps I'd take,
1. Re-adjust the stop screws on the saw base.
2. Rip the boards apart
3. Re-rip the edges of the left and right boards (keeping the bark-sides up)
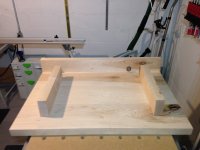
4. Invert the middle board and re-rip it's edges
5. Turn the middle board back to bark-side down and make two rips a third of the way in from each edge. Make sure to support the guide rail with another equal thickness board.
6. Invert the left and right boards and rip the middle third out as above.
7. Re-assemble all the pieces as in the original configuration and then invert the three middle pieces
8. Clamp it up and check flatness. Unless there is a problem with the straightness of the pieces you should be able to get the surface dead flat since all the adjacent bevels are complimentary. The surface should stay flat for a long time because the pieces are not so wide and the bark side alternates every piece.
")

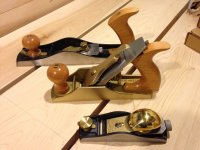
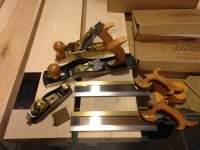
") . May be a little tuff on something that thick to plane them together but you can do it. It's just like taking two books and laying them on a table with the spines together fronts up, picking them up still with the spines together and folding them down so there backs come together. The resulting two spines will be ready to plane flat.
. May be a little tuff on something that thick to plane them together but you can do it. It's just like taking two books and laying them on a table with the spines together fronts up, picking them up still with the spines together and folding them down so there backs come together. The resulting two spines will be ready to plane flat.