DeformedTree
Member
- Joined
- May 19, 2018
- Messages
- 1,341
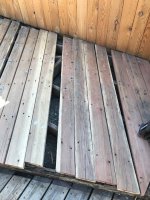
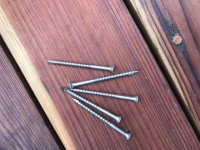
Sparktrician said:Cheese said:I'd approach this issue by removing 3-4 decking boards in succession and if the redwood boards become trashed...so be it. Then with a Sawzall and a long, thin, flexible blade with minimum tooth offset, just go down the structural support and run the Sawzall blade between the decking board and the treated structure. You'll shear all the screws, probably save the treated sub structure and you'll still have hundreds of red wood decking boards that you can eventually salvage over many years of retirement. [big grin]
Look for earlier Milwaukee Sawzall blades that were longer and had a thinner blade thickness and also a smaller tooth offset.
But don't even think of running the boards through a planer! [scared]
Borrow an ex's Planner, or rental [wink]. Clearly you don't make a living selling planer knives.


")