Slowlearner
Member
- Joined
- Apr 7, 2019
- Messages
- 65
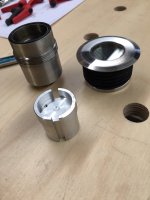
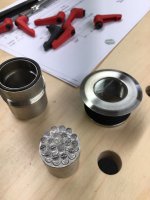
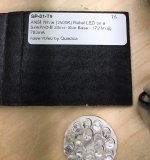
Glossed over thread saw about heatsinks etc. Found thishttps://www.superbrightleds.com/mor...rZLdUJhIbkOWGyRphRIWfUjGuLxbxX0gaAssyEALw_wcB
Slowlearner said:Glossed over thread saw about heatsinks etc. Found thishttps://www.superbrightleds.com/mor...rZLdUJhIbkOWGyRphRIWfUjGuLxbxX0gaAssyEALw_wcB
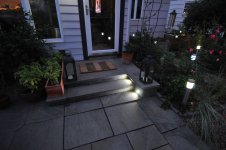
Michael Kellough said:Installed at only 8 feet high, I’m enjoying these 10k lumen shop 4 foot strip shop lights from Rockler.
Also love how lightweight they are. You could use double stick tape or Velcro to hold them in place.
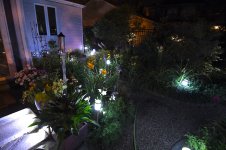
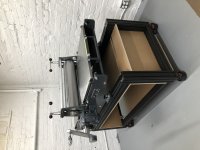
Michael Kellough said:Here is a tight shot of the room, spruced up to host my wife’s new etching press.
The light fixture is installed right above the gearbox parallel to the bed. It makes a pretty clear shadow of the stand but it also cast plenty of light laterally.
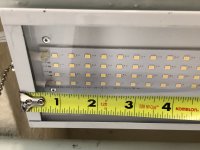
Michael Kellough said:[member=44099]Cheese[/member] the fixture has four rows of led’s,6 led’s per row per 2”. Overall length of rows is 45.5” so 45.5/2 = 22.75 x 24 = 546 led’s.BRIGHT!!!
Doh! Noticed in the enlarged photo that the columns of led’s are numbered. The last is 110 so there are 440 led’s.