Mario Turcot
Member
- Joined
- Nov 26, 2017
- Messages
- 1,288
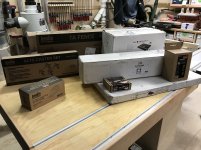
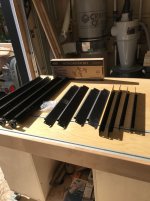
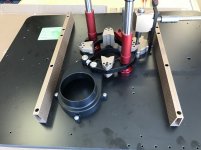
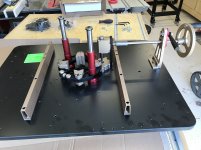
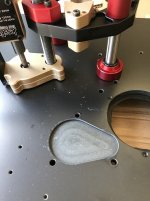
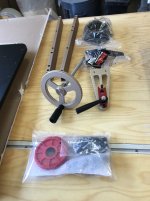
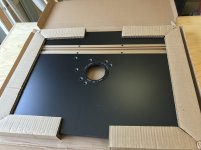
I finally received all the packages from the JESSEM ULTIMATE EXCEL II PACKAGE

I am pretty excited to put it all together. Here is what to expect as boxes
[attachimg=1]
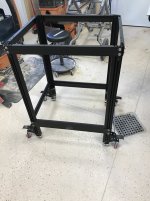
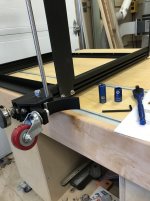
[list type=decimal]
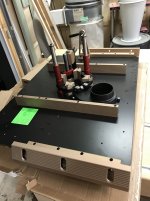
[*]The Top
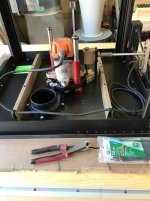
[*]The Lift
[*]The Stand
[*]The Casters
[*]The Power Switch
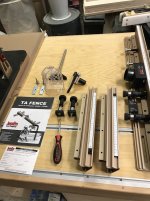
[*]The TA Fence
[*]The Stock Guides
[/list]
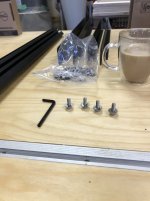
I also order an extra set of inserts.
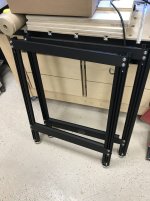
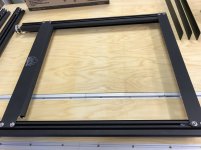
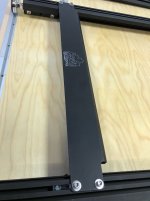
It is not easy to find any information about Jessem's product. I thought I could make a thread about the build, for future reference.
I am pretty excited to put it all together. Here is what to expect as boxes
[attachimg=1]
[list type=decimal]
[*]The Top
[*]The Lift
[*]The Stand
[*]The Casters
[*]The Power Switch
[*]The TA Fence
[*]The Stock Guides
[/list]
I also order an extra set of inserts.
It is not easy to find any information about Jessem's product. I thought I could make a thread about the build, for future reference.