smorgasbord
Member
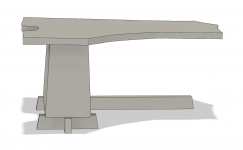
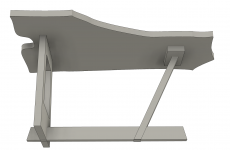
That's great, too - especially the tusk tenons on the splayed legs. How did you cut the mortises for them? I don't know if you can tell from my photos, but I "cheated" and cut them like I cut the square dog holes - flat face with a router and then laminated a side piece on. I didn't own mortise chisels at the time, not that I'd be any good with them.
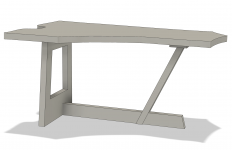
I also like the built-in shelves with no drawers - easy access to everything on them.
What are the dog-holes for?
Did you see my earlier post on a back-fence zero-clearance cube? Might not work with that factory fence you have there, though.
I also like the built-in shelves with no drawers - easy access to everything on them.
What are the dog-holes for?
Did you see my earlier post on a back-fence zero-clearance cube? Might not work with that factory fence you have there, though.