VW mick
Member
- Joined
- Apr 27, 2014
- Messages
- 881
Hi
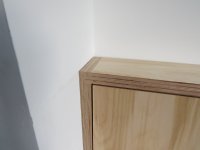
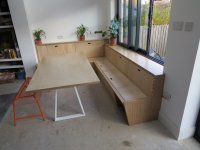
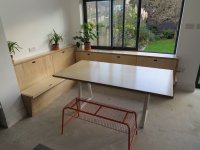
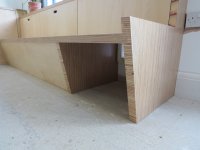
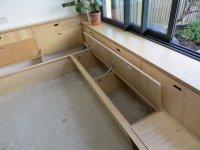
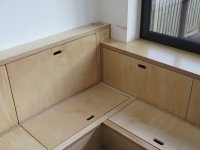
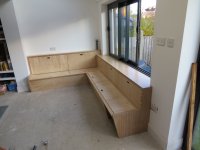
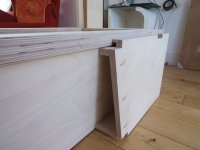
Just a few pictures of my progress so far on the laminated end panel for a bench seating area a friend of mine has asked me to build.
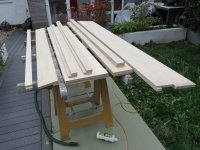
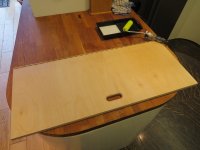
This also includes a dinning table top which he is buying some metal legs for. The table top is literally 2 layers of birch ply laminated together. I only really included it as it shows how I reduced a sheet down to create the strips ending up with the top sized piece leftover
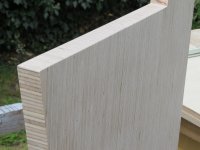
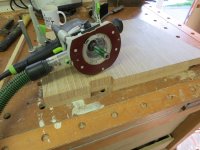
Hope this makes sense as my posts including pictures always get a little confusing [attachimg=1]
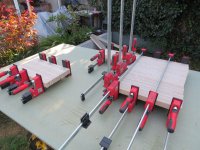
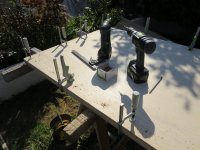
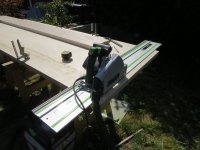
Boring picture but I had to start somewhere 2 sheets of birch faced ply clamped together [attachimg=2]
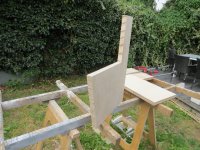
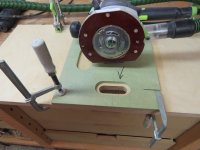
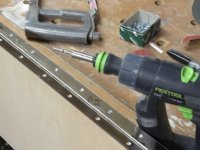
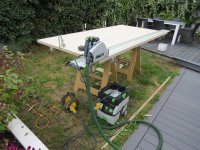
I ripped 2 sheets at a time just used a combination square to set the rail each time (I'm sure I need something from woodpeckers to do this)
[attachimg=3]
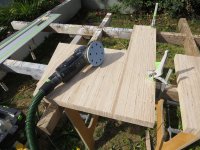
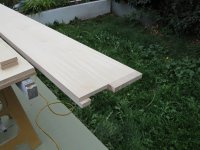
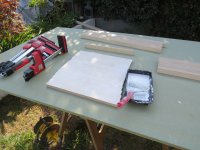
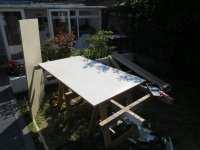
Then cross cut the sheets in the same way
[attachimg=4]
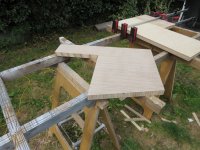
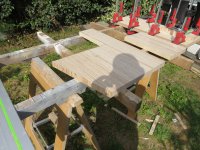
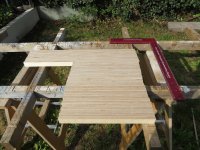
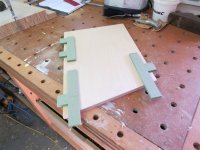
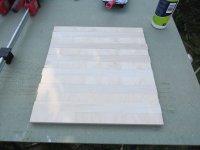
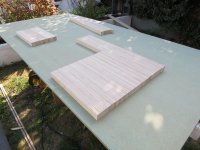
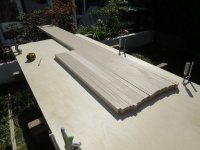
Ended up with this
[attachimg=5]
Quite pleased with the consistency of the rips and there is no pressure on the ruler probably would be better if I pressed down on it (but was holding the camera)
[attachimg=6][attachimg=7]
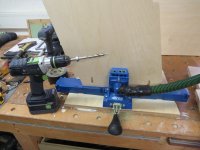
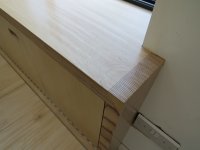
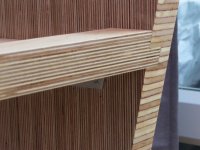
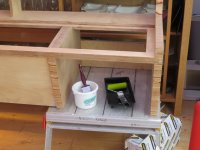
Then glued and screwed the table slab together
[attachimg=8][attachimg=9][attachimg=10]
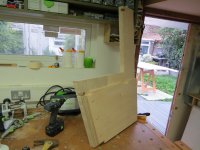
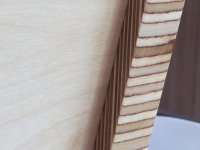
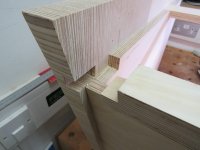
This one shows how I managed to alternate the veneer. Not sure if it matters
[attachimg=11]
All glued up. We shall see how it turned out in the morning
Thanks Mick
Just a few pictures of my progress so far on the laminated end panel for a bench seating area a friend of mine has asked me to build.
This also includes a dinning table top which he is buying some metal legs for. The table top is literally 2 layers of birch ply laminated together. I only really included it as it shows how I reduced a sheet down to create the strips ending up with the top sized piece leftover
Hope this makes sense as my posts including pictures always get a little confusing [attachimg=1]
Boring picture but I had to start somewhere 2 sheets of birch faced ply clamped together [attachimg=2]
I ripped 2 sheets at a time just used a combination square to set the rail each time (I'm sure I need something from woodpeckers to do this)
[attachimg=3]
Then cross cut the sheets in the same way
[attachimg=4]
Ended up with this
[attachimg=5]
Quite pleased with the consistency of the rips and there is no pressure on the ruler probably would be better if I pressed down on it (but was holding the camera)
[attachimg=6][attachimg=7]
Then glued and screwed the table slab together
[attachimg=8][attachimg=9][attachimg=10]
This one shows how I managed to alternate the veneer. Not sure if it matters
[attachimg=11]
All glued up. We shall see how it turned out in the morning
Thanks Mick
Attachments
-
 IMG_2817.JPG729 KB · Views: 3,285
 -
 IMG_2842.JPG670.5 KB · Views: 3,171
 -
 IMG_2840.JPG432 KB · Views: 3,149
 -
 IMG_2837.JPG616.2 KB · Views: 3,170
 -
 IMG_2836.JPG657 KB · Views: 3,184
 -
 IMG_2833.JPG532.7 KB · Views: 3,158
 -
 IMG_2831.JPG460.7 KB · Views: 3,157
 -
 IMG_2827.JPG433.1 KB · Views: 3,203
 -
 IMG_2828.JPG522.4 KB · Views: 3,196
 -
 IMG_2825.JPG443.1 KB · Views: 3,211
 -
 IMG_2819.JPG861.8 KB · Views: 3,238