Last Man Standing Peg Game

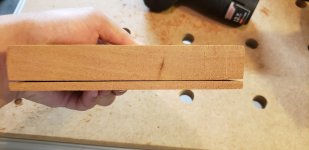
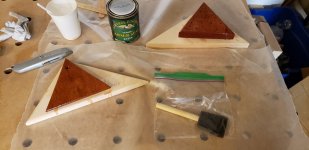
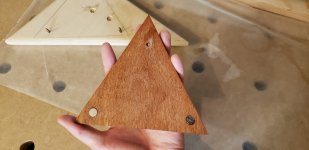
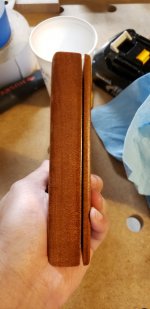
I nearly ruined one of the games by trying to use a flush trim router bit to make the bottom and top pieces even with each other.

[attachimg=1]

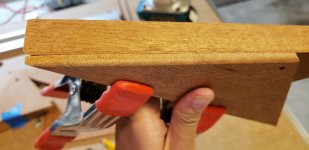
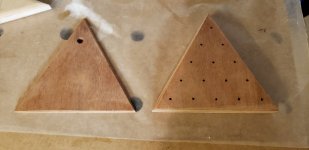
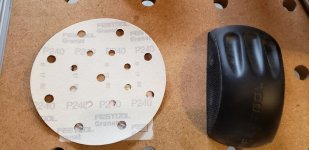
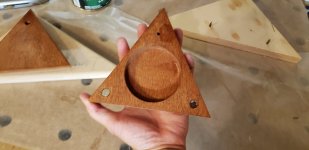
I was able to mostly sand out the mishap and also add an 1/8" roundover to the top and bottom.  Here's a picture of a test roundover on a piece of 1/4" scrap.

[attachimg=2]

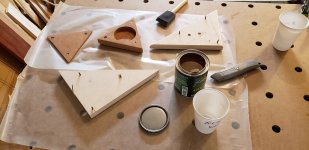
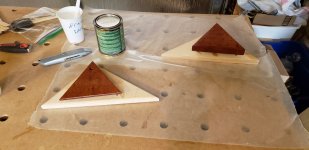
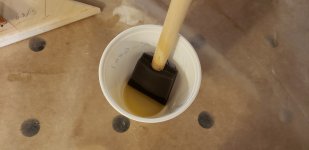
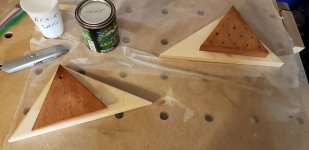
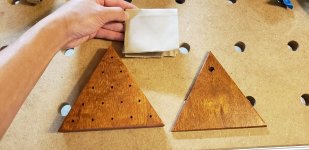
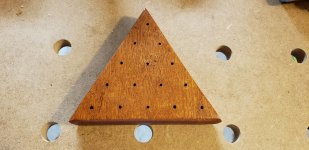
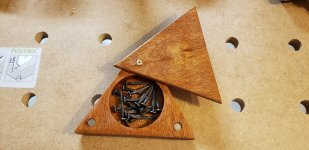
I just applied the first coat of arm-r-seal satin.

[attachimg=3]

[attachimg=4]
 

Attachments

  • 20190716_154630.jpg
    20190716_154630.jpg
    123.5 KB · Views: 697
  • 20190716_161251.jpg
    20190716_161251.jpg
    152.6 KB · Views: 638
  • 20190716_180322.jpg
    20190716_180322.jpg
    170.7 KB · Views: 648
  • 20190716_180743.jpg
    20190716_180743.jpg
    157.3 KB · Views: 624
I think something might have gone a little astray with my finishing or maybe this is normal? 

[attachimg=1]

[attachimg=2]

[attachimg=3]

I applied the first coat of arm-r-seal satin around 6pm last night.  Around 8am this morning it looks bone dry, like I didn't really put anything on yesterday.  I did "charge" my foam brush with mineral spirits before I dipped into the arm-r-seal.  Maybe I ended up brushing on mostly mineral spirits?  I'm hoping this is either normal or I'll just need an extra coat or two or three or four or five  ;D.

Even though there wasn't really much of a finish on there, I sanded using 240 grit Granat and applied a second coat.

[attachimg=4]

[attachimg=5]

[attachimg=6]

[attachimg=7]
 

Attachments

  • 20190717_090018.jpg
    20190717_090018.jpg
    142.6 KB · Views: 583
  • 20190717_085629.jpg
    20190717_085629.jpg
    102.5 KB · Views: 578
  • 20190717_085212.jpg
    20190717_085212.jpg
    121.7 KB · Views: 572
  • 20190717_084953.jpg
    20190717_084953.jpg
    196.4 KB · Views: 570
  • 20190717_084826.jpg
    20190717_084826.jpg
    132.3 KB · Views: 580
  • 20190717_084819.jpg
    20190717_084819.jpg
    121.6 KB · Views: 654
  • 20190717_084814.jpg
    20190717_084814.jpg
    139.5 KB · Views: 580
My first Last Man Standing Game is finished!

It's far from perfect, but I'm very very happy with how it turned out.  This is really the first time I've ever applied any type of finish and I really like how it came out.  It also only took 3 coats.

I "buffed/polished" the final coat with a cut up paper bag.

[attachimg=1]

There is a bit of excess finish build up on some of the edges where the surface tension seemed to cause the finish to cling to, but I don't mind.

[attachimg=2]

This side doesn't look too bad:

[attachimg=3]

Here are the pics of the final product:

[attachimg=4]

[attachimg=5]

[attachimg=6]

I'm planning on trying to make a "better" version with the extra pieces I have.  I think I should have time to get it done before I leave for the wedding next week.  The good news is that I have this completed one that I can always fall back on in case something goes horribly wrong or I run out of time.  I'm planning on applying 2 coats of arm-r-seal gloss and then make the final coat satin to see if that makes any difference whatsoever.

It would be really cool if I could some how etch or engrave the bride and groom's name or initials along with the wedding date on the bottom piece, but I have no clue how I could do that (well at least without making it look really sloppy - like using a Dremel to engrave a tool).
 

Attachments

  • 20190718_174800.jpg
    20190718_174800.jpg
    238.6 KB · Views: 605
  • 20190718_180022.jpg
    20190718_180022.jpg
    156.1 KB · Views: 552
  • 20190718_180027.jpg
    20190718_180027.jpg
    140.4 KB · Views: 550
  • 20190718_175712.jpg
    20190718_175712.jpg
    242.6 KB · Views: 568
  • 20190718_175704.jpg
    20190718_175704.jpg
    253.7 KB · Views: 582
  • 20190718_175442.jpg
    20190718_175442.jpg
    202.1 KB · Views: 665
Back
Top