kevin clifford
Member
- Joined
- Dec 14, 2014
- Messages
- 190
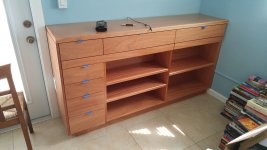
I built this piece for a customer who didn't want to have a desk taking a whole lot of space up in her spare room. She wanted a desk surface for when she needed to work, but wanted to have it more tidy when she is done for the day. Bookshelves with adjustable shelves, and plenty of drawers for storage.
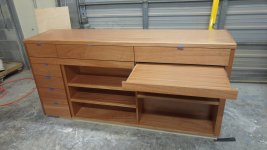
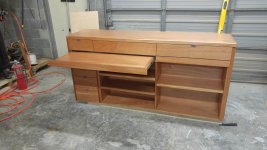
The wall it mounts to is a solid concrete wall, and her electric outlets were surface mounted. As a result of the outlets being where they are, I added an outlet to the outside of the cabinet and left 6 inches behind the drawers and bookshelves in case there was ever a need to access the outlet or wiring behind the cabinet. For ease of running wires later the top is mounted on two hardwood runners in a dado set at 15 degrees. The entire top will slide out and away from the wall to get behind the unit.
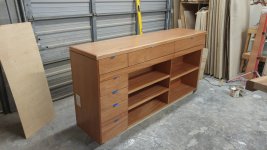
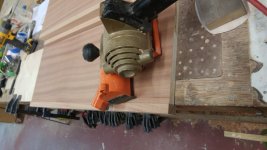
Hardwood edges on shelves and the top and using a lipping planer makes that a snap. 3 coats of semigloss lacquer finished it all of. Installing it took about 45 minutes.
The wall it mounts to is a solid concrete wall, and her electric outlets were surface mounted. As a result of the outlets being where they are, I added an outlet to the outside of the cabinet and left 6 inches behind the drawers and bookshelves in case there was ever a need to access the outlet or wiring behind the cabinet. For ease of running wires later the top is mounted on two hardwood runners in a dado set at 15 degrees. The entire top will slide out and away from the wall to get behind the unit.
Hardwood edges on shelves and the top and using a lipping planer makes that a snap. 3 coats of semigloss lacquer finished it all of. Installing it took about 45 minutes.