Mike Goetzke
Member
- Joined
- Jul 12, 2008
- Messages
- 1,143
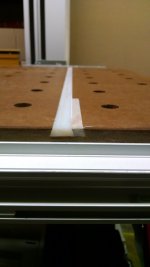
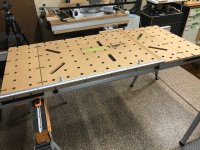
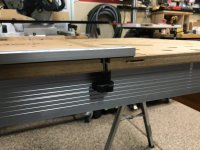
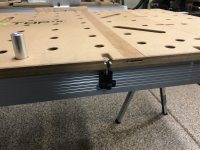
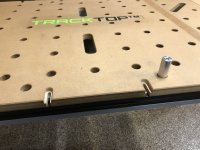
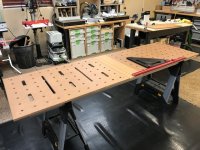
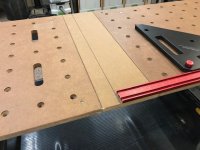
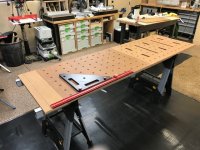
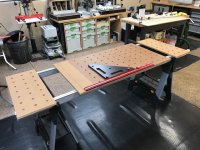
I recently made a 4'x8' worktable that consists of couple of saw horses, TrackTubes, and three CNC'd MFT type slabs that are 32"x48".
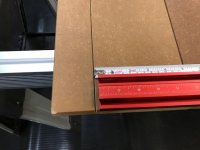
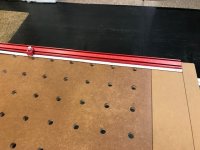
I'd rather not cut through the tops but do want to use bench dogs. Do you use a waste, sacrificial, spoiler board so as not to cut through the top?
(The CNC guy uses a material called Sintra for his CNC top (PVC sheet???).)
Thanks,
Mike
(probably should mention I can also configure this as a 32"x8' top or 32"x4'...)


")