Moxon Vise

Birdhunter

Member
Joined
Jun 16, 2012
Messages
4,144
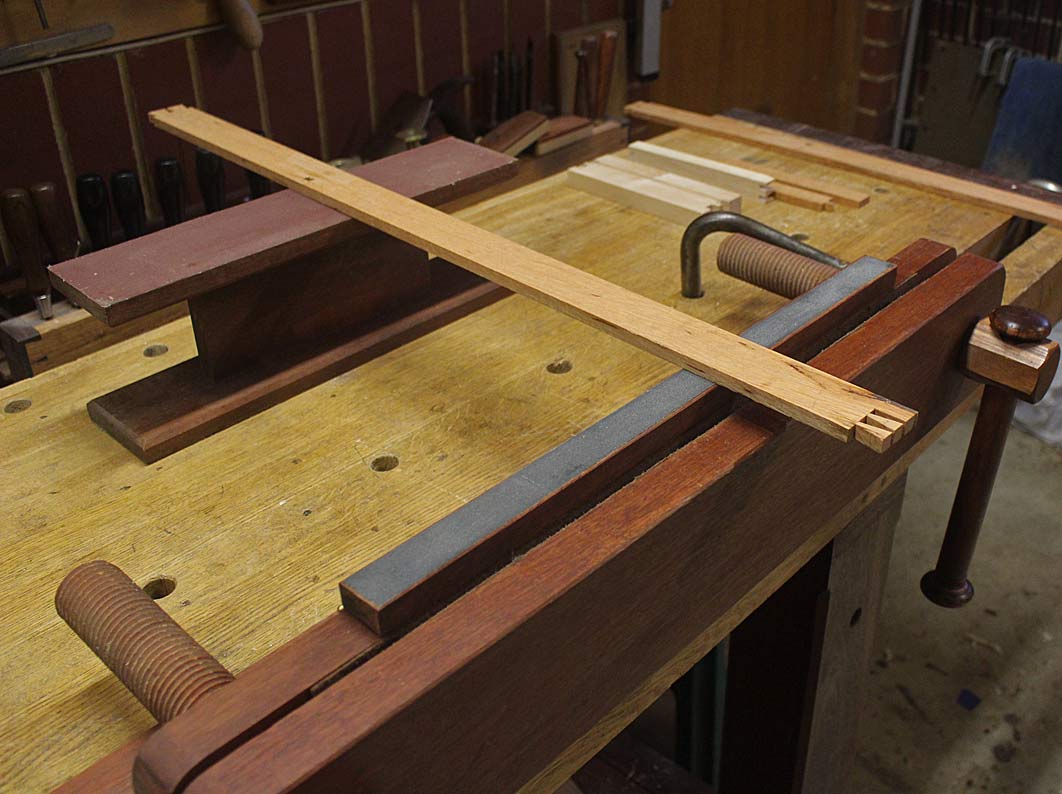
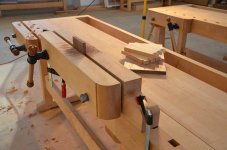
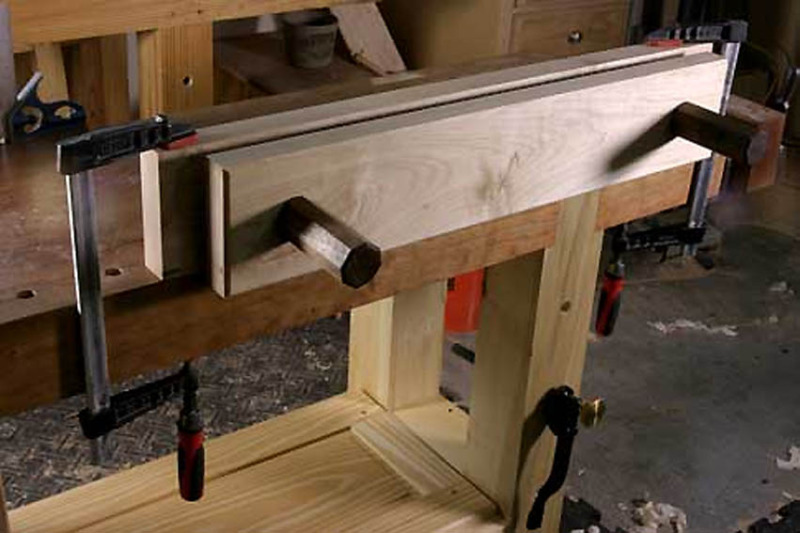
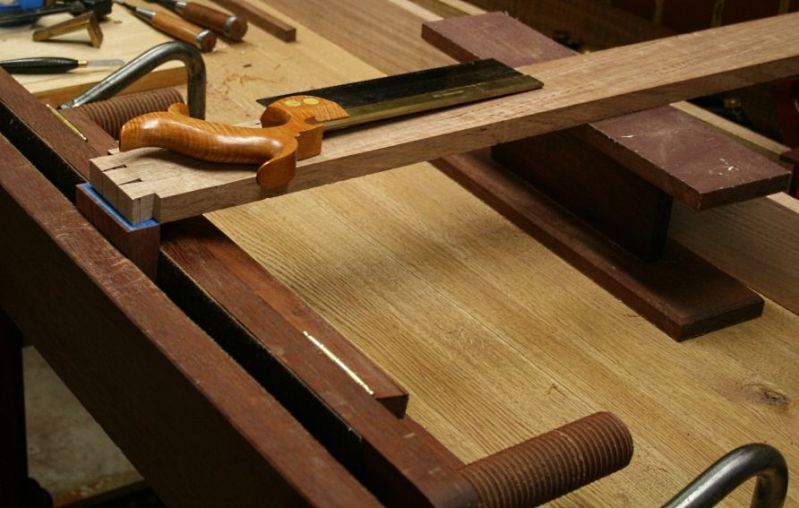
I built a Moxon vise per the Benchcrafted plans with the front jaw shorter than the back jaw. Everytime I looked at the vise, the weirdness of the back jaw longer than the front jaws bothered me.

I built a new front jaw the same length as the back and it looks so much more rational to me.

The new front jaw opens up the outer sides of the vise for use.

I plan to add the “grabber” material to the front jaw. The original plans has the “grubbed” only on the back jaw.
 
I believe the wider back jaw is for clamping purposes.

You can either drill a large hole in both ends of the back jaw or cut a step in both ends of the back jaw.  That way, you have a place to clamp the moxon vise to your bench and your clamps are lower profile.

Page 5 of the Benchcrafted Moxon vise PDF has a picture of the vise with clamping holes on each end.


Attachments

  • moxon.jpg
    moxon.jpg
    47.3 KB · Views: 1,191
I understand about the extended back jaw being there for clamping.

However, I added a MFT style extension to the vise that removed the need to use the jaw for clamping.

View attachment 1
 

Attachments

  • IMG_0142.jpg
    IMG_0142.jpg
    2.3 MB · Views: 510
I built my first "Moxon" type vise around 2000. Christopher Schwarz began publishing on these around 2009/10. His looked like this ...

MoxonDovetailVise_html_35dce773.jpg


In late 2010, inspired by his version, I designed and built this one (notice the side "ears" for clamping. This was the first done this way) ...

MoxonDovetailVise_html_57a8f820.jpg


There are details here: http://www.inthewoodshop.com/ShopMadeTools/MoxonDovetailVise.html

The design has since been updated (along with the bench it rests on in these pictures - I used that for 18 years).

A notable addition was this "I-beam", which takes the place of a rear table ala BenchCrafted ...

MoxonDovetailVise_html_m7c02ba0a.jpg


I do not recommend a table. I understand why it looks attractive/useful, but does so only to a novice dovetailer. In practice, transferring tails to pins will result in scoring the vise chop. It is far better to raise the work about 1" above the chop, and transfer marks at that height. This is where the I-beam comes in ...

MoxonDovetailVise_html_m3615f476.jpg


A later modification added a removable spacer ...

ModsfortheMoxon_html_7ad02ebc.jpg


... this simply flips out of the way when sawing (flip it up when marking) ...

ModsfortheMoxon_html_452342f9.jpg


ModsfortheMoxon_html_677cde63.jpg


ModsfortheMoxon_html_m2c5f92e0.jpg


End of my bench ...

BuidingaBench4_html_m6fac05e5.jpg


Regards from Perth

Derek

 
I aspire to be half as talented. Those are beautiful dovetails!

Re marking up my vise when marking dovetails, I built an L shaped jig per a David Barron Youtube. It nests nicely in my vise and makes it easy to line up the two side for marking.
 
Birdhunter, David's jig is elegant, however there are many styles of dovetails where you need an alternative.

Here's a very short video I shot of the angles involved in my recent build, a bow front apothecary chest (24 drawers) ...
=youtu.be

In this case, I used a variation of the "#140 trick". The article is here:
http://www.inthewoodshop.com/Furniture/The140TrickisDead.html

Basically, just add 4 layers of blue tape ...

The140TrickisDead_html_146c950c.jpg


.. and this creates a ledge for accurate joining ...

The140TrickisDead_html_25c7a597.jpg


Of course, you now need to know about my blue tape marking ..
http://www.inthewoodshop.com/Furniture/HalfBlindDovetailswithBlueTape.html
http://www.inthewoodshop.com/Furniture/ThroughDovetails3.html

.. and you need to purchase a great marking knife (either Blue Spruce, or Chris Vesper).

Regards from Perth

Derek
 
derekcohen said:
I do not recommend a table. I understand why it looks attractive/useful, but does so only to a novice dovetailer. In practice, transferring tails to pins will result in scoring the vise chop. It is far better to raise the work about 1" above the chop, and transfer marks at that height. This is where the I-beam comes in ..

That’s a very nice setup, I especially like the flip-up spacer....

But that’s also why woodworking is great, there are lots of different ways to get similar results...... Lacking a proper workbench (that’s appartment life in the big city) I had to come up with a somewhat different idea. And a moxon with a table was the way to go for me. But with a table that was inspired by the split top roubo’s.

What it does for me is that when I have it on my worktop I can lift the work, similar as with the i-beam, by using the “toolholder” between the parts of the table in the setting where it protrudes above the table. That becomes the support for the part that I need to transfer.

View attachment 1

The only small downside is that the workpiece needs to be long enough. For smaller pieces I also use the DB dovetail allignment board. And having that space for the  (removable and flippable) toolholder opens up all kinds of other options for clamping or for jigs that can be placed there.

The table is even more usefull than I originally thought it would be. I now use it regularly when I want a worksurface that’s a bit higher than my other “benches”. The moxon is also heavy enough that it can take some pounding.
 

Attachments

  • 2018-03-15 12.53.35.jpg
    2018-03-15 12.53.35.jpg
    3.7 MB · Views: 695
I also don't see an issue with the table. I've seen several people use a plane on its side to set the vertical piece in a front vise and then use that plane further back on their workbench to support the other board. Seems to me that a similar approach could be used when your Moxon vise has a rear table.

I had considered adding a table to my LN Dovetail vise, but now seeing Derek's 'I-beam', I will think about making something similar. The support being separate does look to have the advantage of being able to support longer pieces.
 
Using a plane on it’s side works but I find it to be a pain, it’s slippery as well.

Not having a table does make your moxon take up a lot less space and makes it a lot more portable. Mine is heavy :-).
 
One point I did not make earlier, was that the I-beam and spacer both are faced with 400 grit sandpaper, which is a very effective non-slip.

Moxon_transfer_rest4.jpg


Further, using blue tape to transfer marks, only a single cut is required. This is sufficient to slice through the layer of tape and peel it away. If one does not use tape, then you may need a few, or more, slicing actions with the marking knife, as end grain does not retain the marks particular well. That is when a moving workpiece is vulnerable to being marked inaccurately.

With regard the table, I can assure you that it is difficult - even with the pin board held 1" above the chop - to avoid scoring the chop with the marking knife. I have cut hundreds and hundreds of dovetails, and my bench and accessories show the scars. You have to do it to understand.

Regards from Perth

Derek
 
Back
Top