Rollin22Petes
Member
- Joined
- Nov 10, 2014
- Messages
- 208
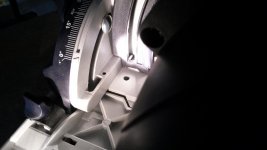
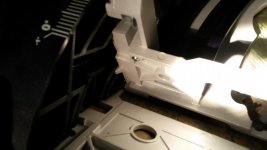
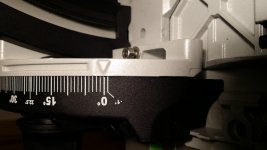
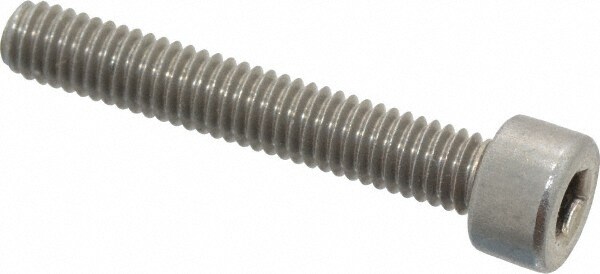
Alright I decide I was tired of fooling around with my saw not having a positive stop at the bevel gauge in the front of the saw. I know you should tighten the rear of the saw and then the front without applying pressure as not to teak the frame as has been discussed many times her on the forum but that to me is cumbersome any really is an oversight by Festool. Having said that I came up with my own fix right behind the front bevel stop there's a 4mm hole. The adjustable depth stop screws on Festool routers are 5mm so I drilled the hole and tapped it to accept the 5mm screw