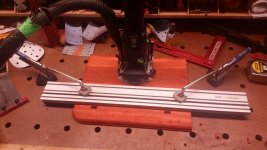
Had some adventures in resawing today. Picked up the extra long 145mm blades for the Carvex so that I could make some 1" planks out of the Padauk (no bandsaw anymore). Gonna build a side table for the bathroom so we can put the laptop next to the toilet for when, you know, we're on the toilet. So I'll need the 2" thick padauk for the legs, but it would obviously be a shame to waste away half the material planing it down to 1". The jigsaw didn't go so well. Maybe I could have helped my case if I had cut some slots down the middle of the board for the blade to track straight. Anyway, the blade never wandered on the top of the board, but it started to after 6" on the bottom, and I only noticed maybe 12" into the cut. So that side now has only one usable plank.
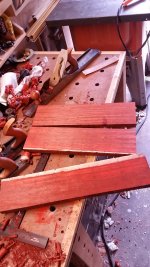
Instead I broke out my grandfather's Disston saw, which I can't remember the last time I used, and finished off the resawing.
View attachment 1
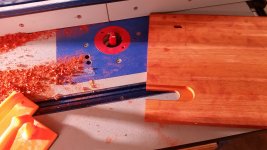
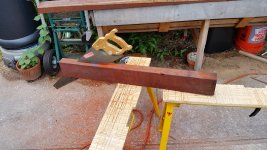
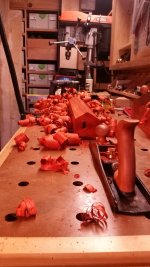
Not fun in the sun in this heat, but almost 45 minutes and a few water breaks later, I got 4 16-18" planks (3 usable):
View attachment 2
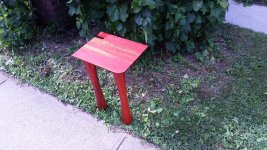
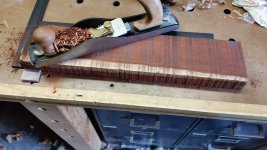
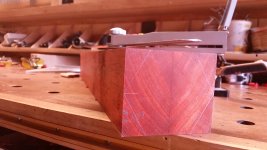
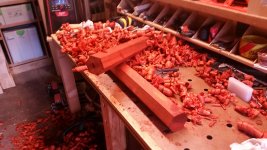
Jointed one side flat with the jack and jointer. [member=18494]DoubleL[/member] These veritas plane stops are incredible -- thanks again for pointing them out
View attachment 3
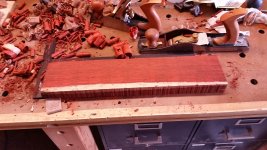
(color setting changed to fluorescent light)
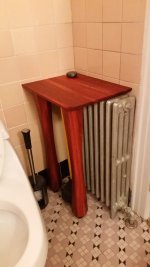
View attachment 4
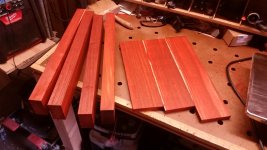
Man, it feels so luxurious working this wood -- those blood red velvet shavings next to the brass of the plane. And [member=297]Michael Kellough[/member] you were right about the smell. I've used padauk once before to make some book ends, but for whatever reason I didn't notice the wonderful scent of this wood.
So the boards are now ready to be planed to thickness.
View attachment 5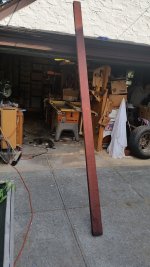


")