Oak dining table

Mike35x95x1

Member
Joined
Sep 10, 2020
Messages
96
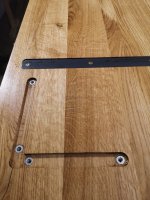
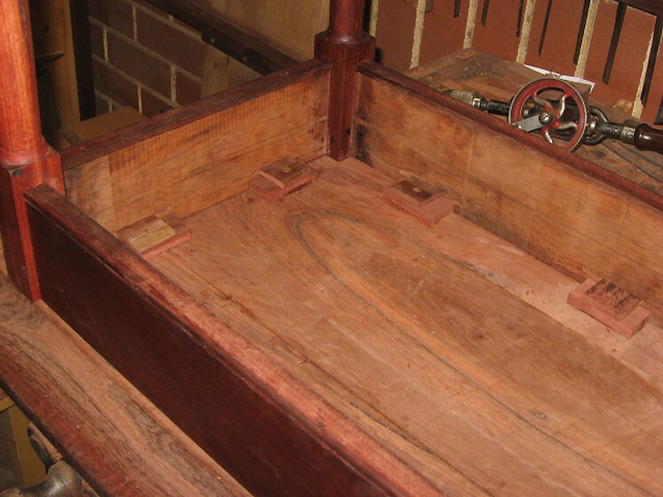
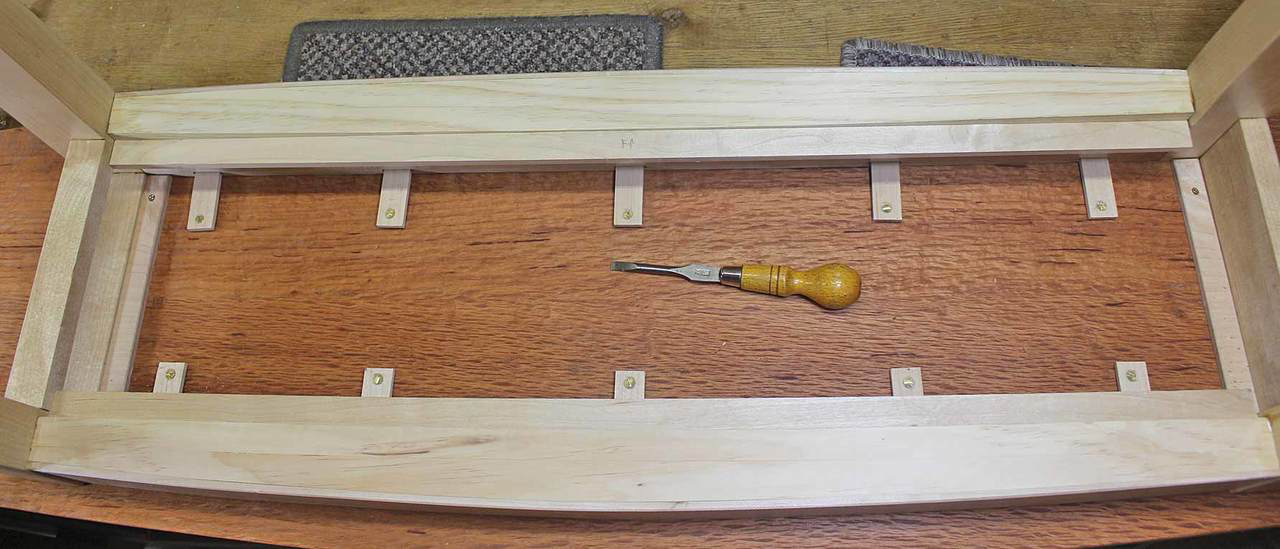
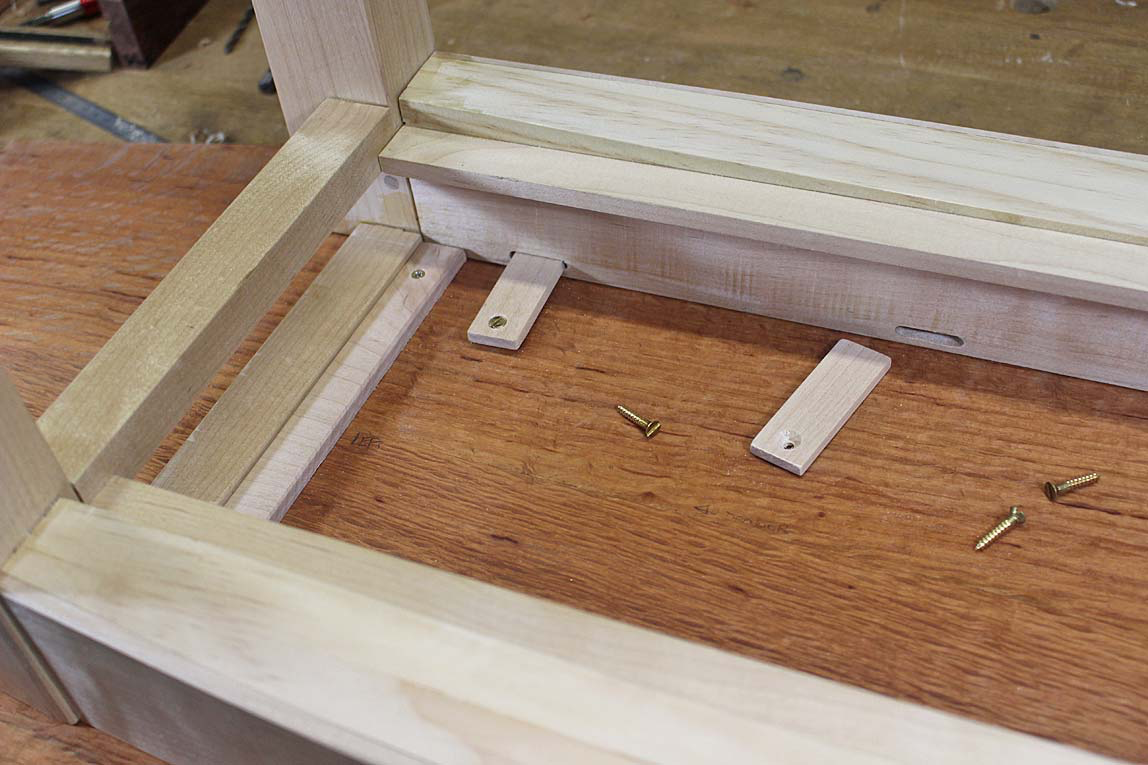
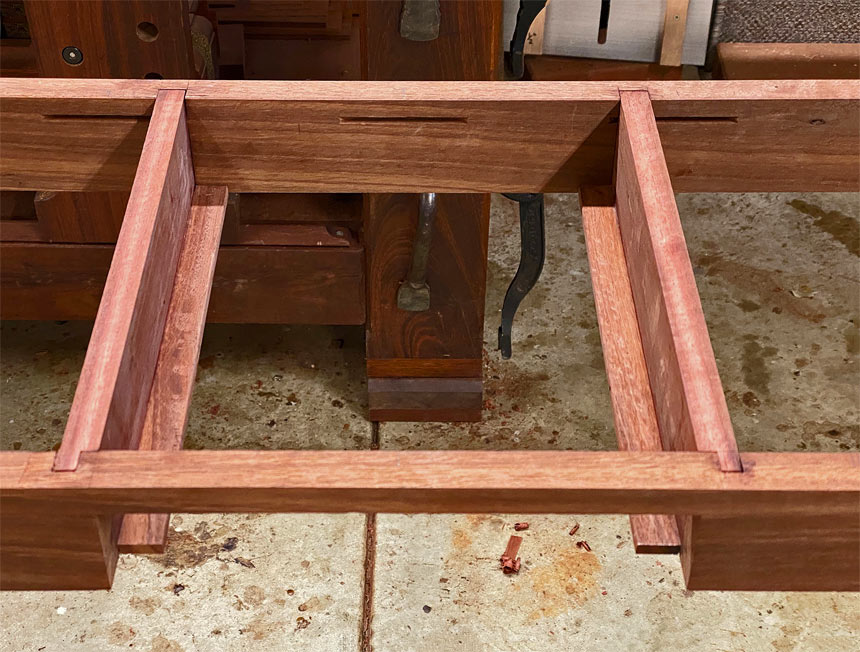
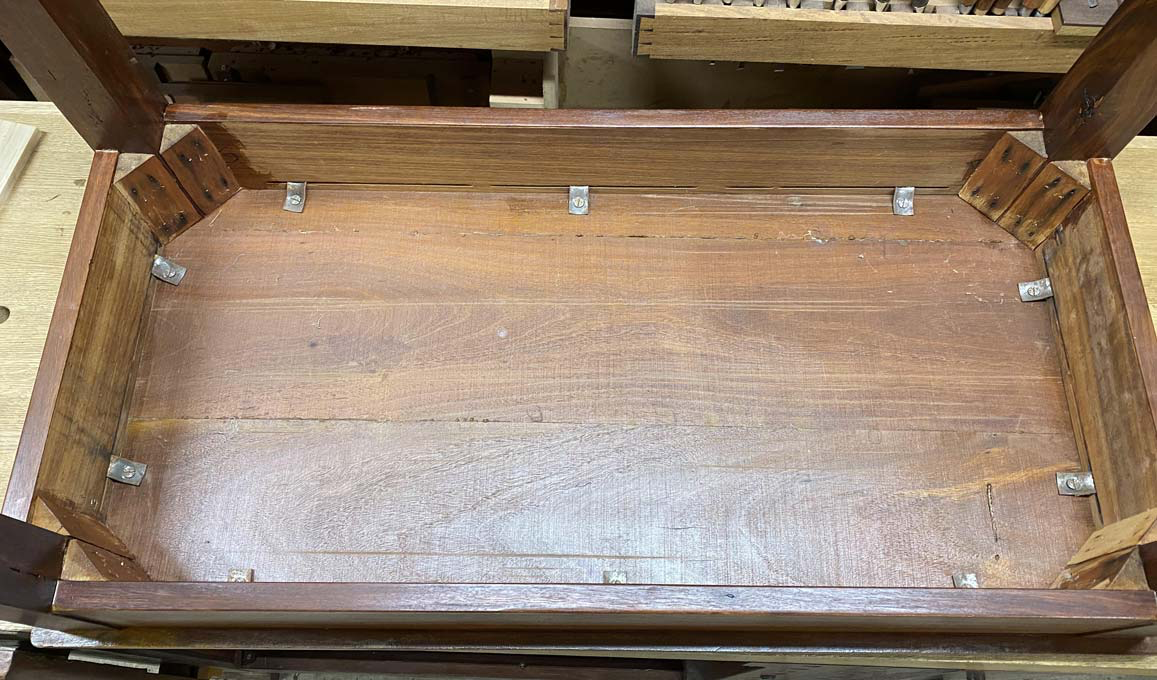
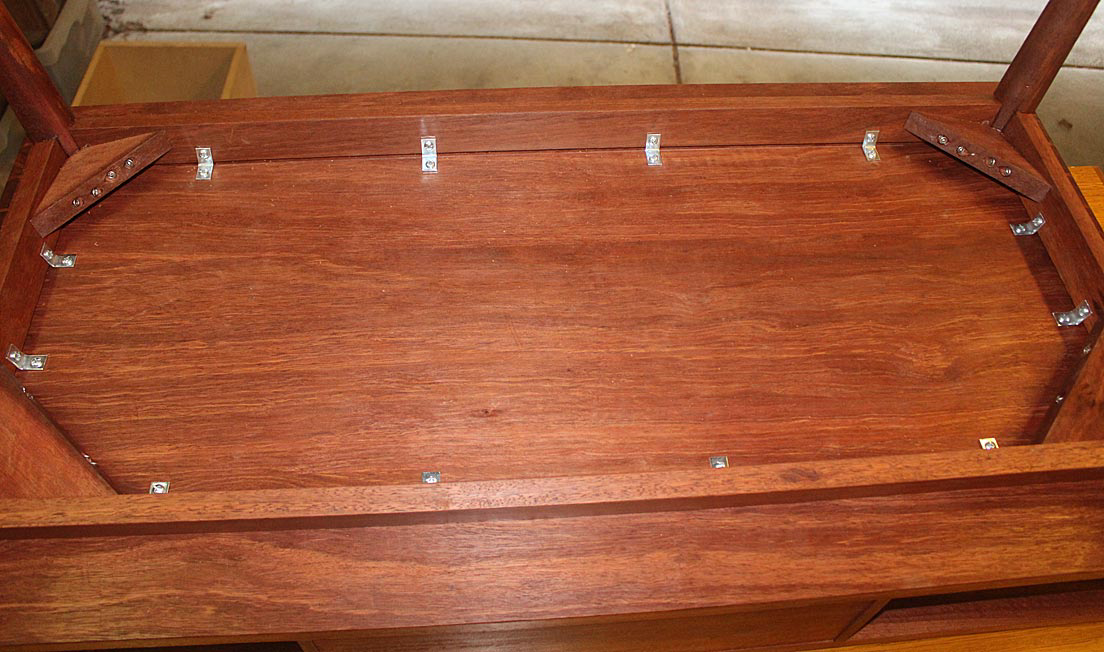
Hi everyone, I have just finish oak dining table. The frame and the legs are jointed with pair of 6x40 dominos. I also used a pair of dominos inside the legs to make them stronger in torsion as I was said it is expected the table will be moved (pulled) by one person from time to time[emoji849] the finish is Osmo Top Oil.

15b578879b2055651c7aa430f72152b6.jpg


Some photos from the building process:

c057a1d954af91ec12d527b20336eaa6.jpg


1ad875996af30ad6f17ea69d060e0e76.jpg


efc2df123acc4c55a1cab46fe52c7252.jpg


e576d5ba92f6aeb06a0f0b9eeea97036.jpg


DIYer from Europe (TS55, KS60, DF500, OF1010, FS1400, FS-WA/90, FS-PA-VL)
 
I like it...nice simple clean lines.  [big grin]

I also rather like the butcher block wood effect.  [smile]
 
Your table looks great.  I like the way you used the clamps to hold the top to the frame. 

Nice work  [smile]
 
WarrenT said:
Your table looks great.  I like the way you used the clamps to hold the top to the frame. 

Nice work  [smile]
Thanks. I never have enough clamps. [emoji846]

Sent from my iPhone using Tapatalk
 
Very nice! What are the dimensions of each of the table top pieces and how did you attach?

Newbiesithabunchofsmallpiecestoo lol
 
I realize wood moves and understand the 4" width.  But how does one build a wide plank live table then to avoid this?
 
Ron B said:
I realize wood moves and understand the 4" width.  But how does one build a wide plank live table then to avoid this?

The only way is to fix it with wood or metal. I don't know how it is called in English but it looks like this:


Attachments

  • svlaky.jpg
    svlaky.jpg
    175.6 KB · Views: 329
Thompmd said:
Very nice! What are the dimensions of each of the table top pieces and how did you attach?

Newbiesithabunchofsmallpiecestoo lol

I don't remember precise numbers but it was close to this:

top - 1300x800x30
legs - 720x60x60
rails - 1100x80x18

Pair of 6x40 dominos for each rail and leg connection so 16 dominos in total. Everything glued together with Titebond original D2.

Edit:
I also used pair of 5x30 dominos inside the legs (one close to the top and one near the bottom) to make them stronger in crosswise traction.

Hope it helps
Mike
 
Ron B said:
I realize wood moves and understand the 4" width.  But how does one build a wide plank live table then to avoid this?

Ron, there are a number of options, but all have in common that they allow movement to take place. Without this, eventually the table will pull itself apart. Cracks will occur, or the top with warp or cup.

The most traditional method is to use wooden buttons into a mortice. This was done in a table I built from reclaimed Jarrah ...

83-DA5967-36-FB-4767-A8-BD-AFF7-B7-C2-A2-D2.png


I have used a Domino machine to cut mortices, and then made buttons to fit (direction if grain is relevant for strength) ...

74-A229-AF-A8-ED-46-A3-BC2-D-6-FBEBF5-C7153.png


EE14-A63-F-0-ED3-424-B-BFCE-0-C2-F93-FA66-E0.png


I have also used a biscuit joiner to make the slots ..

0-A5-C3831-417-D-483-C-A28-A-A0-CBC5-BADDFA.png


... in this case, re-using metal clips from a table that I salvaged for the timber ...

C841-F63-E-EDF0-43-D8-9-EA3-4-D48-F6952-DD3.png


You can make your own metal clips using small angle steel ...

6579422-A-F82-B-4-FCB-B3-E1-83-EF6-E741797.png


In the last example, it is important to widen the holes on the brackets on one side to allow movement.

Regards from Perth

Derek
 
Thank you for the responses on wood movement.  Derek-I appreciated the pictures.  (I am familiar with the Perth mint-always love their new designs of roos and kookaburras).  I have some two inch thick Osage Orange (hedge apple) that I want to use to build a live edge table and I want to do it right.  Normally Osage Orange is not big enough to get a log out of, and if you do, your chainsaw will throw sparks cutting it because it is so hard.  So it should be a fun adventure working with this.  It will be a heavy table to move.  Again, thank you for the pictures. 
 
derekcohen said:
Ron B said:
I realize wood moves and understand the 4" width.  But how does one build a wide plank live table then to avoid this?

Ron, there are a number of options, but all have in common that they allow movement to take place. Without this, eventually the table will pull itself apart. Cracks will occur, or the top with warp or cup.

The most traditional method is to use wooden buttons into a mortice. This was done in a table I built from reclaimed Jarrah ...

83-DA5967-36-FB-4767-A8-BD-AFF7-B7-C2-A2-D2.png


I have used a Domino machine to cut mortices, and then made buttons to fit (direction if grain is relevant for strength) ...

74-A229-AF-A8-ED-46-A3-BC2-D-6-FBEBF5-C7153.png


EE14-A63-F-0-ED3-424-B-BFCE-0-C2-F93-FA66-E0.png


I have also used a biscuit joiner to make the slots ..

0-A5-C3831-417-D-483-C-A28-A-A0-CBC5-BADDFA.png


... in this case, re-using metal clips from a table that I salvaged for the timber ...

C841-F63-E-EDF0-43-D8-9-EA3-4-D48-F6952-DD3.png


You can make your own metal clips using small angle steel ...

6579422-A-F82-B-4-FCB-B3-E1-83-EF6-E741797.png


In the last example, it is important to widen the holes on the brackets on one side to allow movement.

Regards from Perth

Derek
Derek, I prefer not using metal parts if it’s not necessary. Domino for the buttons is just an excellent idea. Before Domino, I always used a drill and wooden dowels. I'll make some domino buttons in advance, so they are available when needed. [emoji106]

Considering the idea, there could also be cross-side rails (connected with domino to lengthwise rails) glued to the top, but there’s a lot of material, and for smaller tables, it’s not necessary.

However, when the wood “decides” moving it can yank the screws out.

Thanks for the hint
Mike

Sent from my iPhone using Tapatalk
 
Rockler sells table top fasteners that I use on all my table tops. I call them Z clamps. I cut a slot in the rails positioned so that the clamps exert pressure once screwed in. The slot is wide enough to allow for top expansion. Either a biscuit cutter or a Domino are perfect for making the slot.
 
The 'figure 8' hardware is another option.  I just tried those out for a smaller hallway cabinet and they worked alright.  You only have to drill a hole with a forstner that recesses one side in the apron.  You secure that with a small screw - the figure 8 has a counter sink.
What I didn't like is that you have to use really teeny screws - like no 5 - otherwise you have to make room in the top for the screw head.

I guess I wouldn't suggest those... lol. Not sure why I wasted time typing.
I guess my point is that I've used shop made buttons on a dining table and those felt way more secure.  Just takes a little more time to make the buttons.  I did the same thing as others where I used the Domino to make the mortise in the apron to accept the buttons.
I used my CMS with the slider to create the tenon on 1.5" x 1.5" stock.  I drilled and countersunk the screw holes before I chopped the buttons off at the Kapex.
Lesson learned with the figure 8 - the buttons are the way to go.  Especially for larger tops.
 
I think you don’t have to be too concerned about movement. This kind of material ('butcherblockstyle' - made out of smaller pieces glued together) is far more stable than solid wood. And also very sustainable, bc it uses wood that would otherwise have been discarded or used as fuel
 
Back
Top