- Joined
- Oct 16, 2015
- Messages
- 5,791
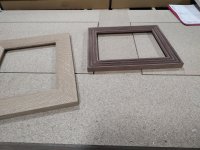
I had some free time at work today. The job I had intended to do got put on hold, so I stayed and put together a couple of frames for 8 x 10 photos. I buy the cheap, boring frames for whatever store has them on sale, throw the frame away and keep the glass, matt, and backing board. It costs less than buying the glass alone. Then I make frames from whatever off-cuts I happen to have laying around. \
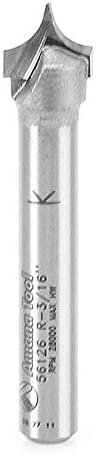
White Oak QS and Walnut. The fluting is "reversed" from the usual. Instead of a cove with a core-box bit, I did it with an un-piloted round-over. The result kind of looks like gear teeth.
White Oak QS and Walnut. The fluting is "reversed" from the usual. Instead of a cove with a core-box bit, I did it with an un-piloted round-over. The result kind of looks like gear teeth.