smorgasbord
Member
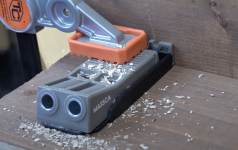
So I have a Kreg pocket hole jig for 2X material - used it to repair some fencing and it worked well.
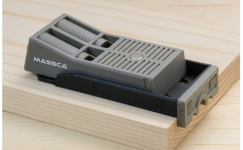
I happened to notice this Massca pocket hole jig has a flippable end piece - one way gives you an overhang so you can index it properly:
[attachimg=1]
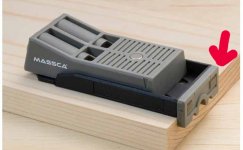
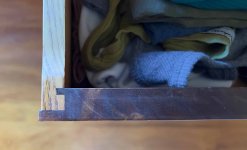
If you flip it the other way, there is not overhang and you can use it to reinforce existing joints:
[attachimg=2]
What I don't get is that the spacing from the joint differs in these two situations. That is, if you cut a "new" joint using the first method the holes are like 3/16" closer than if you cut using the "old" setting.
What's going on here? Just curious.
I happened to notice this Massca pocket hole jig has a flippable end piece - one way gives you an overhang so you can index it properly:
[attachimg=1]
If you flip it the other way, there is not overhang and you can use it to reinforce existing joints:
[attachimg=2]
What I don't get is that the spacing from the joint differs in these two situations. That is, if you cut a "new" joint using the first method the holes are like 3/16" closer than if you cut using the "old" setting.
What's going on here? Just curious.