Slartibartfass
Member
- Joined
- Apr 25, 2014
- Messages
- 1,082
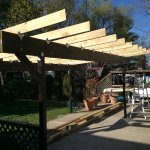
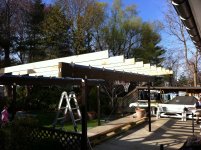
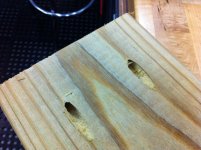
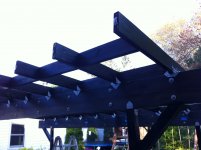
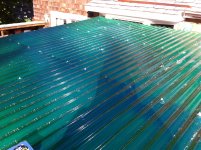
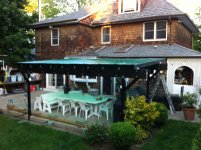
My patio roof did not make it thru the winter. Was shitty construction to begin with as the prior owner had sandwiched the rafters in between the header beams and pieces on the outside instead one continuous piece on top of the header beam.
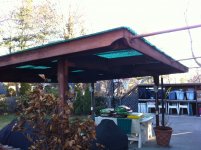
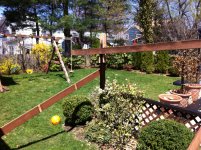
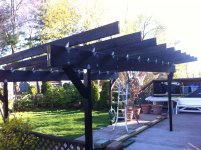
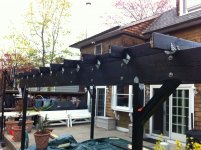
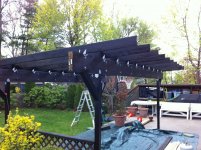
Old structure 2 weeks ago:
[attachimg=#]
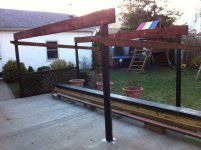
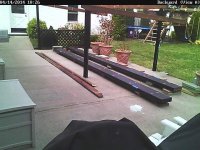
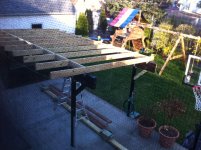
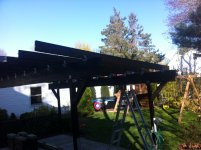
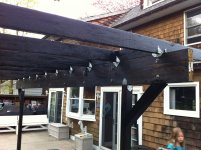
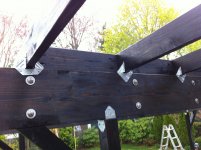
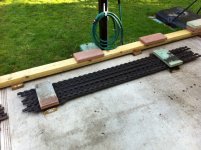
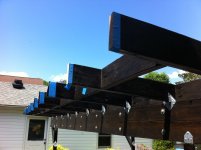
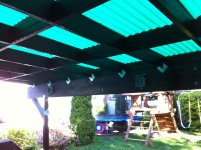
Building the new header beams out of 2x12x20feet sandwiched together with nails and bolts.
[attachimg=#]
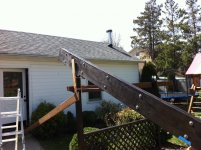
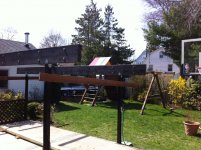
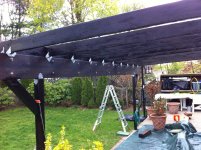
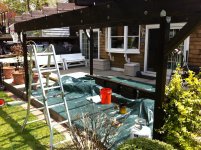
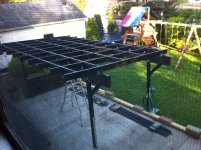
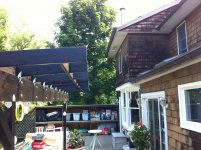
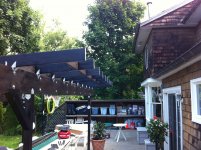
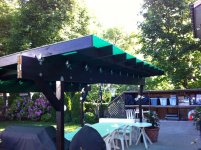
Took down the crappy structure to the posts which I reuse.
[attachimg=#]
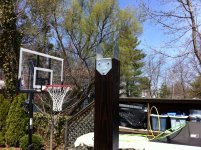
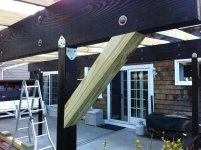
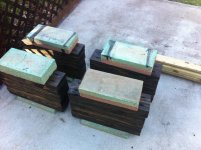
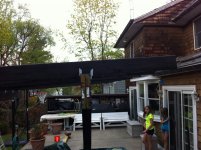
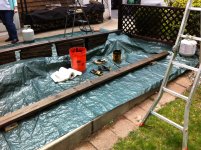
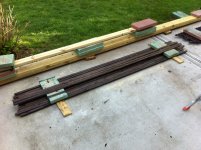
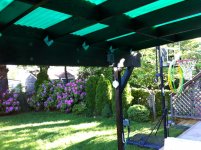
Staining the new beams
[attachimg=#]
More pictures to come....
Old structure 2 weeks ago:
[attachimg=#]
Building the new header beams out of 2x12x20feet sandwiched together with nails and bolts.
[attachimg=#]
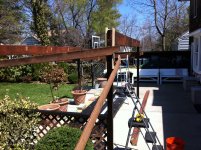
Took down the crappy structure to the posts which I reuse.
[attachimg=#]
Staining the new beams
[attachimg=#]
More pictures to come....