ear3
Member
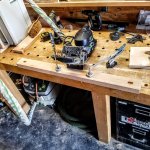
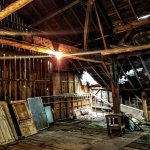
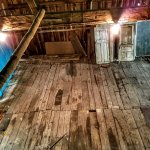
This past summer I went with my wife for a couple of days to Western New York to stay with her boss, who had fled the city amidst all the Covid stuff and bought a country house, which came with a decent sized timber-framed barn that went back to the mid-19th century. Unfortunately the roof had started to collapse, and since there were not the resources to rehab it, I was invited to salvage whatever wood I wanted.
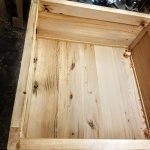
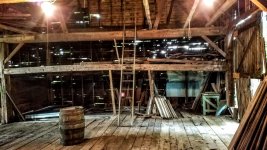
The real prize in the barn is probably the 12x12 hewn beams that make up the structure, some of which are over 30 feet long.
[attachimg=1]
[attachimg=2]
[attachimg=3]
[attachimg=4]
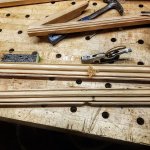
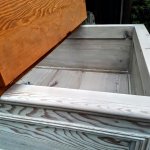
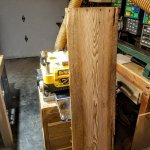
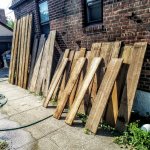
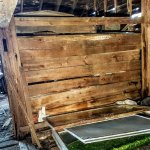
But getting at those would have required machinery and a crew, so I decided to go for more accessible material that had been used to frame out a room in one corner of the barn, which included 6 ten foot long 8/4 planks, some of which were as wide as 16"
[attachimg=5]
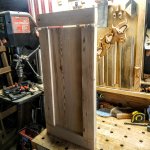
I still had to work pretty delicately, taking out one part of the exterior wall so I could even access the ends of some the boards, and then for everything else, working very carefully when prying them off so as not to split the wood, which was fastened by the old style square nails.
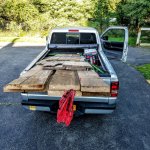
I took as much as I could reasonably and safely fit in my pickup for a several hour highway trip back to the city, ending up with a pretty decent mix of 5/4 and 8/4 boards.
[attachimg=6]
[attachimg=7]
[attachimg=8]
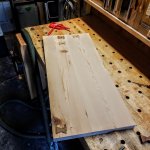
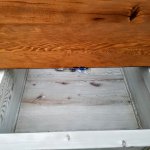
I cleaned everything up with the brush sander so I could get a better look at the wood, which as best as I can tell is some kind of pine or spruce, but old-growth given how densely compact the growth rings are
[attachimg=9]
and after spotting some bug holes, I treated them all with a Borax solution to kill any pests that might still be there, and then let the wood sit in my loft for a few weeks.
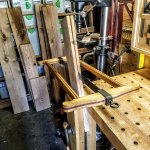
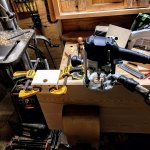
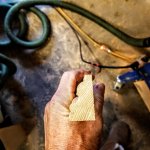
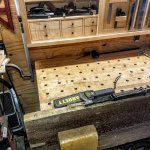
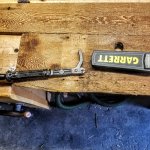
In the interim I got a commission to do a rustic type of coffee table, so I figured this would be the perfect material to use. I had originally considered preserving some of the patina'ed board faces for parts of the table, but they were so splintery that I decided to plane all the material smooth. That meant that I had to remove all traces of embedded metal, which I did using a metal detector and this mechanical nail removing tool I picked up a while back after seeing it in use at a reclaimed lumber spot. The sleeve actually slides up and down the body and so you pound it with the jaws slightly open around the nail to create enough force to sink them into the wood, then rock it back and use the leverage of that crescent shape to pull out the embedded nail. It does leave a rectangular perforation in the board, but it works like magic to extract nails that are otherwise inaccessible.
[attachimg=10]
[attachimg=11]
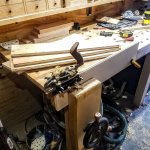
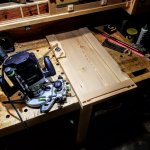
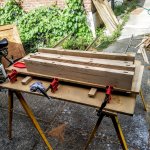
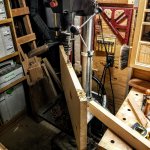
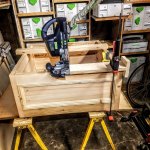
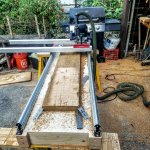
I had enough material to go through that jointing by hand didn't really make sense, so I rigged up a platform to flatten one face of the boards with the woodpeckers slab jig (in the meantime cut down to rough length)
[attachimg=12]
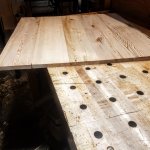
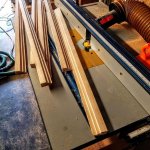
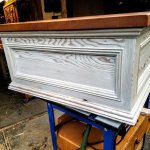
Then sent them through the planer to get the 2" boards down to about 1 5/8 and the thinner wood to around 7/8.
[attachimg=13]
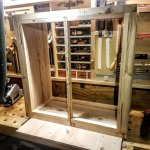
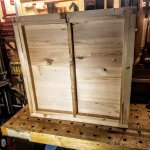
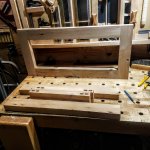
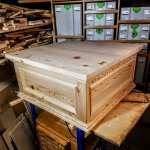
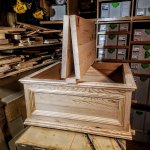
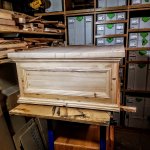
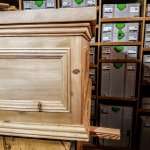
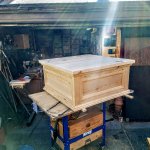
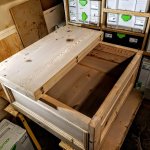
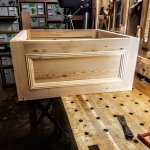
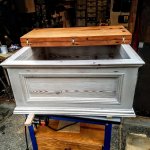
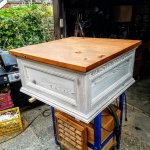
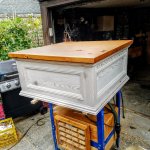
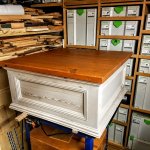
The specs for the coffee table were pretty loose -- just something that was 36"x36" with a flippable top for internal storage, with the rest of the details left up to me. So I'll go through in the next post the actual build.
The real prize in the barn is probably the 12x12 hewn beams that make up the structure, some of which are over 30 feet long.
[attachimg=1]
[attachimg=2]
[attachimg=3]
[attachimg=4]
But getting at those would have required machinery and a crew, so I decided to go for more accessible material that had been used to frame out a room in one corner of the barn, which included 6 ten foot long 8/4 planks, some of which were as wide as 16"
[attachimg=5]
I still had to work pretty delicately, taking out one part of the exterior wall so I could even access the ends of some the boards, and then for everything else, working very carefully when prying them off so as not to split the wood, which was fastened by the old style square nails.
I took as much as I could reasonably and safely fit in my pickup for a several hour highway trip back to the city, ending up with a pretty decent mix of 5/4 and 8/4 boards.
[attachimg=6]
[attachimg=7]
[attachimg=8]
I cleaned everything up with the brush sander so I could get a better look at the wood, which as best as I can tell is some kind of pine or spruce, but old-growth given how densely compact the growth rings are
[attachimg=9]
and after spotting some bug holes, I treated them all with a Borax solution to kill any pests that might still be there, and then let the wood sit in my loft for a few weeks.
In the interim I got a commission to do a rustic type of coffee table, so I figured this would be the perfect material to use. I had originally considered preserving some of the patina'ed board faces for parts of the table, but they were so splintery that I decided to plane all the material smooth. That meant that I had to remove all traces of embedded metal, which I did using a metal detector and this mechanical nail removing tool I picked up a while back after seeing it in use at a reclaimed lumber spot. The sleeve actually slides up and down the body and so you pound it with the jaws slightly open around the nail to create enough force to sink them into the wood, then rock it back and use the leverage of that crescent shape to pull out the embedded nail. It does leave a rectangular perforation in the board, but it works like magic to extract nails that are otherwise inaccessible.
[attachimg=10]
[attachimg=11]
I had enough material to go through that jointing by hand didn't really make sense, so I rigged up a platform to flatten one face of the boards with the woodpeckers slab jig (in the meantime cut down to rough length)
[attachimg=12]
Then sent them through the planer to get the 2" boards down to about 1 5/8 and the thinner wood to around 7/8.
[attachimg=13]
The specs for the coffee table were pretty loose -- just something that was 36"x36" with a flippable top for internal storage, with the rest of the details left up to me. So I'll go through in the next post the actual build.
Attachments
-
 20200807_093534.jpg556.5 KB · Views: 803
 -
 20200820_185919.jpg472.9 KB · Views: 709
 -
 20200918_170941.jpg647.8 KB · Views: 741
 -
 20200904_184022.jpg539.5 KB · Views: 737
 -
 20200819_112433.jpg609.1 KB · Views: 732
 -
 20200811_202422.jpg546.3 KB · Views: 716
 -
 20200810_095340.jpg639.8 KB · Views: 717
 -
 20200809_181748.jpg517.5 KB · Views: 724
 -
 20200809_181833.jpg652.3 KB · Views: 744
 -
 20200808_155810.jpg555.6 KB · Views: 747
 -
 20200807_122606.jpg569.3 KB · Views: 752
 -
 20200807_155508.jpg561.7 KB · Views: 776
 -
 20200808_150540.jpg882.6 KB · Views: 783