As I am building my new workbenches out of 80/20 extrusions, I had planned on just finding a CNC shop to make the custom tops. However, I found that in my area (Asheville, NC) the shops I could find didn't have machines up to the task. I was a very frustrating couple of months.
Anyway I was left to make them myself and Michaels article looked like the way to go. I only had problems with two steps, one and two. They were to first make the blank dead square and then to make two "exactly parallel" rows of holes on either side of the blank.
So I worked on taking out what I felt, given my skill level, was uncertainty in those two steps.
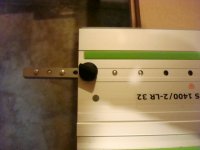
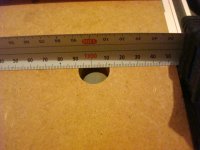
First I started with trimming one edge. Then I mounted the Qwas raildogs to the holy rail and pushed them against the edge. I also used one of the lr32 endstjops to register the rail from side to side.
[attachimg=#]
[attachimg=#]
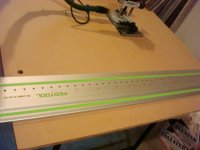
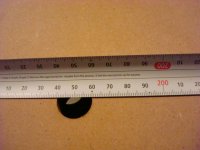
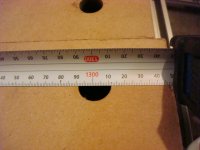
I was just doing a proof of concept so just eyeballed where I wanted the holes to be positioned on the blank. Then I drilled the first row of holes.
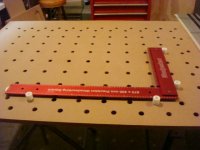
Then while leaving the endstop on, I reset the Qwas raildogs to insert into the two end holes of the first row.
[attachimg=#]
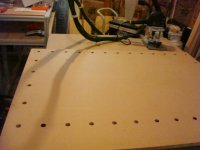
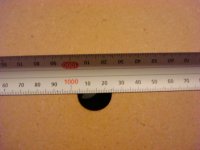
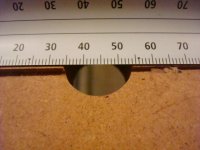
Once the raildogs were set the endstop is removed which allows the blank to not be perfectly squared and the process to still work. With it reset I then drilled new holes at the end positions.
[attachimg=#]
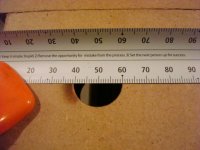
Repeat until you get to the far side of the blank and then drill the second row of holes.
[attachimg=#]
From then on it is Michaels brilliant method and the results look the same.
[attachimg=#]
I found that I felt in control of the process and it only took a couple hours.
Right now I only have a Whiteside 25/32 straight bit and it is too snug for the Qwas dogs but I can get some others to just fit. I have the Festool 20mm bit on order and will wait until then to do the fullsize top.
Anyway I was left to make them myself and Michaels article looked like the way to go. I only had problems with two steps, one and two. They were to first make the blank dead square and then to make two "exactly parallel" rows of holes on either side of the blank.
So I worked on taking out what I felt, given my skill level, was uncertainty in those two steps.
First I started with trimming one edge. Then I mounted the Qwas raildogs to the holy rail and pushed them against the edge. I also used one of the lr32 endstjops to register the rail from side to side.
[attachimg=#]
[attachimg=#]
I was just doing a proof of concept so just eyeballed where I wanted the holes to be positioned on the blank. Then I drilled the first row of holes.
Then while leaving the endstop on, I reset the Qwas raildogs to insert into the two end holes of the first row.
[attachimg=#]
Once the raildogs were set the endstop is removed which allows the blank to not be perfectly squared and the process to still work. With it reset I then drilled new holes at the end positions.
[attachimg=#]
Repeat until you get to the far side of the blank and then drill the second row of holes.
[attachimg=#]
From then on it is Michaels brilliant method and the results look the same.
[attachimg=#]
I found that I felt in control of the process and it only took a couple hours.
Right now I only have a Whiteside 25/32 straight bit and it is too snug for the Qwas dogs but I can get some others to just fit. I have the Festool 20mm bit on order and will wait until then to do the fullsize top.