RTS Engineering 8-Foot Articulated Boom Arm

Status
Not open for further replies.
Hey, by the way, I'll be cutting these to length this weekend based on what has already been ordered this morning (first come first weld). So anyone that is planning to place an order before Monday, If you could drop me a note (or post here) which size you plan to get, that would help me plan which cuts to make first.

Of course I will be cutting extras, but I am still getting a feel for which sizes are more popular.
 
I spent the day at the welding shop (Full Blown Motorsports) showing them how to jig-up the parts for welding, and where/how I wanted everything welded. It was a gazillion degrees in their shop today, so I'm a bit knackered out. I'll try to post more later on.

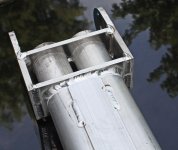
In the mean time, I decided to snap some pictures of the incredible welding these guys can pull off, before I cover all that beauty with paint. (I already painted the main boom. This is the jib boom for the first 10-foot boom arm.) Ayup, the welds were smooth enough that I was totally comfortable laying it down on my truck's tonneau cover to take pictures.

[attachimg=1]

[attachimg=2]
 

Attachments

  • Jib Weld.jpg
    Jib Weld.jpg
    120.7 KB · Views: 1,122
  • Knuckle Weld.jpg
    Knuckle Weld.jpg
    106.9 KB · Views: 1,141
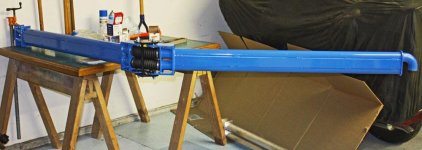
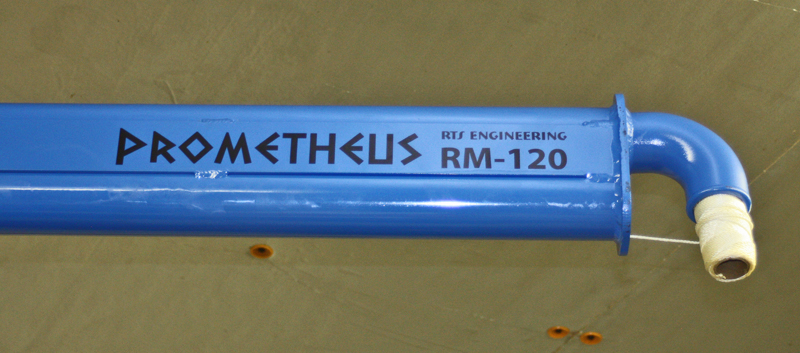
Well, I got the first 10-foot boom arm assembled. Everything has come out as expected. There's just a few other parts I need before I can begin shipping them out.

[attachimg=1]
 

Attachments

  • RM-120.jpg
    RM-120.jpg
    53.3 KB · Views: 1,068
Very nice!

No matter how hard I try I cannot manufacture come up with a reason to justify the, ahem, "need" for one in my shop. Dammit.

RMW

Rick Christopherson said:
Well, I got the first 10-foot boom arm assembled. Everything has come out as expected. There's just a few other parts I need before I can begin shipping them out.

[attachimg=1]
 
Richard/RMW said:
Very nice!

No matter how hard I try I cannot manufacture come up with a reason to justify the, ahem, "need" for one in my shop. Dammit.

RMW

Richard, it's not the need, but the joy!
 
"Need" is related to the story justifying the expense to SHMBO.

Bunch'a rookies....  [poke]

RMW
 
Richard/RMW said:
Very nice!

No matter how hard I try I cannot manufacture come up with a reason to justify the, ahem, "need" for one in my shop. Dammit.

RMW

Expenses related to cleanliness/dust control have an express approval process with SWMBO at my house, and are you sure there isn't a safety aspect to this as well?
 
The safety angle could be it removes trip hazards from the floor like hoses and cords.

And that's the truth.
 
Slippery slope playing the safety angle. If you're too clumsy to step over some cords what else are you too clumsy to be around? Might find you're talking yourself out of being in your shop altogether. Gotta be careful with the approach argument.
 
DynaGlide said:
Slippery slope playing the safety angle. If you're too clumsy to step over some cords what else are you too clumsy to be around? Might find you're talking yourself out of being in your shop altogether. Gotta be careful with the approach argument.

You would never say this if you had ever actually used an overhead boom arm. It's a game-changer that goes way beyond a vac-mounted arm. It's the single most valuable tool in my shop for the past decade.
 
[member=191]Rick Christopherson[/member] I should've quoted someone. I meant talking to the wife  ;)
 
I’ve been working developing my cord consciousness for decades.

The answer is go cordless, as in segregation of cords and feet.
My feet can’t stay in the air but the cords can.
 
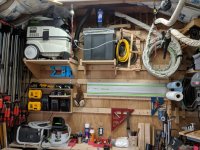
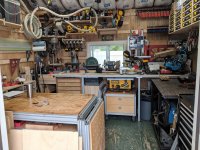
The CT26/UDD are as high as I can get them for space-saving purposes. From there 3-4 strategically placed retractors allow me to move the hose/cord to wherever I need it. Not particularly elegant but it's been flexible over time as I reconfigure things. It's tough for me to get more than 4' or so from the cord/extractor.

[attachimg=1]

[attachimg=2]

Unless I've moved to the outdoor section of the shop that is...

I'd love to be in a situation that needed the articulating boom, it looks slick. I sometimes daydream of having a large shop again but in my reality that would mean leaving the shore and I'm not ready for that yet.

RMW
 

Attachments

  • IMG_20190707_174156.jpg
    IMG_20190707_174156.jpg
    287.5 KB · Views: 2,481
  • IMG_20190707_174251.jpg
    IMG_20190707_174251.jpg
    300.8 KB · Views: 2,329
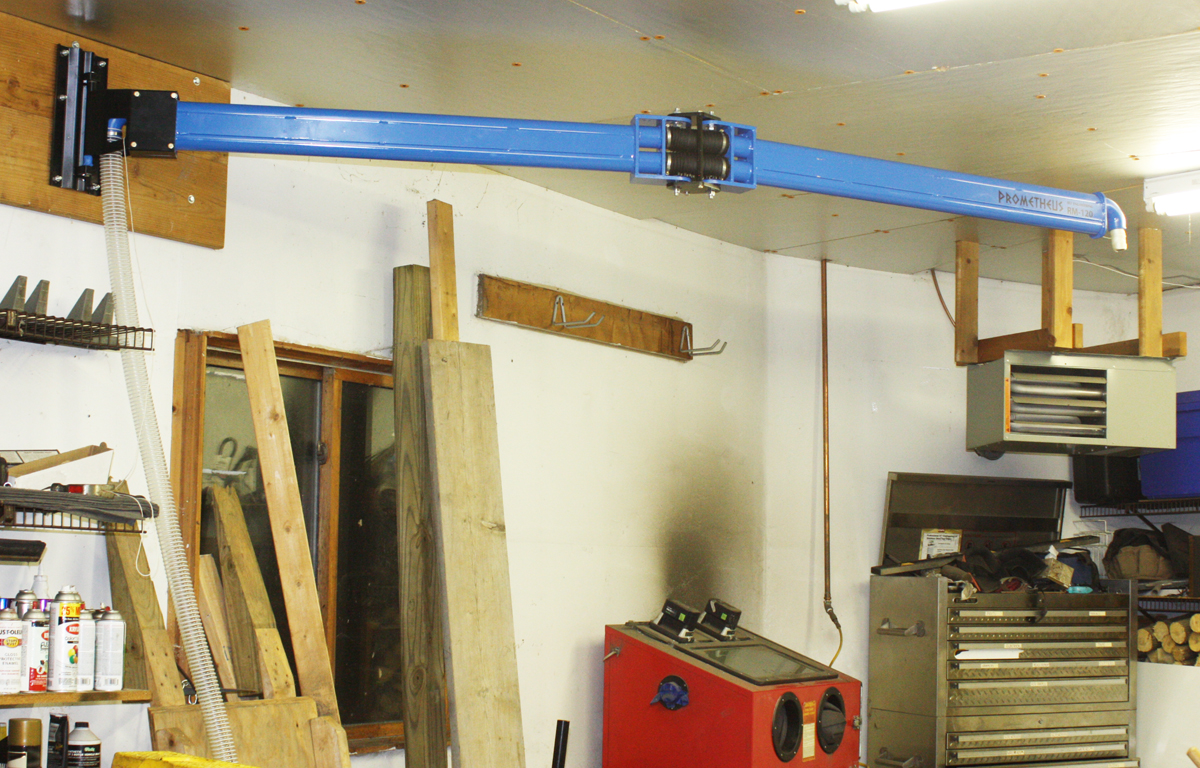
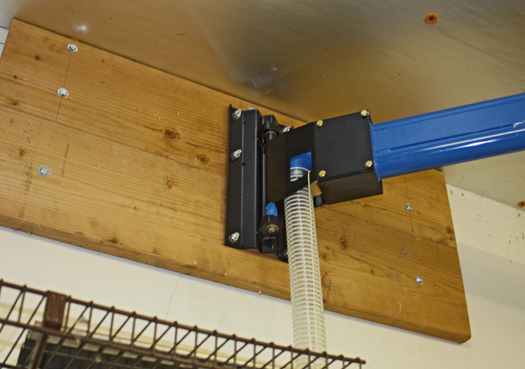
I mounted my Prometheus RM-120 boom arm in the garage yesterday. After thinking about how I was going to install the boom arm, I realized it would be way easier that I originally predicted. Not counting the gazillion breaks I'm known to take, it took about an hour of actual labor.

MountedBoomArm.jpg


When planning out where I wanted to mount my boom arm, I considered the following:
  • I have an unusual shape to my garage, which includes a large triangle-shaped work area at the right-rear of the main vehicle bay. So that area is the main emphasis of where I want the boom to reach.
  • I have a garage heater hanging from the ceiling in this triangle area, and I didn't want the heater to obstruct the travel of the boom arm.
  • I originally considered the side wall directly over my workbench, but then realized that the rear wall would give me the same coverage, and wouldn't be obstructed by the overhead door tracks.
  • This also gave me the ideal location for positioning one of my CT-vacs.

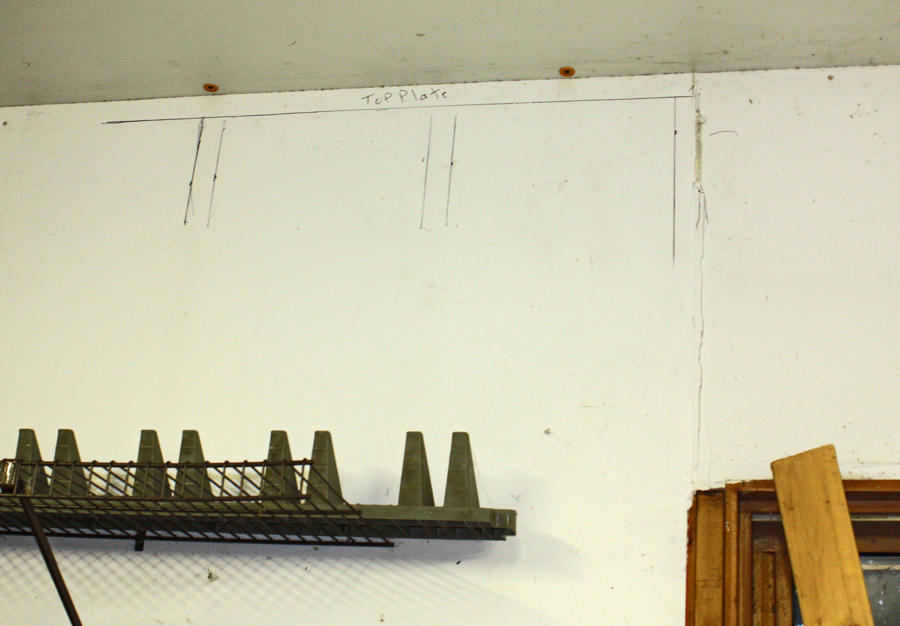
The first thing I did was carefully mark out the 2x6 studs and top plate. (I drew heavy lines so they would show better in a photograph.) It's important that the lag screws are in the center of the studs, so I marked both sides of the studs using a good stud finder. The upper 3 lag screws (see below) are secured into the top plate. This serves to lock the studs and top plate together for greater structural strength.

StudLocations.jpg


I had a spare 2x10 laying around, so I ripped it down to 9 inches, and cut it into two pieces 42 inches long. This is longer than what's needed to span 3 studs, but you don't want lag screws too close to the ends of a board.

I made a trip up to the home center and picked up (9) 5/16 x 4-1/2" lag screws (with washers), and (6) 3/8-16 x 2" carriage bolts.

I lined up the two boards on the floor and drilled clearance holes for the lag screws, and carriage bolts. Note that I shifted the mounting bracket slightly to the side so the middle lag screws would fall under the v-bend gap of the mounting bracket.

When drilling the 3/8" clearance holes for the carriage bolts, I used the mounting bracket to guide the drill, and after each hole was drilled, I inserted the carriage bolt into the hole to keep the bracket from moving while the other holes were being drilled. (See below for separating the mounting bracket from the boom arm.)

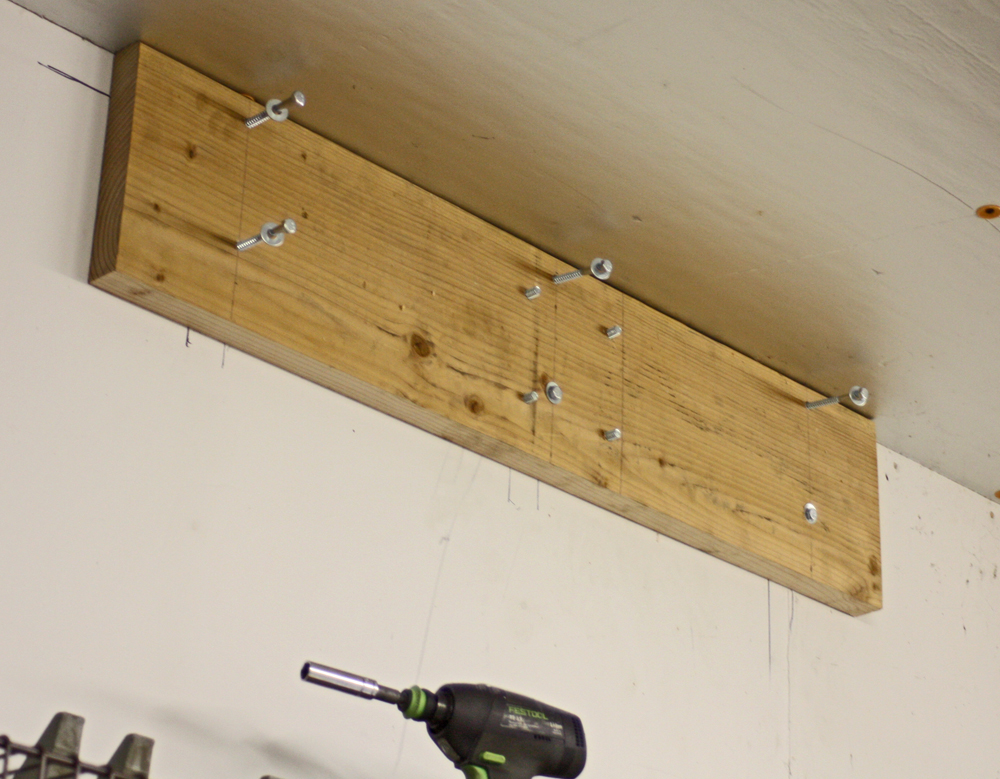
I held the upper board against the wall, and marked the locations of the lag screws so I could drill pilot holes. I then hammered the carriage bolts from the back of the board to set the square-cut of their heads into the wood. This prevents them from turning when I install the nuts on the other end.

LagScrews.jpg


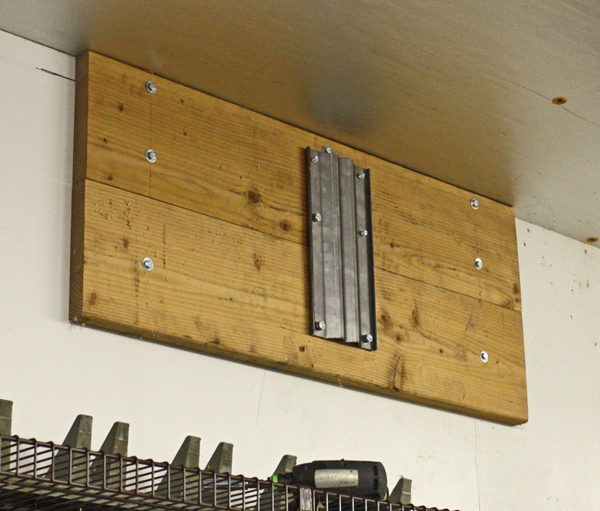
When I installed the lower support board, I loosely installed the boom arm mounting bracket onto all 6 carriage bolts to hold the two boards together. This ensured that all the bolt holes will line up with the bracket after the lag screws are installed.

WallBracket.jpg


Installing the Boom Arm
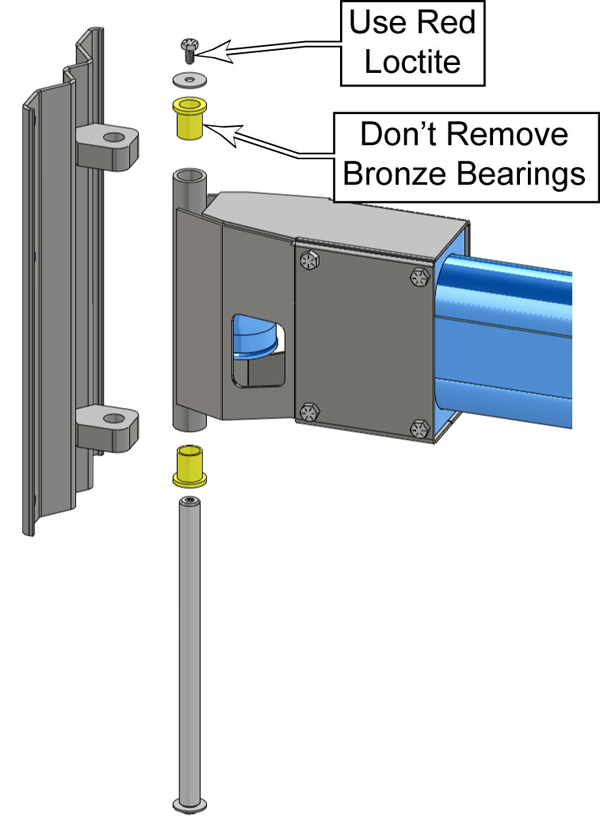
The stainless steel pivot pin of the boom arm separates the mounting bracket from the boom arm. When shipped, the lower screw will already be installed with thread-locking compound. Remove the upper screw and fender washer, and slide the pivot pin out of the bracket. (UPDATE: When shipped, the main mounting bracket will be removed from the boom arm. If I didn't do this, I would have to use a huge 14-inch box. Nevertheless, it is recommended that you use loktite to prevent these retaining screws from backing out.)

Note that there are 2 bronze bearings in the pivot tube. It is critical that those remain in place. The lower one was a little loose and would slip out during the install. So I put a small piece of tape on it to hold it in place until the pivot was reassembled.

MainPivot.jpg


Install the mounting bracket onto the 6 carriage bolts. Torque the nuts down firm enough to seat the heads of the bolts into the wood, but not so tight that they embed deep and crush the wood fibers. 

With the boom arm still resting on my assembly table, I inserted a weighted string (blumb bob weight) through the lower tube to pull wires through later. This allowed me to just tilt the boom, and the weight would slide through to the other end. (In the picture below, you can see the string coming out of the lower tube, and I jammed the rest of the spool into the vacuum elbow just to hold it in place until later.)

JibEnd.jpg


To install the boom arm, I folded it in the center, and my son took the weight of the far end, while I guided the hinge back together at the wall bracket. Make sure the bearings are still in position, and slide the pivot pin back into the hinge. Use Red Loctite on the 1/4-20 screw threads.

MountingBracket.jpg


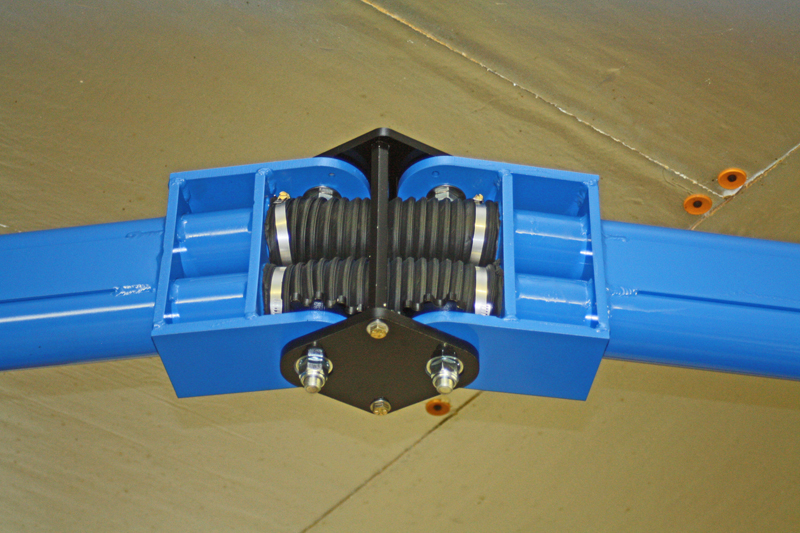
In case I haven't shown it before, here is a picture of the knuckle joint and the connecting hoses for both upper and lower tubes.

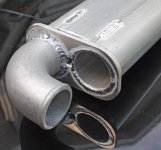
Knuckle.jpg

 
Hi Rick

How much ceiling height does the arm consume?  My shop ceiling is only 7’3”

Also, are you shipping to Canada yet?
 
denovo said:
Hi Rick

How much ceiling height does the arm consume?  My shop ceiling is only 7’3”

Also, are you shipping to Canada yet?

The way I designed all of the brackets, it stays pretty tight to the ceiling. I had to mount mine a few inches down just to clear the fluorescent lights. Without doing the math, I believe it will consume about 6 to 8 inches.

I have no problem shipping to Canada, or anywhere else. I just don't know what it will cost to ship yet. If you are interested, we can explore what the costs are.
 
Alan m said:
any updates

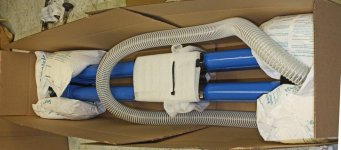
I didn't realize anyone was expecting updates (aside from those with orders). Everything has been finalized for several weeks. I did have to figure out how to ship these things, but I got that worked out last week. The first orders should have shipped 2 days ago, but I got hit with a hard deadline on another project. They will be shipping on Monday (for those of you that already ordered).

There's a lull in the work flow at my welding shop, so they are tacking a few extra boom arms beforehand. So if you're interested in an RM-100 or RM-120, place your order now to get them.

[attachimg=1]
 

Attachments

  • Packaging.jpg
    Packaging.jpg
    88.7 KB · Views: 2,026
Status
Not open for further replies.
Back
Top